
Custom Domain Walkthrough
By default, your church's public site lives at:
timelychurch.com/c/your-slugThat works fine, but most churches eventually want their public site at their own domain, like:
yourchurch.com(or www.yourchurch.com). This page walks you through setting that up. It's one of the most-failed steps in onboarding -- DNS is genuinely confusing -- so we've made the guide extra-detailed. If something doesn't work, the troubleshooting section at the end probably explains why.
Plan requirement: Custom domains are part of the Pro plan (active or in trial). On a lower plan, the Domain tab shows as locked with an upgrade prompt. See Trial and Plan Selection.
What this covers: A custom domain serves your church's public-facing website (home page, public schedule, public pages) on your own URL. For security, member and staff sign-in always stays on the main TimelyChurch domain -- see What Custom Domains Affect below.
Before You Begin
You'll need:
- Ownership of a domain -- either one you already own (
yourchurch.com) or one you're buying. If you don't have a domain yet, register one through Namecheap, GoDaddy, Cloudflare, or any registrar before continuing. - Access to your domain's DNS settings. This is usually inside your registrar's control panel -- look for "DNS Management," "DNS Records," or "Advanced DNS." If your IT person manages DNS, loop them in now.
- A decision about which hostname to use. The Domain tab is set up for your root domain (
yourchurch.com) or thewwwversion. If your existing website already lives atwww.yourchurch.com, point the custom domain at the same place only if you intend TimelyChurch to be your public site -- otherwise pick a domain or subdomain you're free to repurpose.
Step 1: Decide Which Domain to Use
Pick the domain you want for your public church site. Common choices:
yourchurch.com(your root domain -- most common)www.yourchurch.com
Avoid pointing the custom domain at a hostname that's already serving an existing website you want to keep, unless you're certain TimelyChurch will replace it.
We'll use yourchurch.com for the rest of this guide.
Step 2: Open the Domain Tab in TimelyChurch
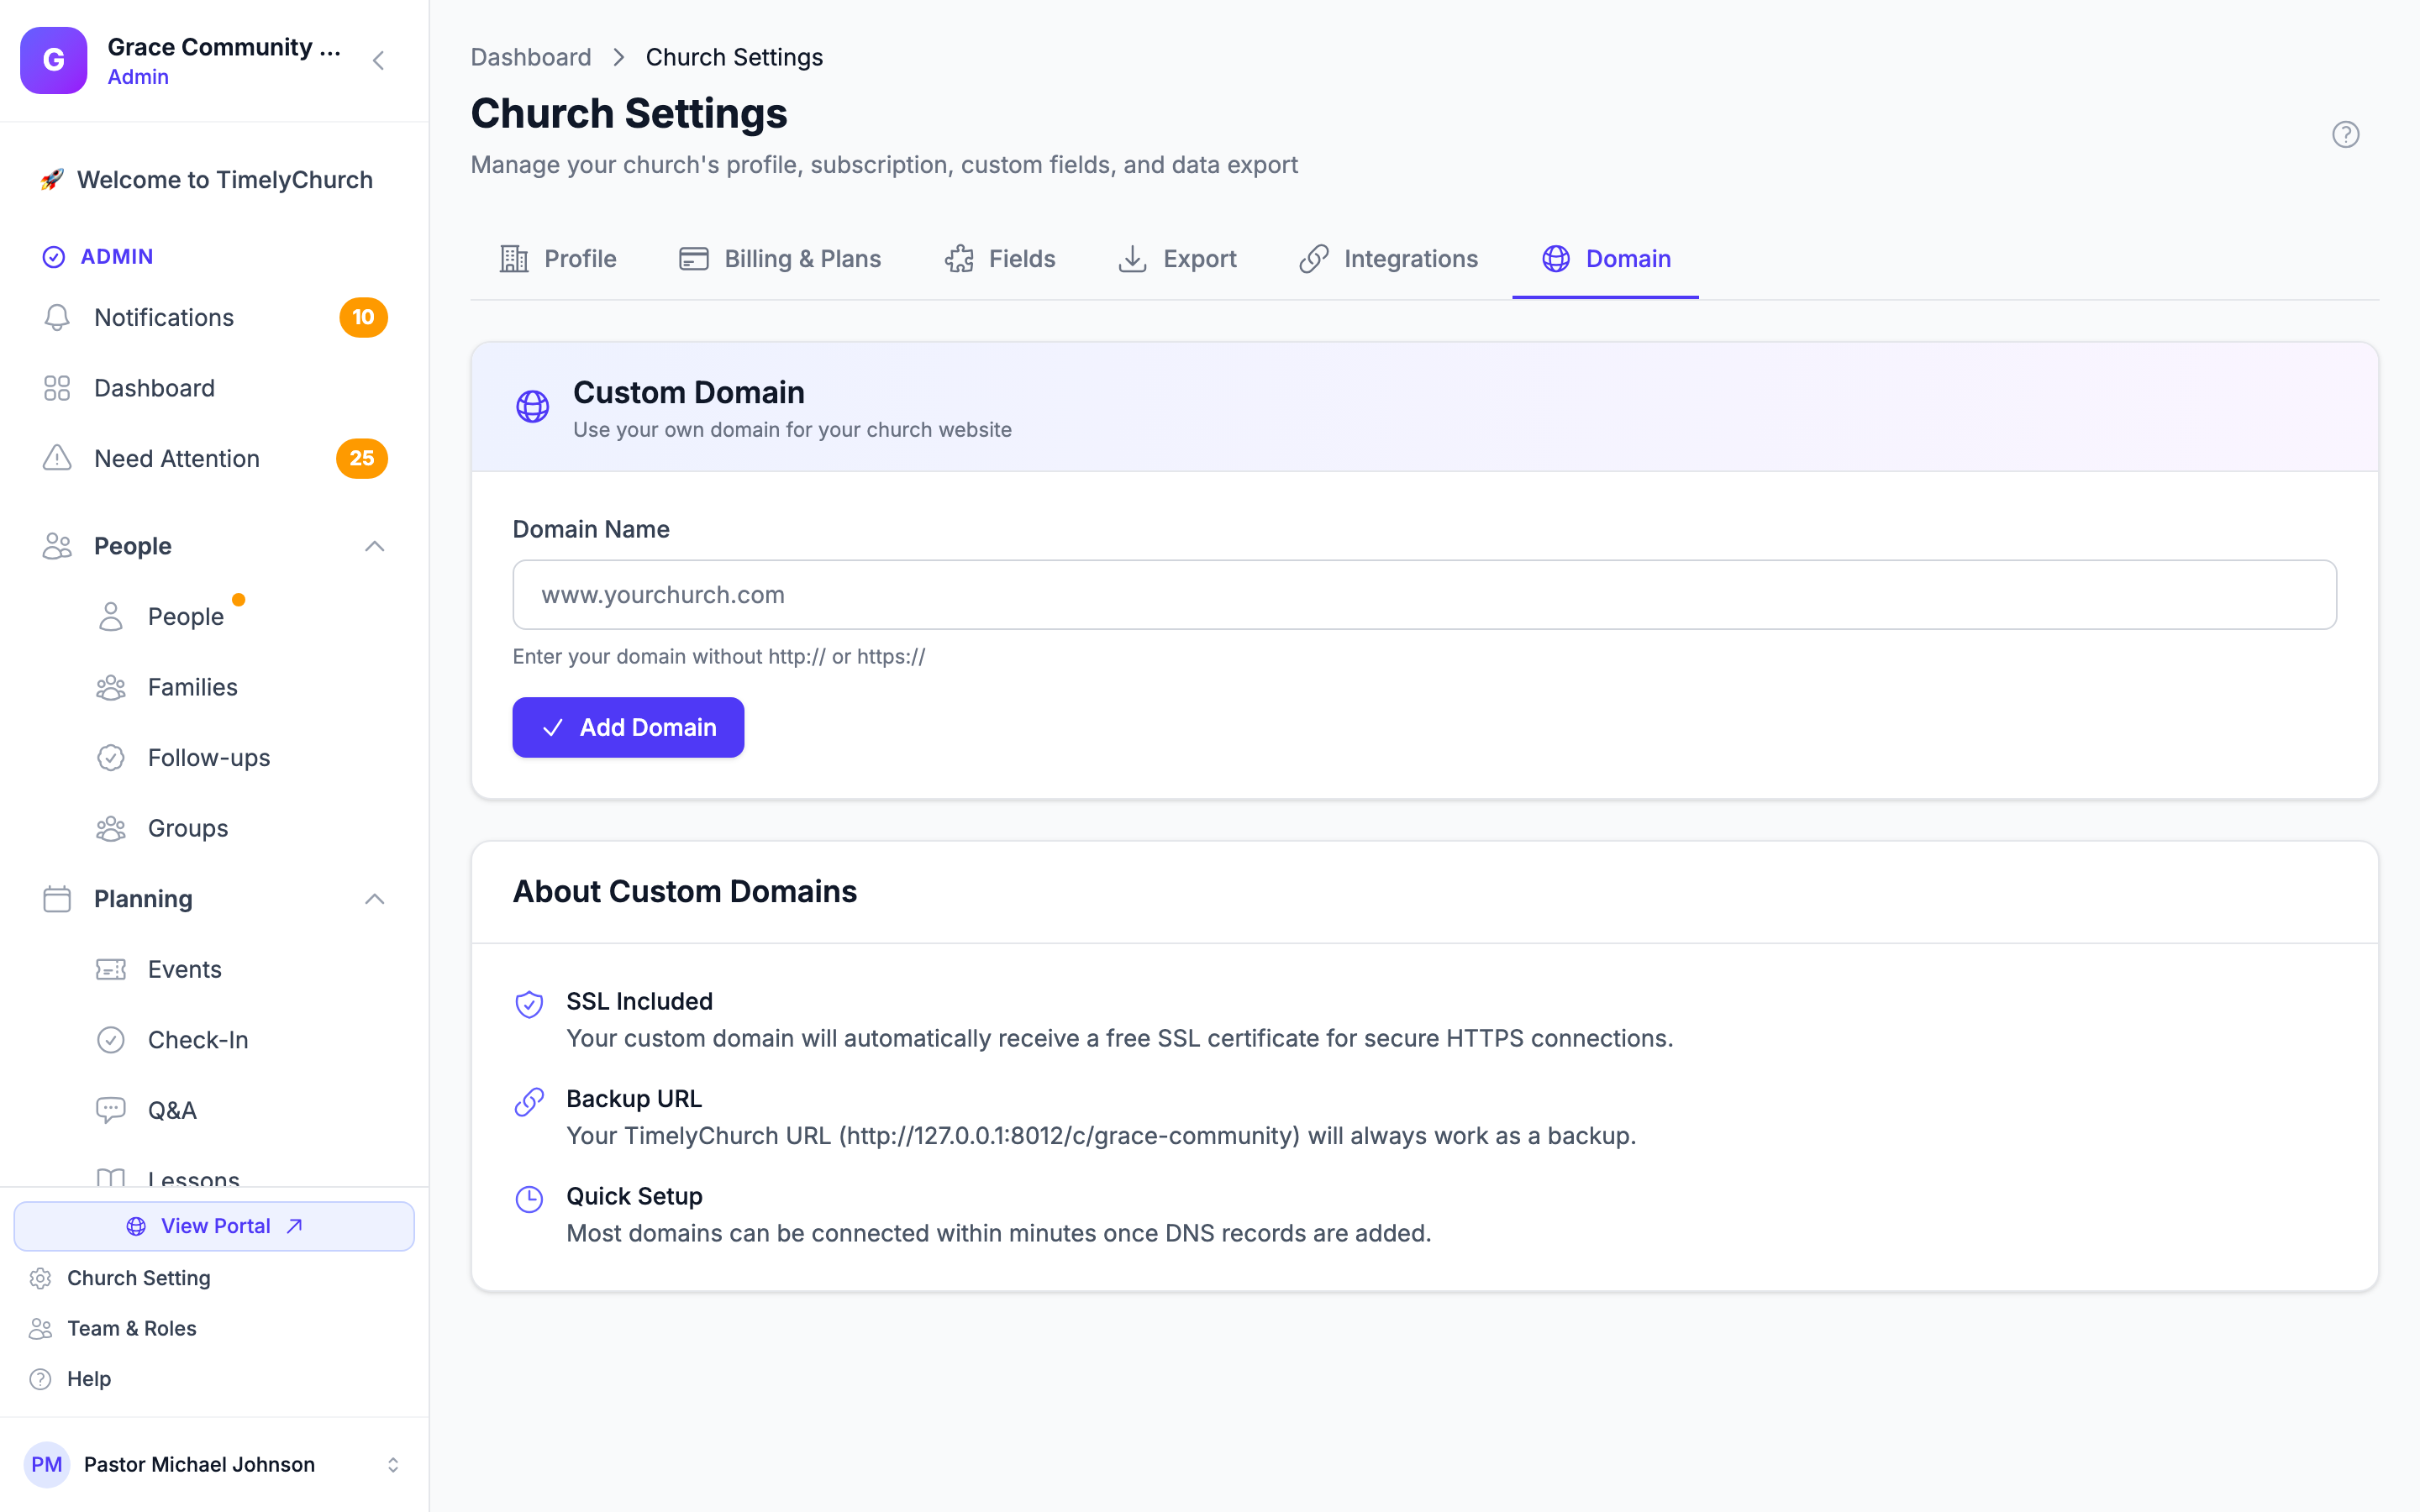
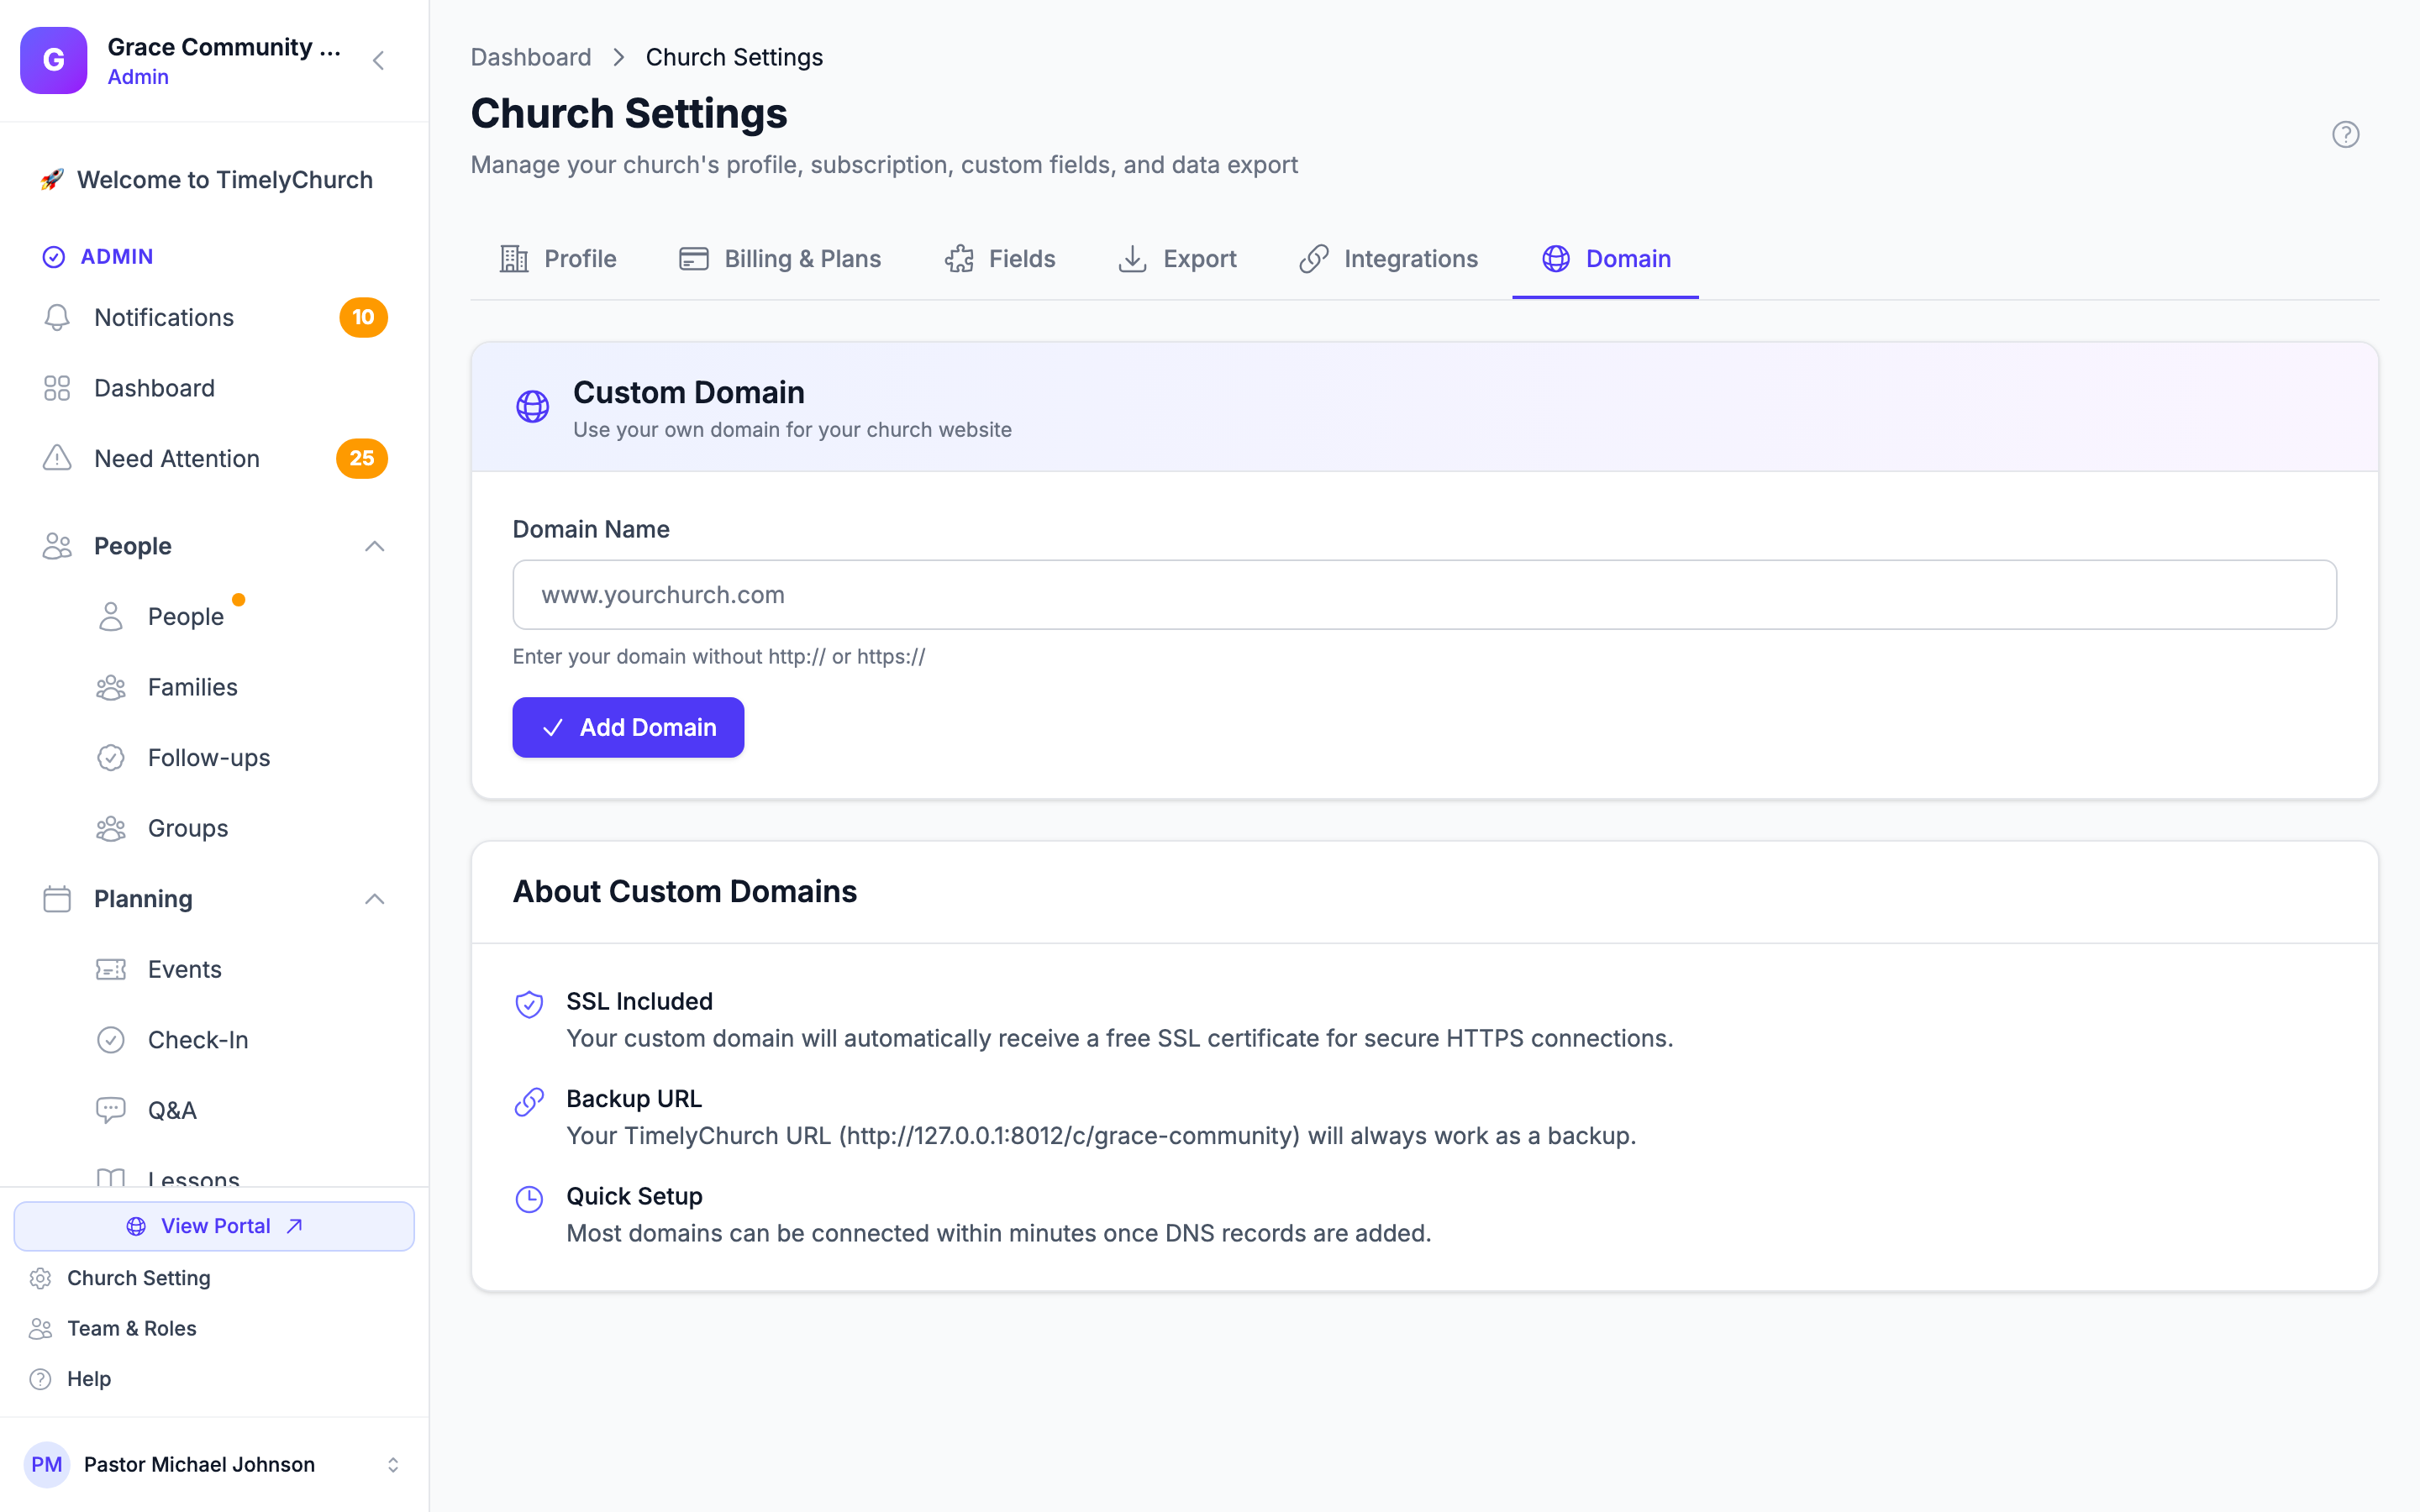
- From the sidebar, click Church Settings.
- Along the top of the settings page, click the Domain tab. (The settings tabs are Profile, Subscription, Custom Fields, Export, Integrations, and Domain.)
- If your church is on Pro, you'll see the Custom Domain panel with a Domain Name field. If you're on a lower plan, the Domain tab appears locked with an upgrade button -- upgrade to Pro to continue.
Step 3: Add Your Domain
- In the Domain Name field, type
yourchurch.com(lowercase, nohttp://orhttps://, no trailing slash). - Click Add Domain.
Once you save, TimelyChurch marks the domain as Pending Verification and reveals a DNS Configuration section with a unique verification token. The token looks something like aB3cD7eF9gH2iJ4kL6mN8oP1qR3sT5uV. You'll use it in Step 4.
If you ever change the domain later, the button reads Update Domain and a fresh verification token is generated.
Step 4: Add DNS Records at Your Registrar
Now go to your domain registrar's DNS panel and add two records: a TXT record for verification and a CNAME record (or A record) for traffic. The exact values are shown in the DNS Configuration section on the Domain tab -- copy them from there.
Record 1: TXT Record (Verification)
This proves to TimelyChurch that you control the domain.
| Field | Value |
|---|---|
| Type | TXT |
| Host / Name | _timelychurch |
| Value | The verification token shown on the Domain tab (e.g., aB3cD7eF9gH2iJ4kL6mN8oP1qR3sT5uV) |
| TTL | Default (usually 300 or 3600) |
Why the underscore name? TimelyChurch checks the TXT record at
_timelychurch.yourchurch.com. The_timelychurchpart is what registrars call the "host" or "name" of the record. Most registrars (Cloudflare, Namecheap, GoDaddy) want you to enter just_timelychurchand they auto-append your domain. If your registrar asks for the full hostname instead, enter_timelychurch.yourchurch.com.
If you're not sure, look at how your existing records are entered (e.g., your www record) and follow the same pattern.
Record 2: CNAME Record (Traffic) -- Recommended
This actually points your domain at TimelyChurch's servers.
| Field | Value |
|---|---|
| Type | CNAME |
| Host / Name | @ (or www) |
| Value / Target | custom.timelychurch.com |
| TTL | Default |
If your registrar doesn't support a CNAME at the root (@), use an A record instead:
| Field | Value |
|---|---|
| Type | A |
| Host / Name | @ |
| Value | The server IP shown on the Domain tab (contact support if it isn't displayed) |
| TTL | Default |
Using Cloudflare? Turn the proxy OFF (click the orange cloud so it turns grey -- "DNS only") for these records. TimelyChurch handles SSL for you, and leaving Cloudflare's proxy on will interfere with that.
Step 5: Wait for DNS Propagation
DNS changes take time to spread across the internet. Usually:
- Within 15 minutes, the records are visible to most networks.
- Up to 48 hours in worst cases, especially for older / slower DNS providers.
You can check propagation using a free tool like whatsmydns.net. Search for your domain and check that:
- The CNAME (or A) record points to
custom.timelychurch.com(or your server IP). - The TXT at
_timelychurch.yourchurch.comreturns your verification token.
Tip: Don't keep hitting the verify button before propagation completes. If it fails the first time, take a coffee break, then retry in 15 minutes.
Step 6: Click "Verify Domain"
- Back in TimelyChurch, on the Domain tab, click Verify Domain.
- TimelyChurch checks both records: the TXT for ownership and the CNAME (or A) record for traffic.
- If both match, the status changes to Verified & Active with a green indicator.
- Your public site is now live at your custom URL.
You can now share yourchurch.com with your congregation. The original timelychurch.com/c/your-slug URL keeps working too -- both lead to the same place.
What Custom Domains Affect
Once verified, your custom domain becomes the address for your church's public-facing site, including:
- Your public website pages (home page and other published pages).
- Your public schedule and its calendar (iCal) feed.
- Public links generated within the app point to your domain instead of the
timelychurch.com/c/your-slugpath.
For security and reliable session handling, your custom domain does not take over:
- Member and staff sign-in. Login, registration, and "forgot password" always happen on the main TimelyChurch domain, even when visitors arrive via your custom domain.
- Outbound email "from" addresses. Emails still come from our sending domain.
Your TimelyChurch URL (
timelychurch.com/c/your-slug) always keeps working as a backup, even after your custom domain is verified.
Troubleshooting
"TXT record not found or incorrect."
- Double-check the TXT value -- it must exactly match the verification token shown on the Domain tab (no quotes, no spaces, no extra characters).
- Check the host. The TXT lives at
_timelychurch.yourchurch.com-- the underscore prefix matters. Enter the name as_timelychurch. - Wait longer for propagation. Some registrars cache TXT records aggressively. 30-60 minutes is normal.
- Test it directly: in a terminal, run
dig TXT _timelychurch.yourchurch.com(replace with your domain). You should see the token in the output.
"CNAME or A record not pointing to our servers."
- Confirm your CNAME points to
custom.timelychurch.comexactly (nohttps://, no trailing dot, no slash), or that your A record uses the IP shown on the Domain tab. - Some registrars require a trailing dot (
custom.timelychurch.com.) -- if your CNAME doesn't work, try adding the dot. - If you use Cloudflare, make sure the proxy is off (grey cloud / DNS only) for the record.
- Verify with
dig CNAME yourchurch.com-- the answer should mentioncustom.timelychurch.com.
"Domain verification failed... DNS changes may take up to 48 hours to propagate."
This is the catch-all message we show when one or both records don't verify yet. The records will propagate -- give it more time. If you're still failing after 48 hours, contact support and we'll inspect the DNS from our side.
Verified but visitors see "site not secure" / no HTTPS.
After verification, our infrastructure provisions a free SSL certificate for your domain automatically (and renews it). This usually takes a few minutes. If after an hour you're still seeing certificate warnings, contact support.
My existing website is at www.yourchurch.com -- will the custom domain break it?
It depends on which hostname you point at TimelyChurch. The custom domain only takes over the exact hostname(s) whose DNS records you change. Records you leave untouched keep working. If you only want TimelyChurch on a separate hostname, point that hostname and leave your existing site's records alone.
I changed my mind -- I want to remove the custom domain.
Go to Church Settings → Domain, clear the Domain Name field, and click Update Domain. Your public site returns to the default timelychurch.com/c/your-slug URL. You can also remove the DNS records at your registrar -- they're no longer needed.
I want to switch to a different custom domain.
Enter the new domain on the Domain tab and click Update Domain. TimelyChurch generates a fresh verification token. Add the new TXT and CNAME (or A) records (and remove the old ones), then click Verify Domain.