
Setting Up Online Giving (Stripe Connect)
TimelyChurch uses Stripe Connect to process online donations securely. Your church gets its own Stripe Express account, meaning donations are deposited directly into your church's bank account. This guide walks through every step of the setup process.
Prerequisites
- Online Giving is part of the Giving module, which is a Pro-plan feature. On the Starter or Growth plan, the Giving item in the Finances section of the sidebar appears locked with an upgrade prompt. Upgrade to Pro to unlock online giving. (See Subscription Billing for plan details.)
- To connect, disconnect, or toggle online giving, your TimelyChurch role needs Settings edit permission. (Other finance roles, such as a view-only accountant, can see the connection status but cannot start or change setup.)
- Your TimelyChurch site must be accessible via a public, secure (HTTPS) web address.
- You will need your church's banking information (routing number and account number) and a valid EIN or tax ID for nonprofit verification.
Step 1: Open the Online Giving Setup page
There is no separate menu item for online giving setup. You can reach the setup page from any of these places:
- From your Dashboard, click Set up giving on the Turn on online giving card. (Once giving is active, the same card reads Review last week's giving with a View giving button instead.)
- From the Giving page, click the Activate online giving link next to Add giving. The link is shown only until online giving is active, and only to people who can edit Settings.
- Go to Church Settings > Integrations and find the Stripe - Online Giving card.
- If Stripe has paused your account, your Dashboard shows an Online giving is offline alert with an Open Stripe settings button.
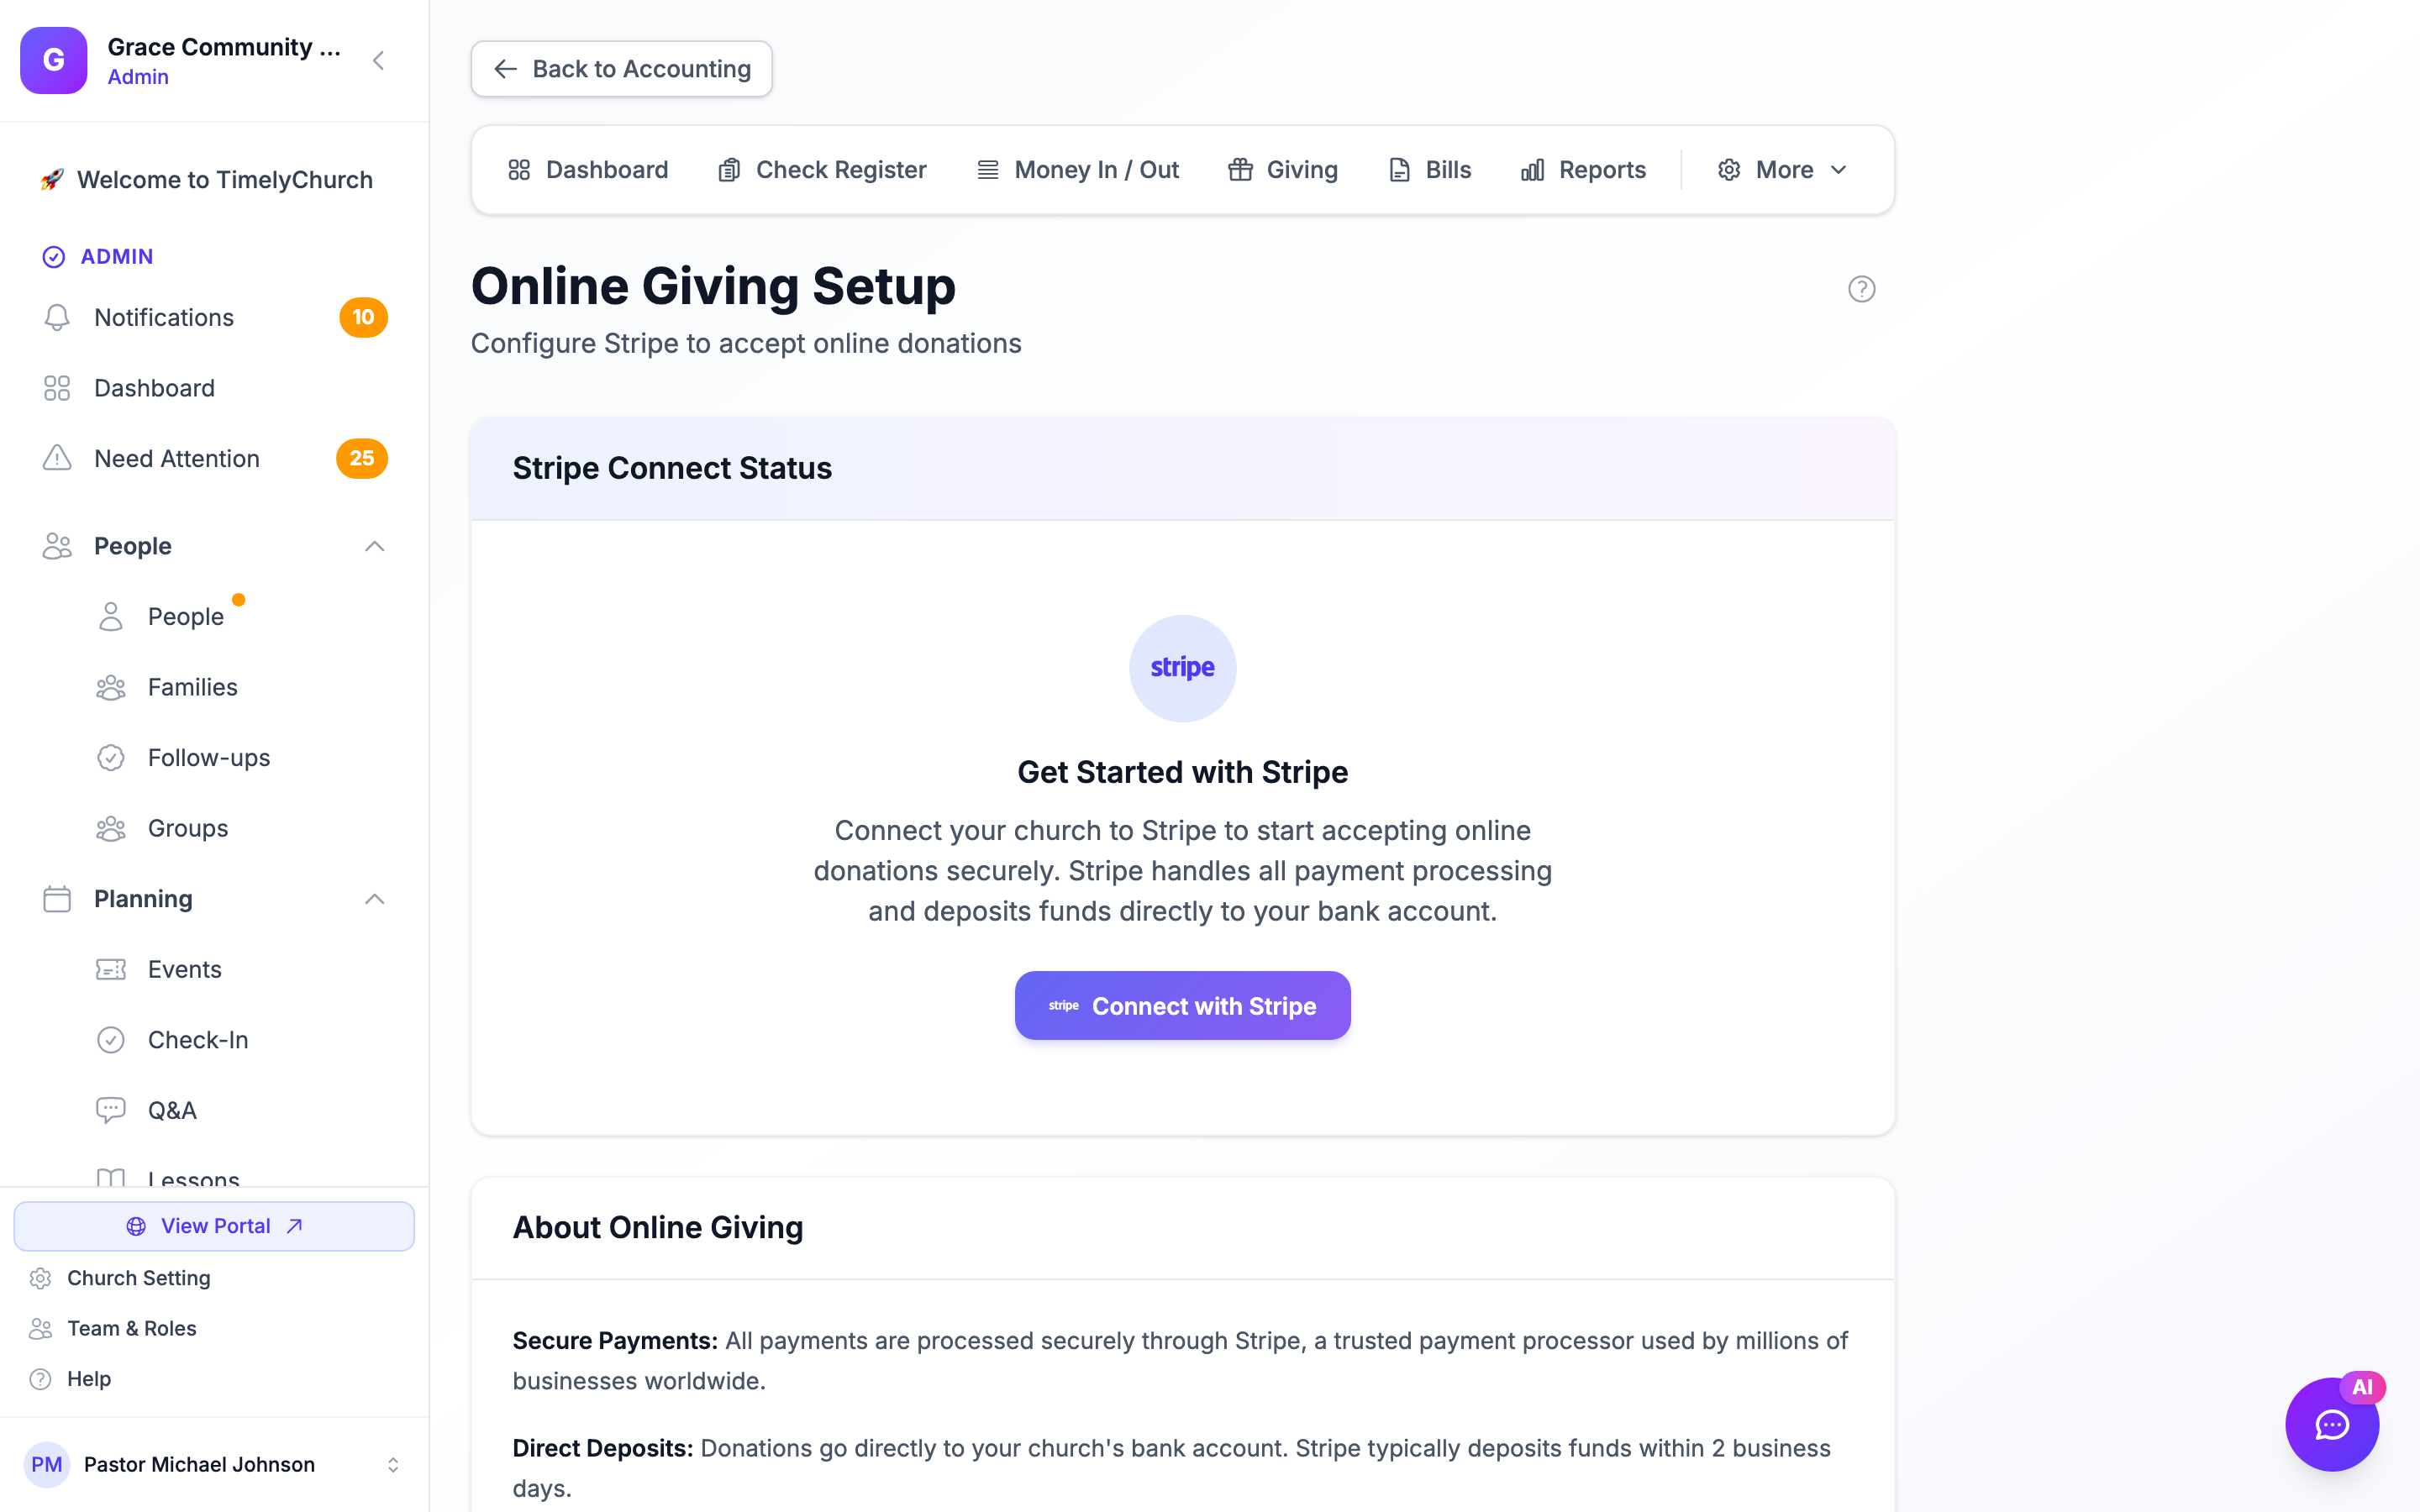
All of these lead to the same Stripe Connect setup. The dedicated setup screen is titled Online Giving Setup. On a church that has not connected yet, you will see a Get Started with Stripe panel.
Click Connect with Stripe to begin (or Continue Setup if you started previously).
Step 2: Complete Stripe Onboarding
Clicking the setup button redirects you to Stripe's secure onboarding flow. During this process, Stripe will ask for:
- Business type -- TimelyChurch sets this up for a non-profit religious organization for you.
- Organization details -- Your church's legal name, address, and EIN/tax ID.
- Bank account -- The account where donations will be deposited.
- Identity verification -- Stripe may ask for personal information from an authorized representative (pastor, treasurer, etc.) for compliance purposes.
Complete all required fields and submit. Stripe reviews the information and typically activates the account within minutes for most churches.
If You Close the Onboarding Early
If you close the browser or navigate away before completing onboarding, TimelyChurch will show a "Continue Setup" button. Click it to resume where you left off. Your progress is saved.
Step 3: Verify Account Status
After returning from Stripe onboarding, TimelyChurch automatically syncs your account status. The setup page shows a status card and a three-item checklist -- Details Submitted, Charges Enabled, and Payouts Enabled -- so you can see exactly what's complete and what's still pending:
| Status | Meaning |
|---|---|
| Active | Your account is fully set up and ready to accept donations. |
| Pending | Stripe is reviewing your information. This usually resolves within minutes. |
| Restricted | Stripe has disabled charges due to missing requirements. Check for outstanding verification items. |
| Rejected | Stripe was unable to verify your organization. Contact Stripe support for details. |
When the card shows Ready to Accept Donations with all three checklist items green (Details Submitted, Charges Enabled, Payouts Enabled), you are ready to accept online donations.
Step 4: Enable Online Giving
Once Stripe is active, turn on the Enable Online Giving switch in the Online Giving card ("Allow members to donate online via your giving page"). This makes your public giving page accessible to donors, and TimelyChurch displays Your Giving Page URL: with a copy button so you can share it.
You can toggle online giving on or off at any time without disconnecting Stripe. This is useful if you need to temporarily pause online donations (e.g., during a website migration).
Managing Your Stripe Account
Accessing the Stripe Dashboard
Once your details are submitted, click Stripe Dashboard from the setup page (or from the Church Settings > Integrations card). This opens Stripe's Express Dashboard where you can:
- View payouts and deposits to your bank account.
- See individual transaction details and fees.
- Update your bank account information.
- Review Stripe's processing fees.
Checking Account Status
TimelyChurch syncs your Stripe account status automatically each time you visit the setup page, so the status card and checklist always reflect the latest state from Stripe.
Processing Fees
Stripe charges a standard processing fee of 2.9% + $0.30 per successful transaction. This is deducted by Stripe, not by TimelyChurch. TimelyChurch does not add any fee of its own on top of donations -- the full gift, minus Stripe's processing fee, is deposited to your church. If you have questions about Stripe's fees or possible nonprofit discounts, contact Stripe support, or reach out to TimelyChurch support for help.
Disconnecting Stripe
Read this carefully before disconnecting. Disconnecting removes the connection between TimelyChurch and Stripe and disables online giving. You can reconnect later, but you should complete or cancel any pending activity first.
If you need to disconnect your Stripe account:
- First, cancel any active recurring subscriptions in your Stripe Express Dashboard. Disconnecting does not cancel them. While disconnected, TimelyChurch will no longer process them, so coordinate any recurring gifts before you disconnect.
- Go to Church Settings > Integrations.
- On the Stripe - Online Giving card, click Disconnect.
- Confirm the disconnection in the prompt.
Disconnecting will:
- Remove the connection between TimelyChurch and your Stripe Connect account (the local connection record is deleted).
- Automatically disable online giving for your church.
- Leave your Stripe Express account itself intact. Disconnecting does not delete or close your Stripe account -- your payout history, bank link, and any open disputes remain in Stripe so you can reconcile them from your own Express Dashboard. If you ever want the Stripe account fully closed, do that deliberately from the Stripe Dashboard or contact support.
Important: Let your recurring donors know that recurring gifts will stop processing through TimelyChurch while you are disconnected. After you reconnect, recurring donors may need to set up a new recurring gift.
If you connected a Standard Stripe account (rare; most churches use Express), the disconnect only removes the link to TimelyChurch -- your Standard Stripe account is preserved. Contact support if you're unsure which account type you have.
Troubleshooting
Account shows "Restricted"
Stripe has found missing or unverified information. Click Continue Setup to re-enter the onboarding flow and address any outstanding requirements. Common issues include missing identity verification documents or an unverified bank account.
"Stripe has paused online giving"
Sometimes Stripe restricts or rejects a church's account after it is already live -- for example, because it needs more information, is reviewing the account, or has rejected it. TimelyChurch checks your Stripe account every day, whenever you open the setup page, and whenever a gift is refused, so it notices quickly.
What your administrators receive. Each church administrator gets one email and one in-app notification per episode, titled Stripe has paused online giving. It explains in plain words why Stripe paused the account -- for example, "Stripe needs more information from you — sign in to your Stripe dashboard to complete the outstanding requirements." or "Stripe's review team rejected the account — you can appeal from your Stripe dashboard." -- and has an Open your Stripe dashboard button.
What donors see. While the account is paused, your Give page shows Online Giving Unavailable ("Online giving is currently not available for your church. Please contact the church office for other ways to give."). A donor who was already partway through a gift, or giving on a campaign page, sees: "This church isn't able to accept online gifts right now. Please contact the church directly or try another way to give." No card is charged.
What to do. Click Open your Stripe dashboard and follow what Stripe asks for, or contact Stripe support from there to appeal a rejection. There is nothing to change in TimelyChurch: once Stripe re-enables the account, online giving switches back on by itself. Meanwhile, let your congregation know how else they can give. If the notice says the account was paused on the platform side, or you need a hand, contact TimelyChurch support.
Donations are not being deposited
If the Stripe card shows a blue note -- "Online giving is live. For your security, your first payout is released after a quick review — usually within one business day." -- your church is newly connected and its first payout is released after a quick review. Gifts are received and recorded normally; only that first payout waits. After the review, payouts follow Stripe's normal schedule. While the review is open, Disconnect is unavailable. If it takes longer than a couple of business days, contact support. See Stripe Connect Setup.
Otherwise, check that both Charges Enabled and Payouts Enabled are showing as active on the setup page checklist. If payouts are disabled, open the Stripe Dashboard to check for any payout holds or verification requirements.