
Using Wristbands at Camps & Events
This article covers day-to-day use once wristband check-in is turned on for a session. If you haven't set up the hardware or the session setting yet, start with Set Up Wristband Check-In.
At Arrival: Check In and Assign a Band
Check the child in exactly like you would any other day — by phone number, name search, or a pre-check QR code. Nothing about that first step changes.
On the confirmation screen, you'll see two buttons: Print Labels, which works as it always has, and Assign band. Tap Assign band, then hold the wristband up to your reader. The screen confirms the band is linked ("Band assigned to [child's name]"), and you're done. Assigning a band is optional and doesn't block or slow down the check-in itself — it's a second action on the same screen, not a separate step.
![The kiosk's "Assign band" modal reading "Tap the band for [child's name]" and "Hold the wristband to the reader," with the scanner actively listening.](/images/knowledgebase/articles/check-in/16-wristband-checkin-at-camps-0.png)
Once a real band is tapped, the screen confirms it immediately — including the full tag number, so you can double-check it matches the physical band in your hand.
![The kiosk's "Band assigned" confirmation, showing "Band assigned to [child's name]" with the tag's raw ID number underneath.](/images/knowledgebase/articles/check-in/16-wristband-checkin-at-camps-1.png)
You can also assign or replace a band later from the admin side — open the session's Attendance List or the Classroom Roster, and tap a child's row (or their existing band chip) to open the same assign flow.
At Every Meal or Activity: Just Tap
This is where wristbands save the most time. If you run a separate check-in session for each checkpoint — a lunch line, an activity rotation, a pool entrance — turn on This session uses wristbands for that session too (see the setup article), then simply leave the kiosk on its idle screen. A child taps their wristband to the reader and TimelyChurch checks them into that session automatically — no button to press, no screen to navigate, no name search or phone number. The child's name and a checked-in confirmation appear on screen instantly, and the session's headcount updates live. If the child already checked into that particular session, tapping again just confirms "already here" instead of creating a duplicate.
The roster (whether the Attendance List on the session page or the Classroom Roster view) shows a small tag chip with the band's last four digits next to each person who has one assigned, so staff can see at a glance who's wearing a band.
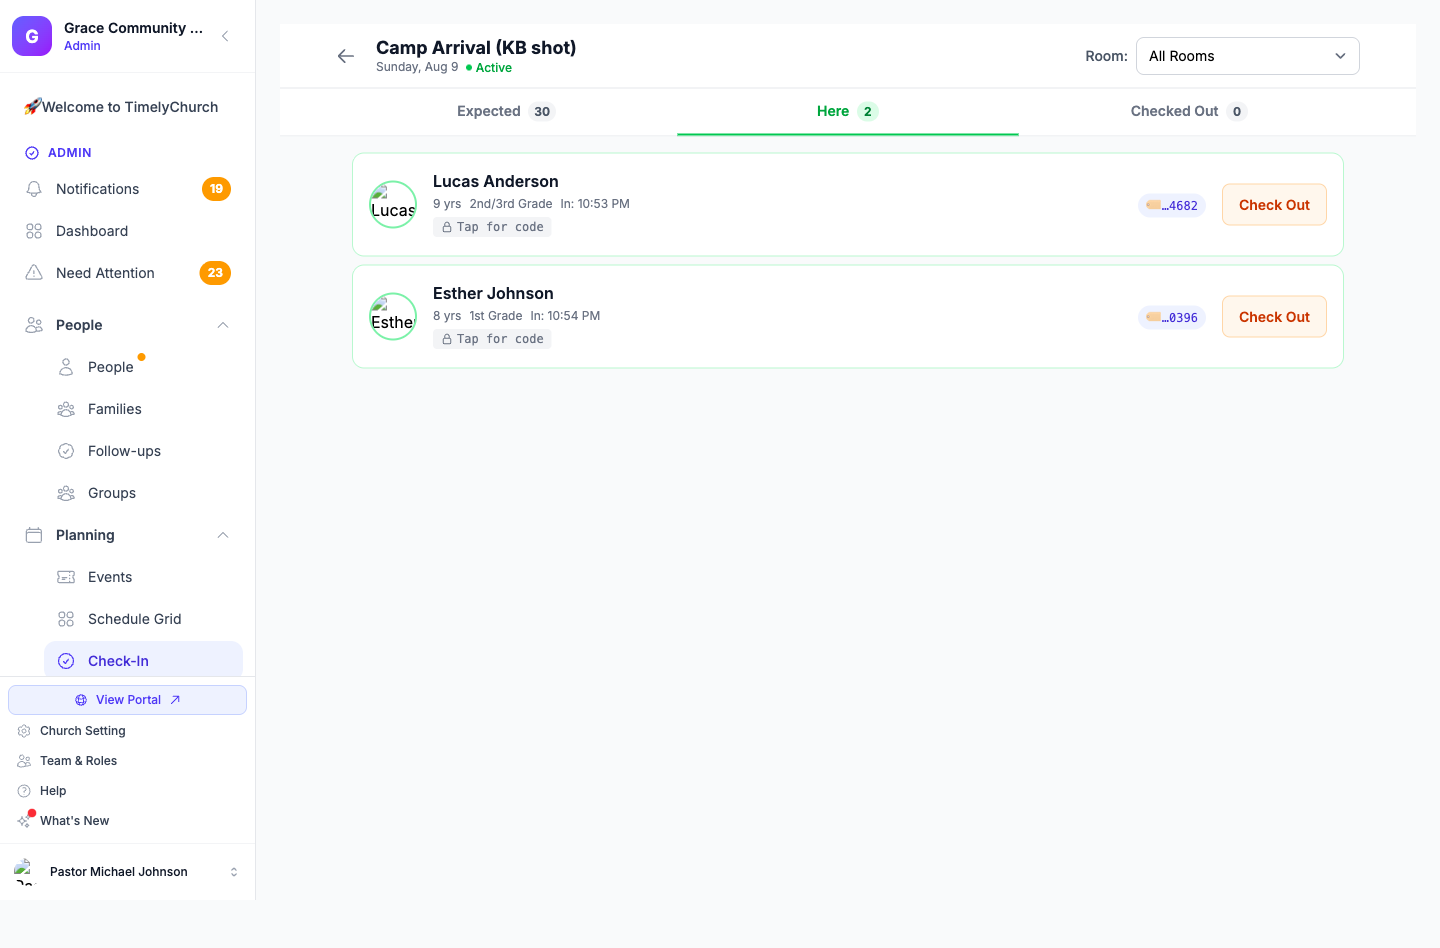
Remember: this only works across days and across checkpoints when every session involved shares the same linked event — see the setup article's note on multi-day camps.
Checkout: Collect the Band or Keep It
When a child with an active band is checked out, staff are asked what to do with the band:
- Release & collect — deactivates the band immediately so it can go back in the box and be reused right away for someone else.
- Keep for next check-in — leaves the band active and linked to that child, so it keeps working the next time they arrive (the next day of a multi-day camp, for example).
Checkout always succeeds either way — this choice only decides whether the band binding itself is deactivated, never whether the child is checked out.
If a Band Is Lost
Kids lose things, especially at camp. To fix it:
- Find that child on the Attendance List or Classroom Roster (or check them in again if they haven't arrived yet).
- Tap their existing band chip (or Assign band if they don't have one yet). If they already have a band, you'll first see who it's assigned to and a Replace band button — tap that to continue.
- Hold the new wristband to the reader.
The old band is deactivated the instant the new one links — there's no separate "unassign" step and nothing to remember to undo. If the old band turns up later and someone taps it, it resolves to nothing; it's already inactive. If the tapped band is currently active on a different person, TimelyChurch stops and asks you to confirm before reassigning it — it never silently strips a band off whoever is wearing it.
End of Camp: Release All Bands
When the event wraps up, open any wristband-enabled session tied to that event and find the Wristbands card, which shows how many active bands remain for the event. Click Release all bands, type RELEASE to confirm, and every active binding for that event is deactivated at once. Check-in history isn't affected, and any band can be reassigned right away for the next camp.
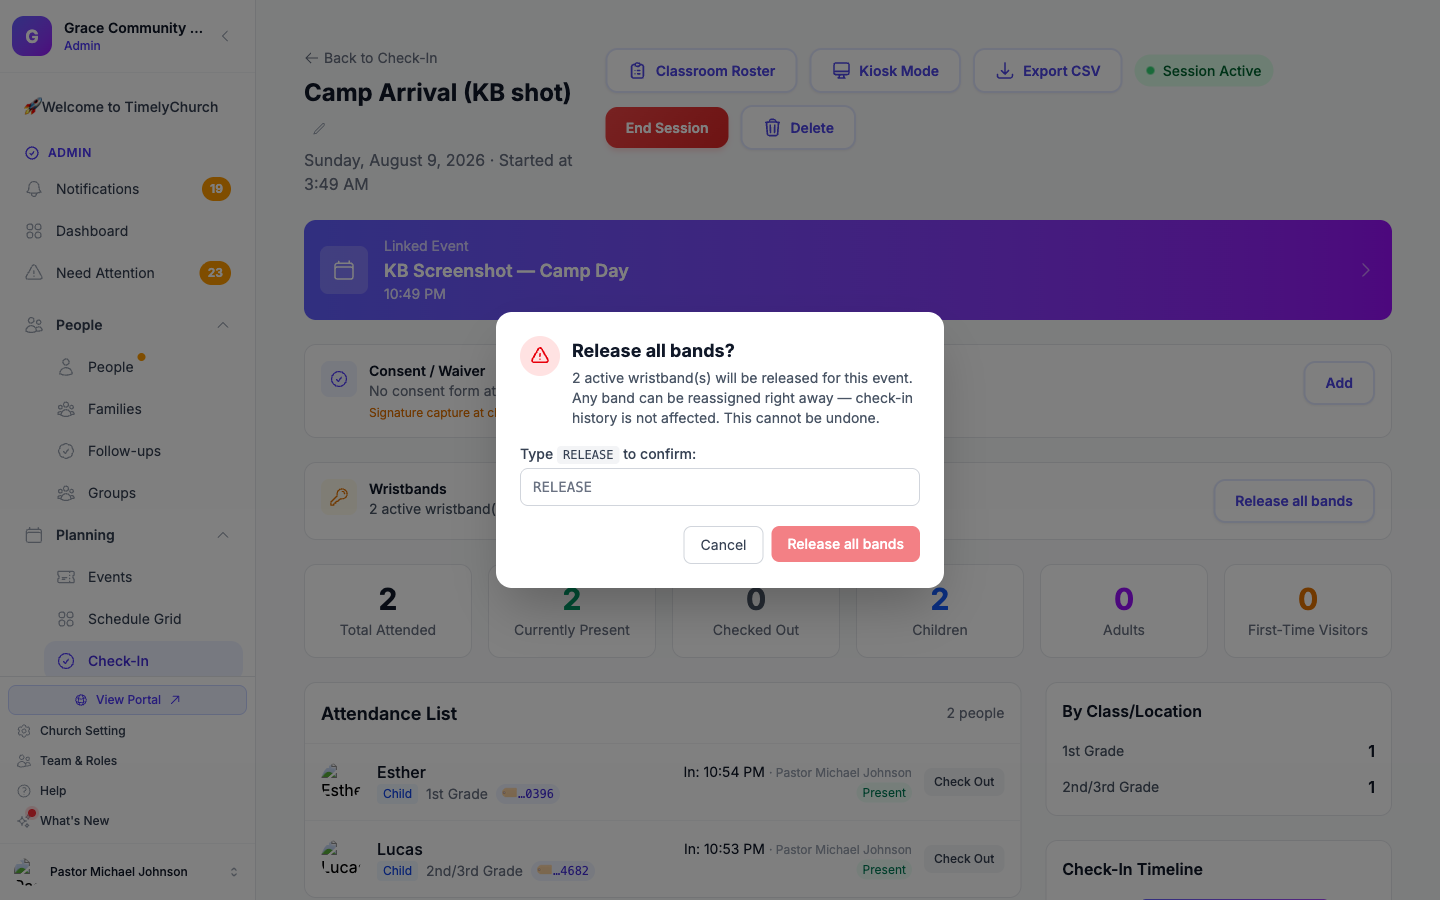
This button only appears for sessions that (a) have wristbands turned on, (b) are linked to an event, and (c) for staff with the Check-In management permission — a standalone session (no linked event) has no bulk-release button, since release-all works at the event level. If you're not running a formal event for a one-day wristband session, individual bands still deactivate automatically the moment they're reassigned to someone else, so there's nothing that gets "stuck."
Frequently Asked Questions
What if a wristband is found in a parking lot or left behind after camp? It carries no information at all — just a meaningless factory ID number. The only place that number means anything is inside your church's TimelyChurch account. A found band tells a stranger nothing about the child who wore it.
Can the same wristbands be reused across different events, or even different churches? Yes. The physical band isn't tied to any one church or child permanently — it's just a number that gets linked and relinked as needed. There's nothing church-specific stamped on the band itself.
Does the system ever write anything to the band? No, never, on purpose. TimelyChurch only ever reads the band's factory ID. This keeps a lost band from carrying any usable information, even a check-in code.
Can a child be checked into more than one session with the same band? Yes. A band is linked to a child (within one event), and that link is what a tap looks up — so if a child is part of multiple sessions under the same event (for example, "Camp Arrival" and "Monday Lunch"), the same wristband works for all of them, as long as each of those sessions also has wristbands turned on.
We also use QR pre-check-in codes — do wristbands conflict with that? No. Both use the same "type like a keyboard" scanner input on the kiosk, and they don't interfere with each other. A family can pre-check-in with a QR code, check in normally, and still be assigned a wristband at the same visit.