
Creating Events
Learn how to create a new event in TimelyChurch, including setting dates, locations, event types, and optional features.
Navigating to Events
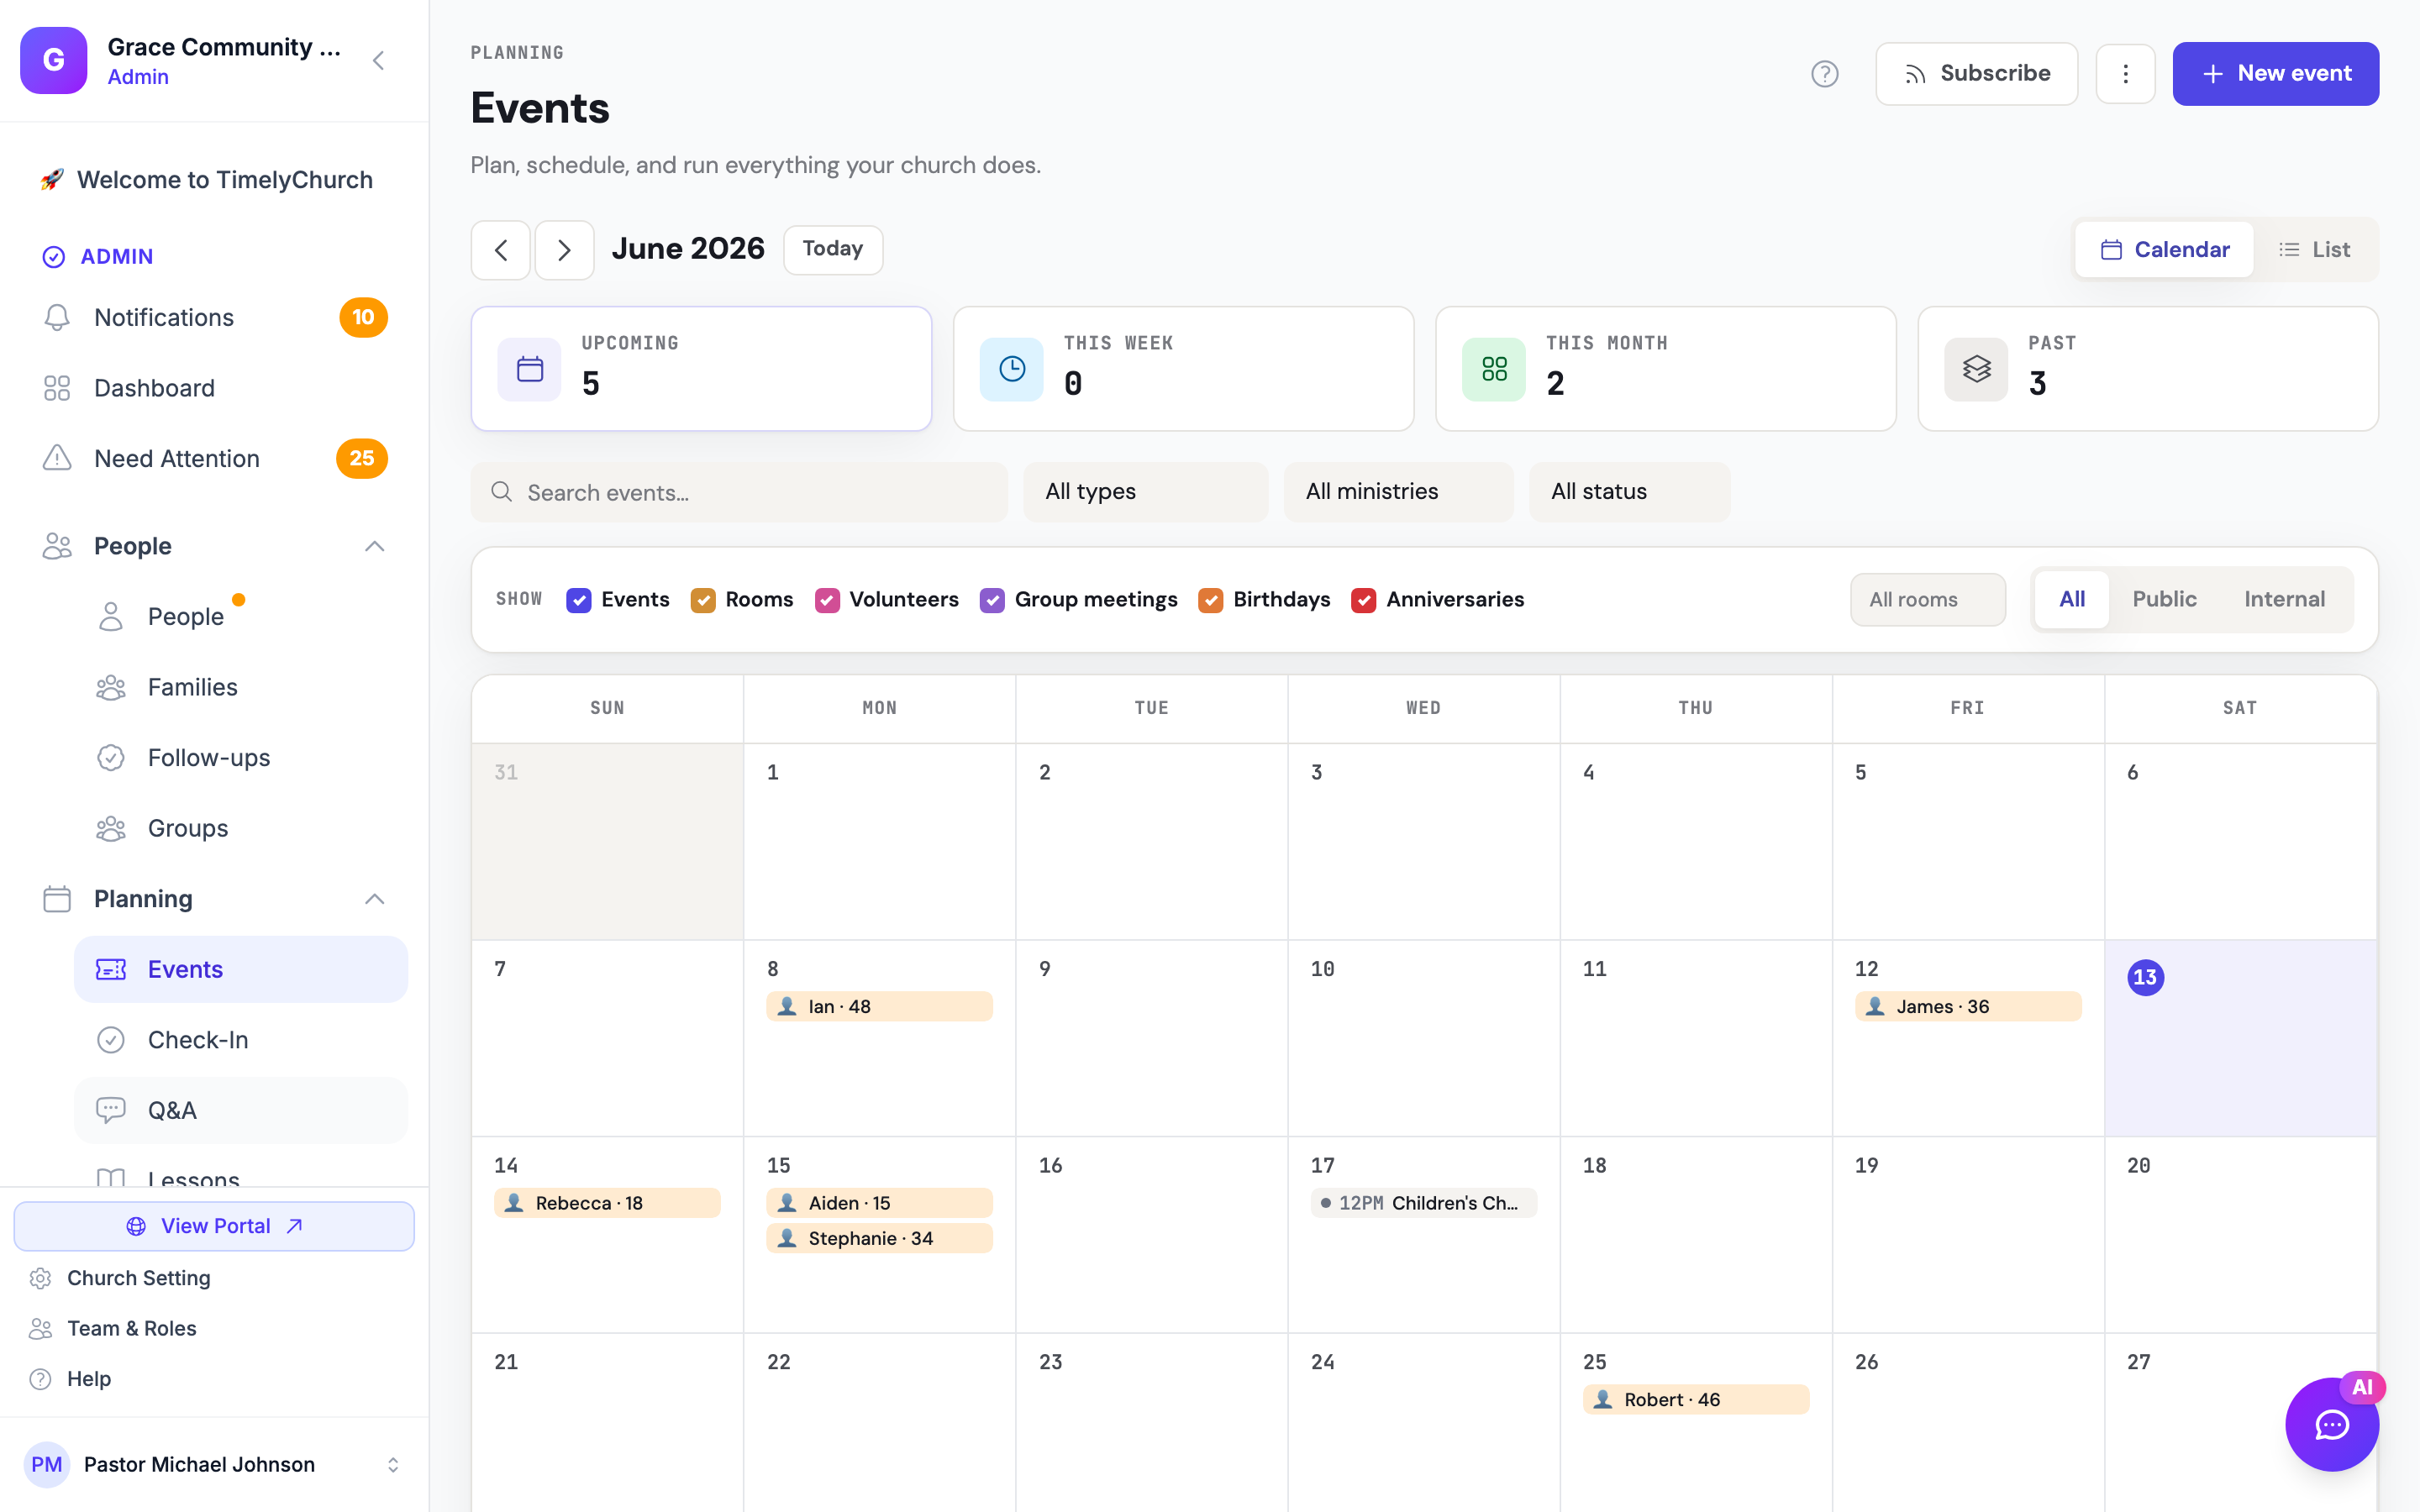
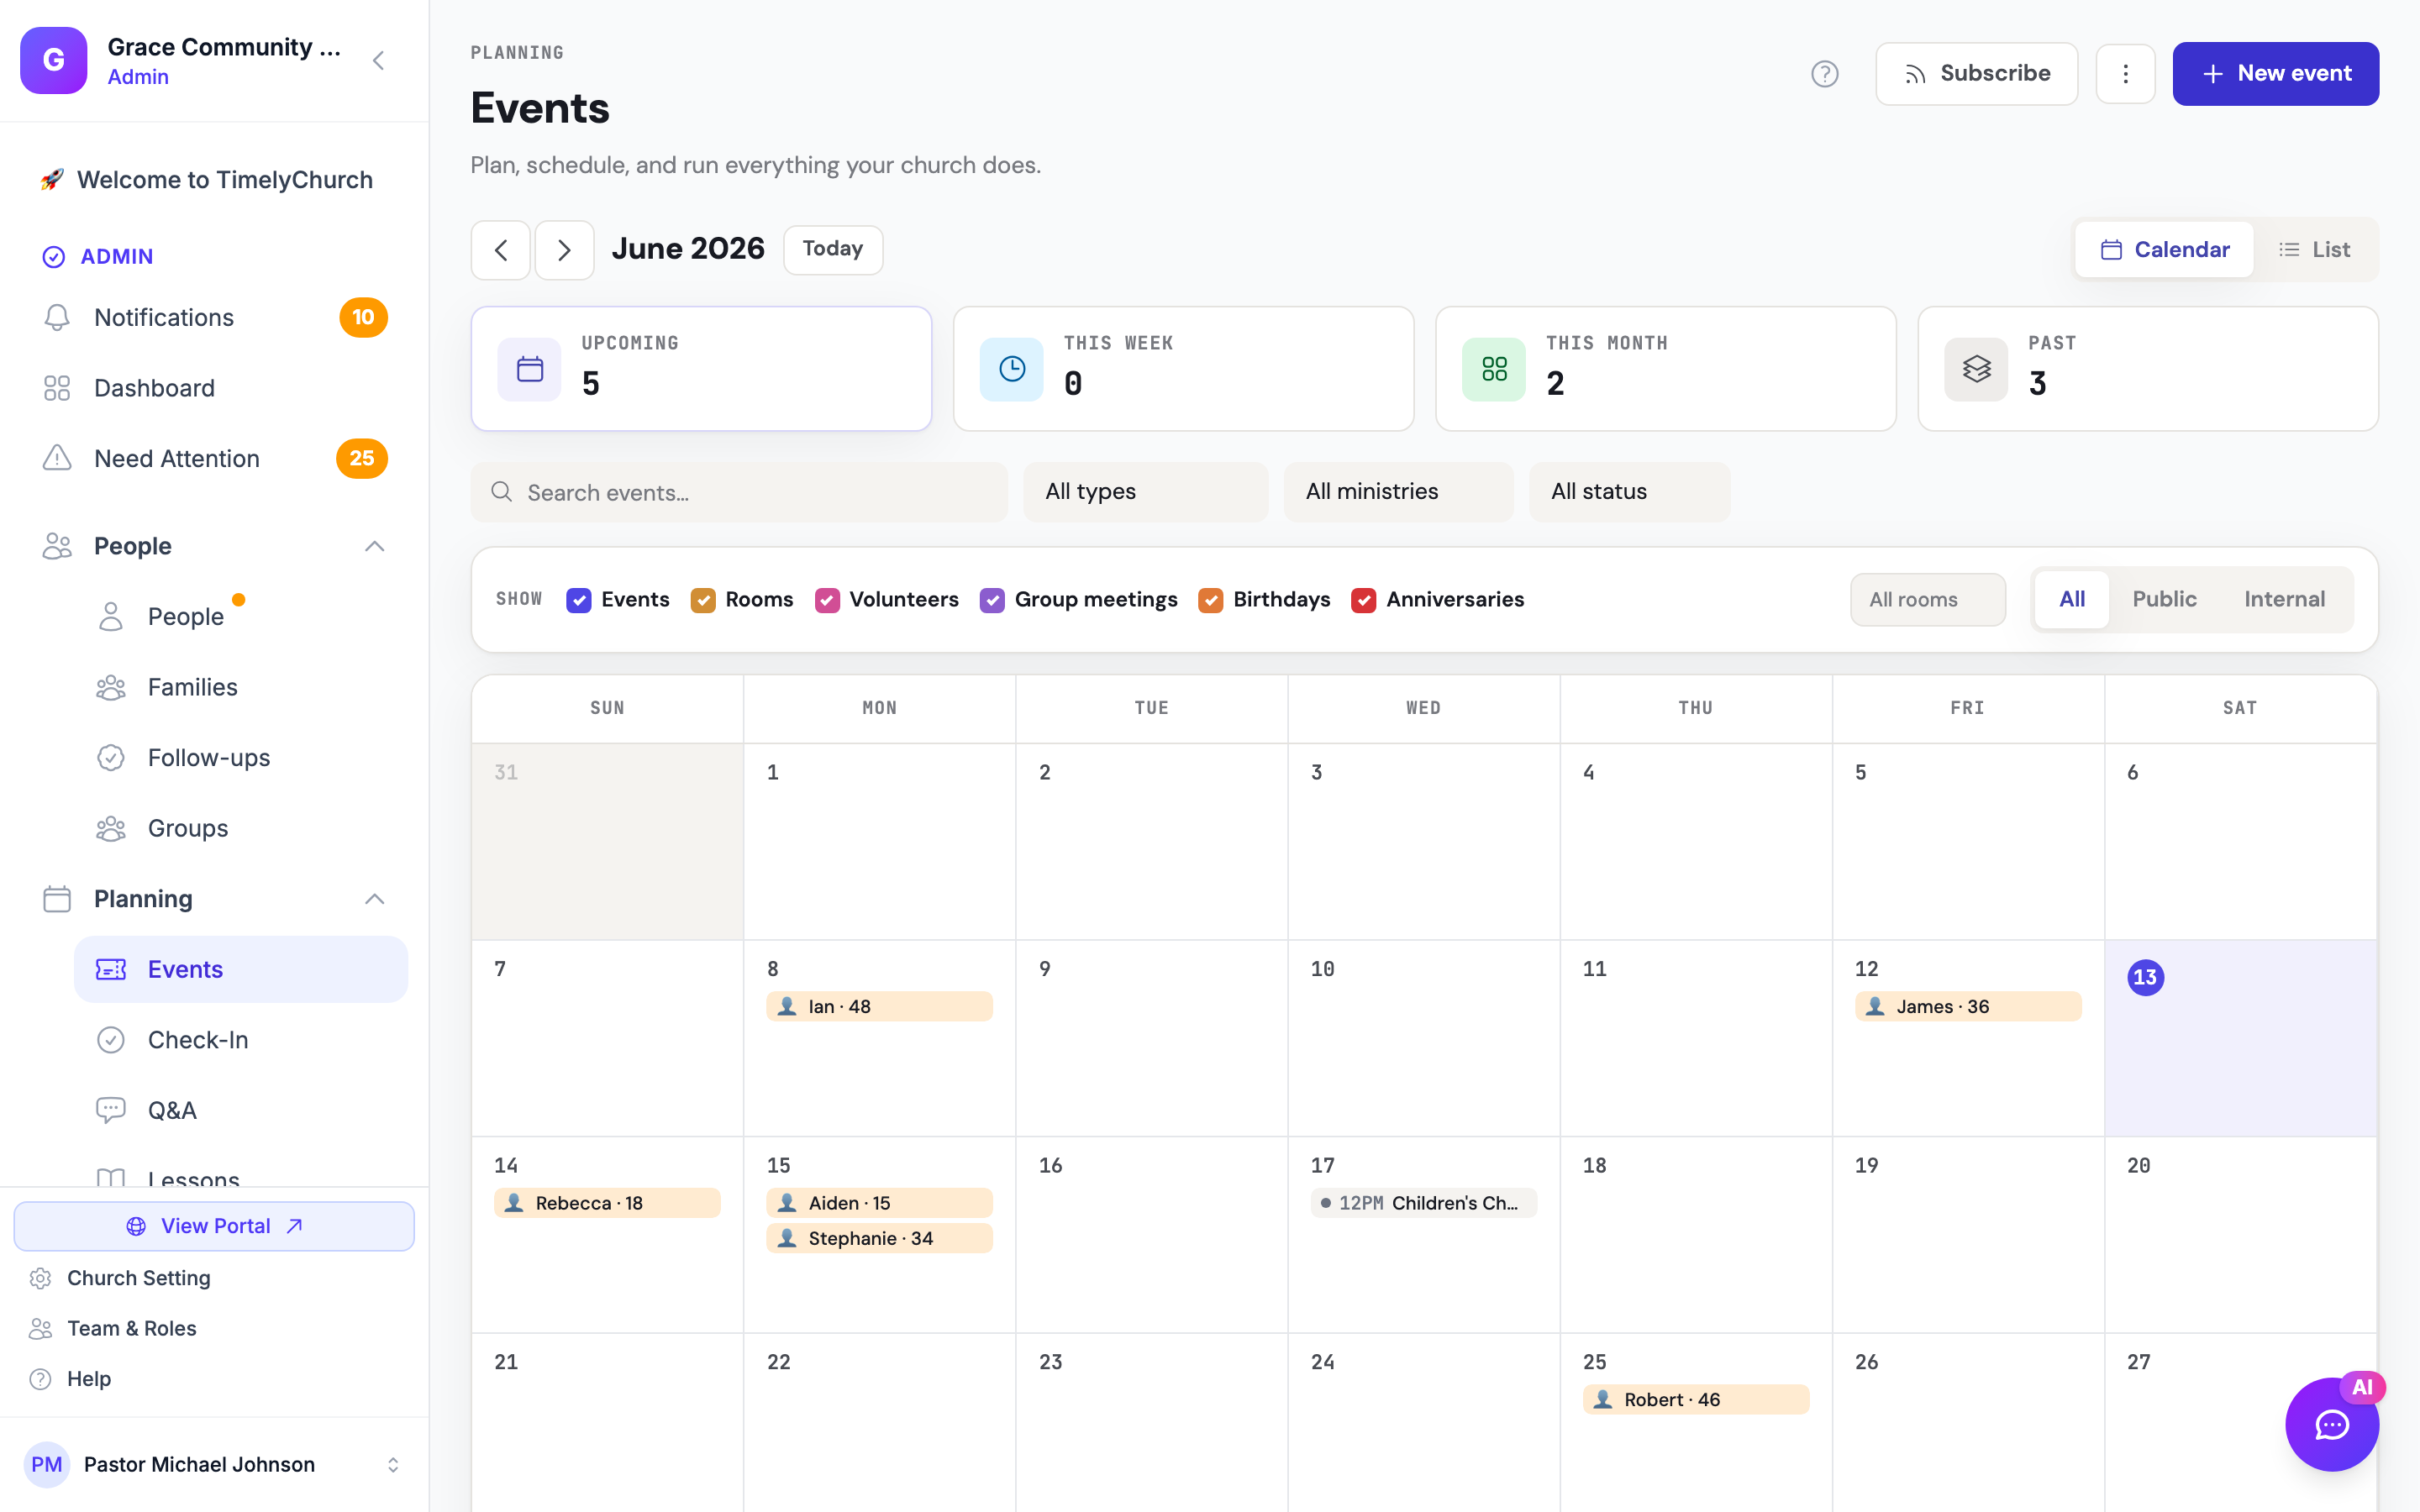
- From your admin dashboard, click Events in the left sidebar (under Planning).
- The Events page opens. At the top you will see stats cards for Upcoming, This week, This month, and Past events. (Your church's calendar is unified into this page — there is no separate Calendar sidebar entry.) The toolbar holds Subscribe, Schedule Grid, a More menu (Event Series, Templates, Event Types, and Linked calendars), and New event.
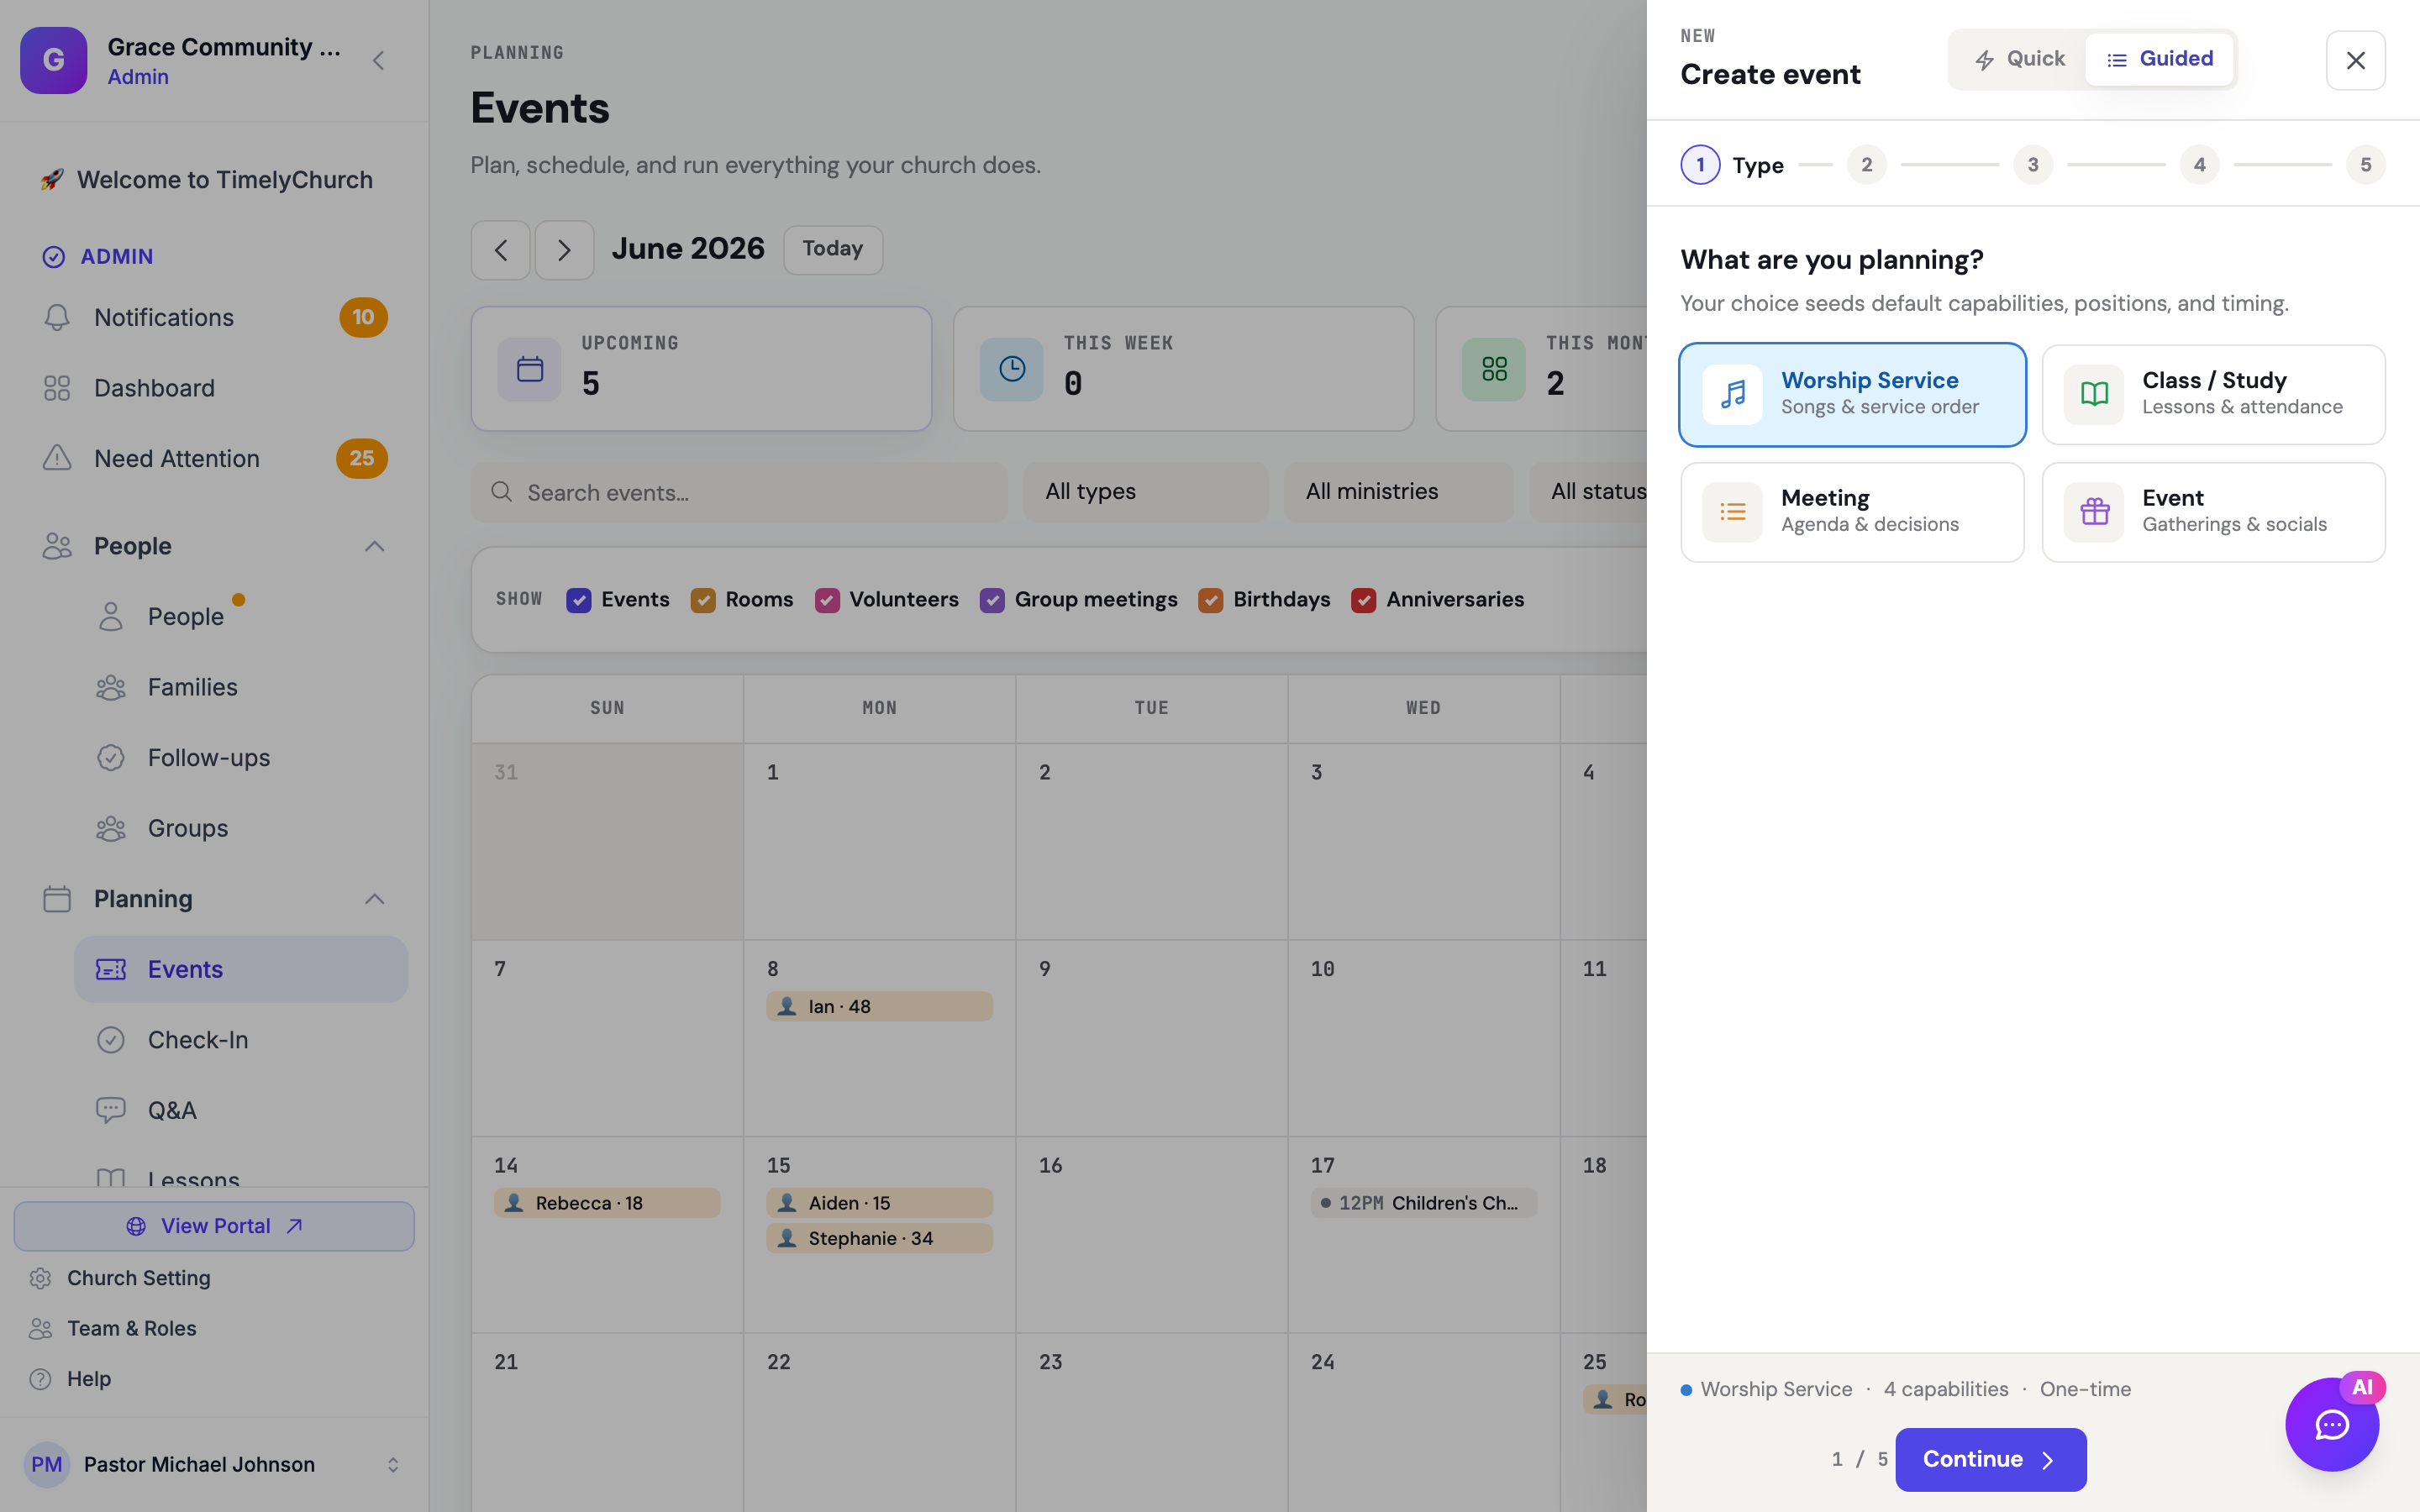
- Click the New event button to open the Create event drawer — a panel that slides in from the right (on phones it slides up from the bottom).
Tip: You can also click any empty day on the calendar view to open the Create event drawer with that date already filled in.
Quick mode vs. Guided mode
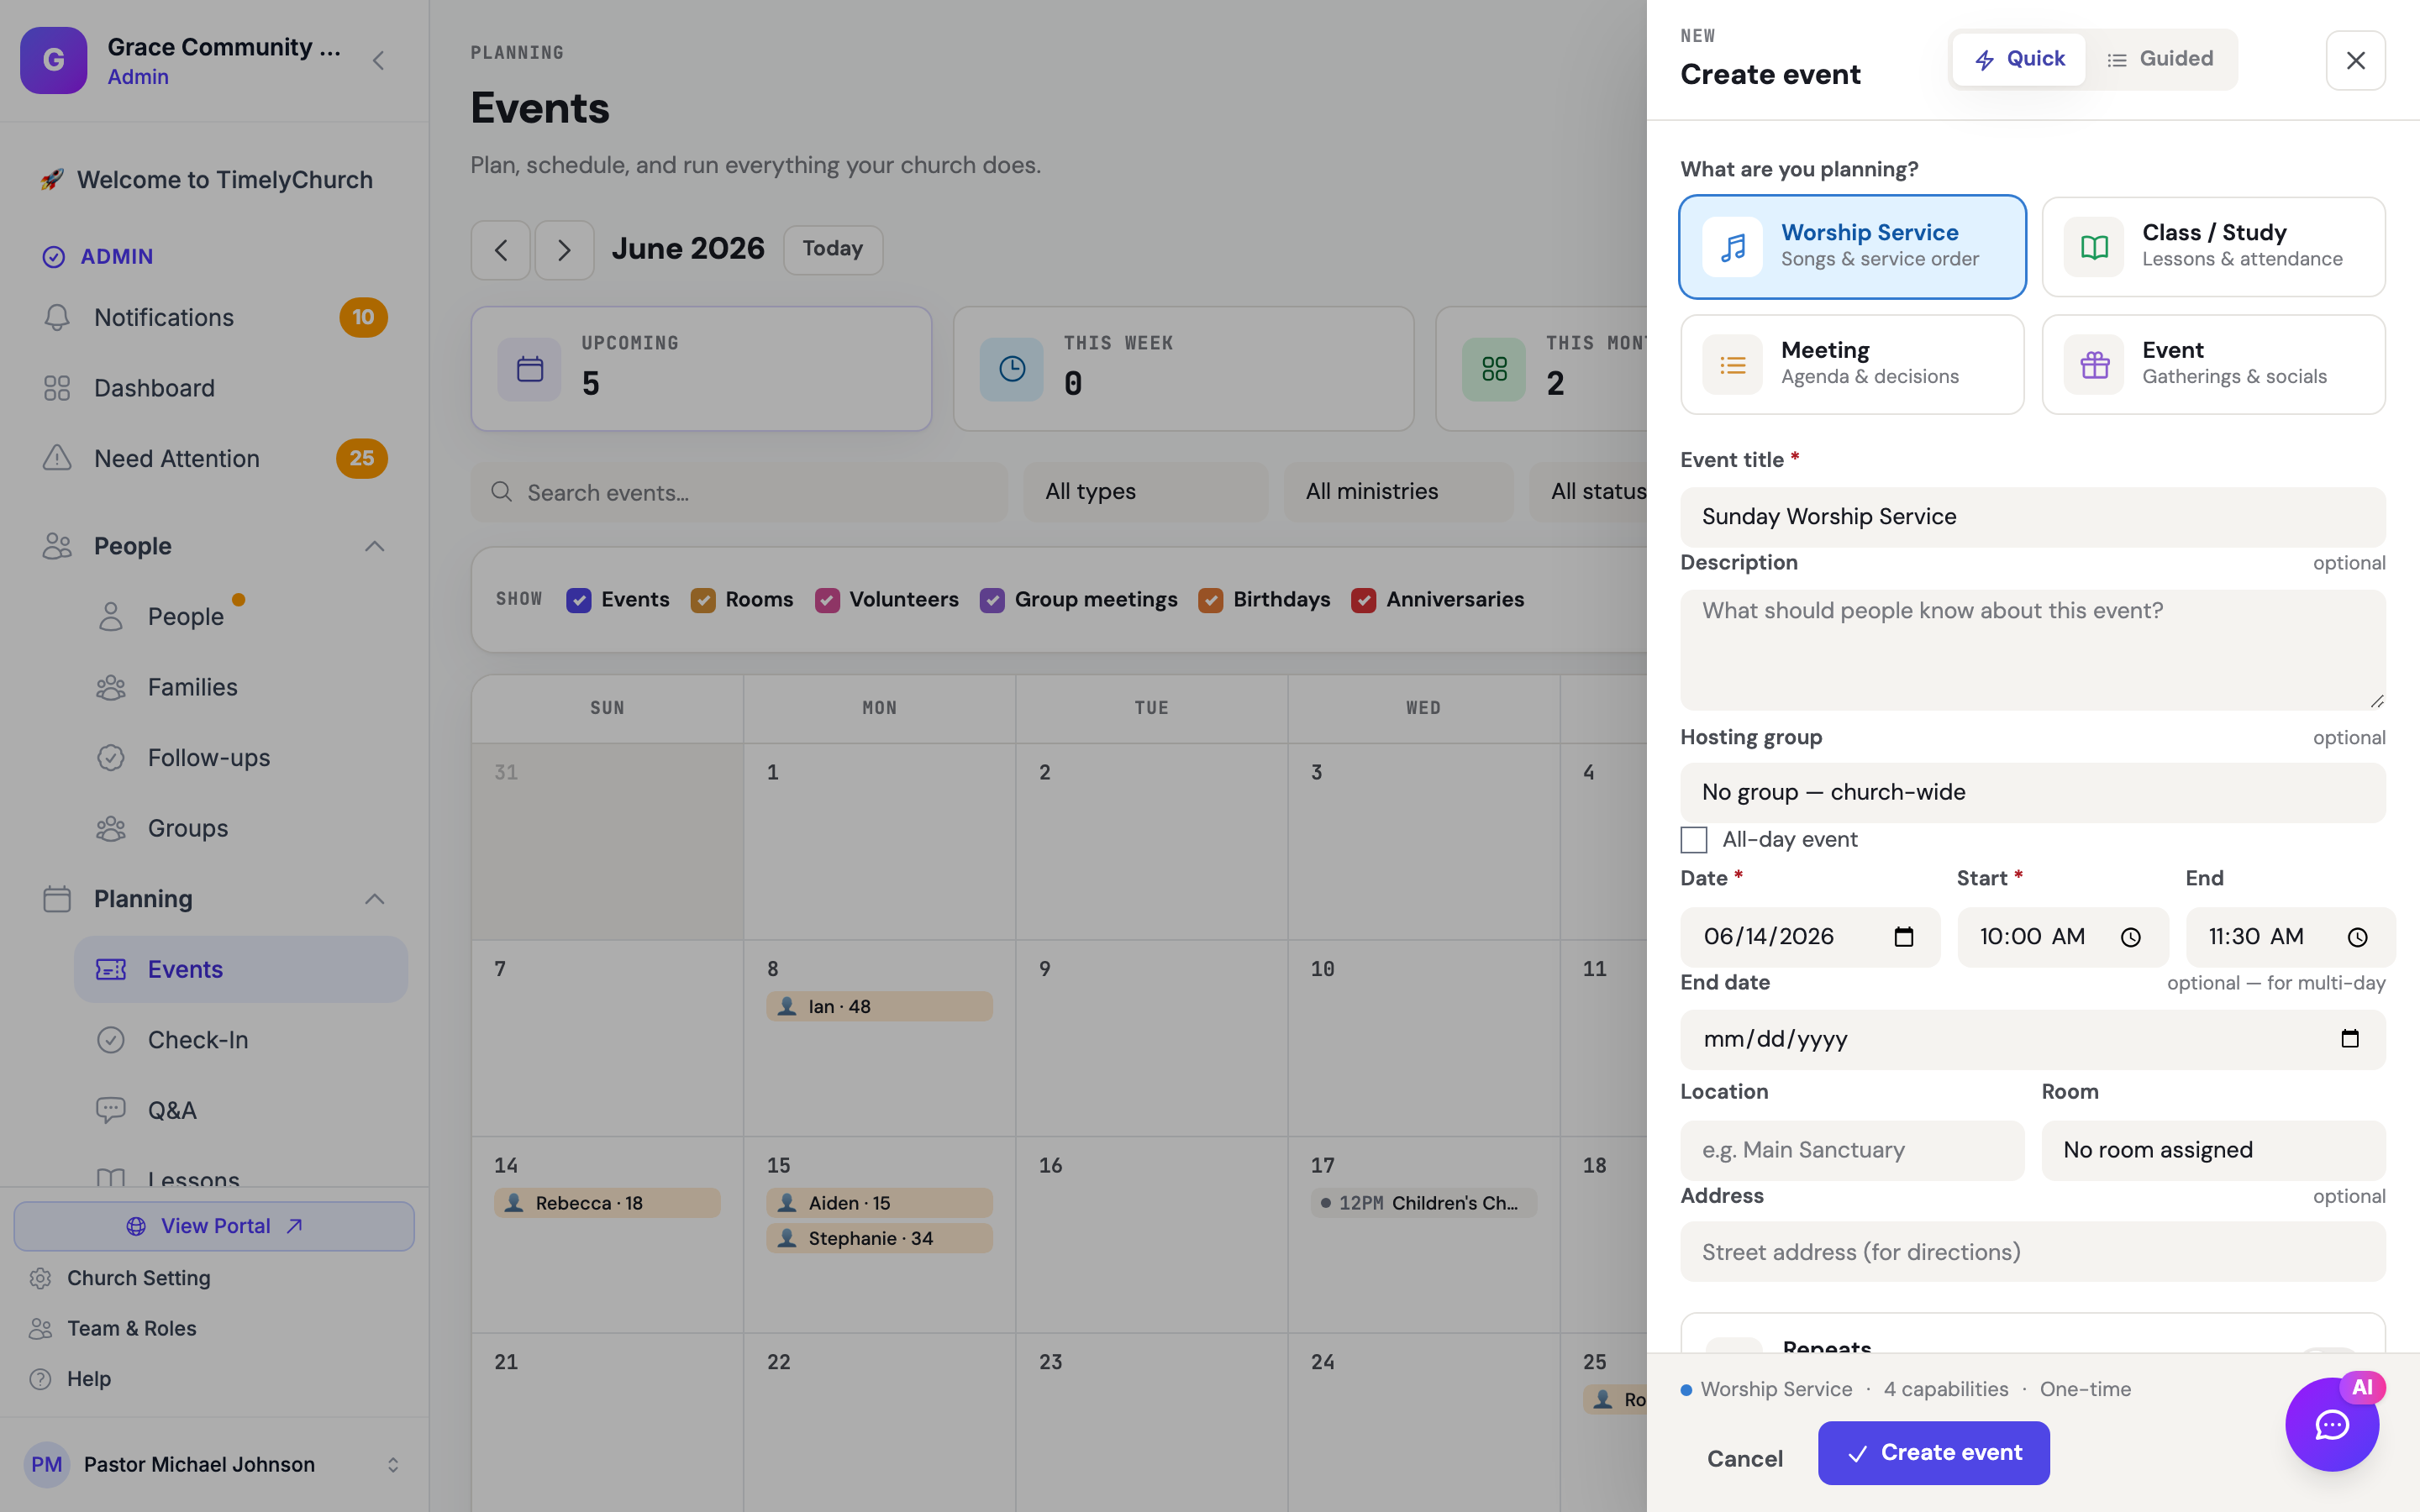
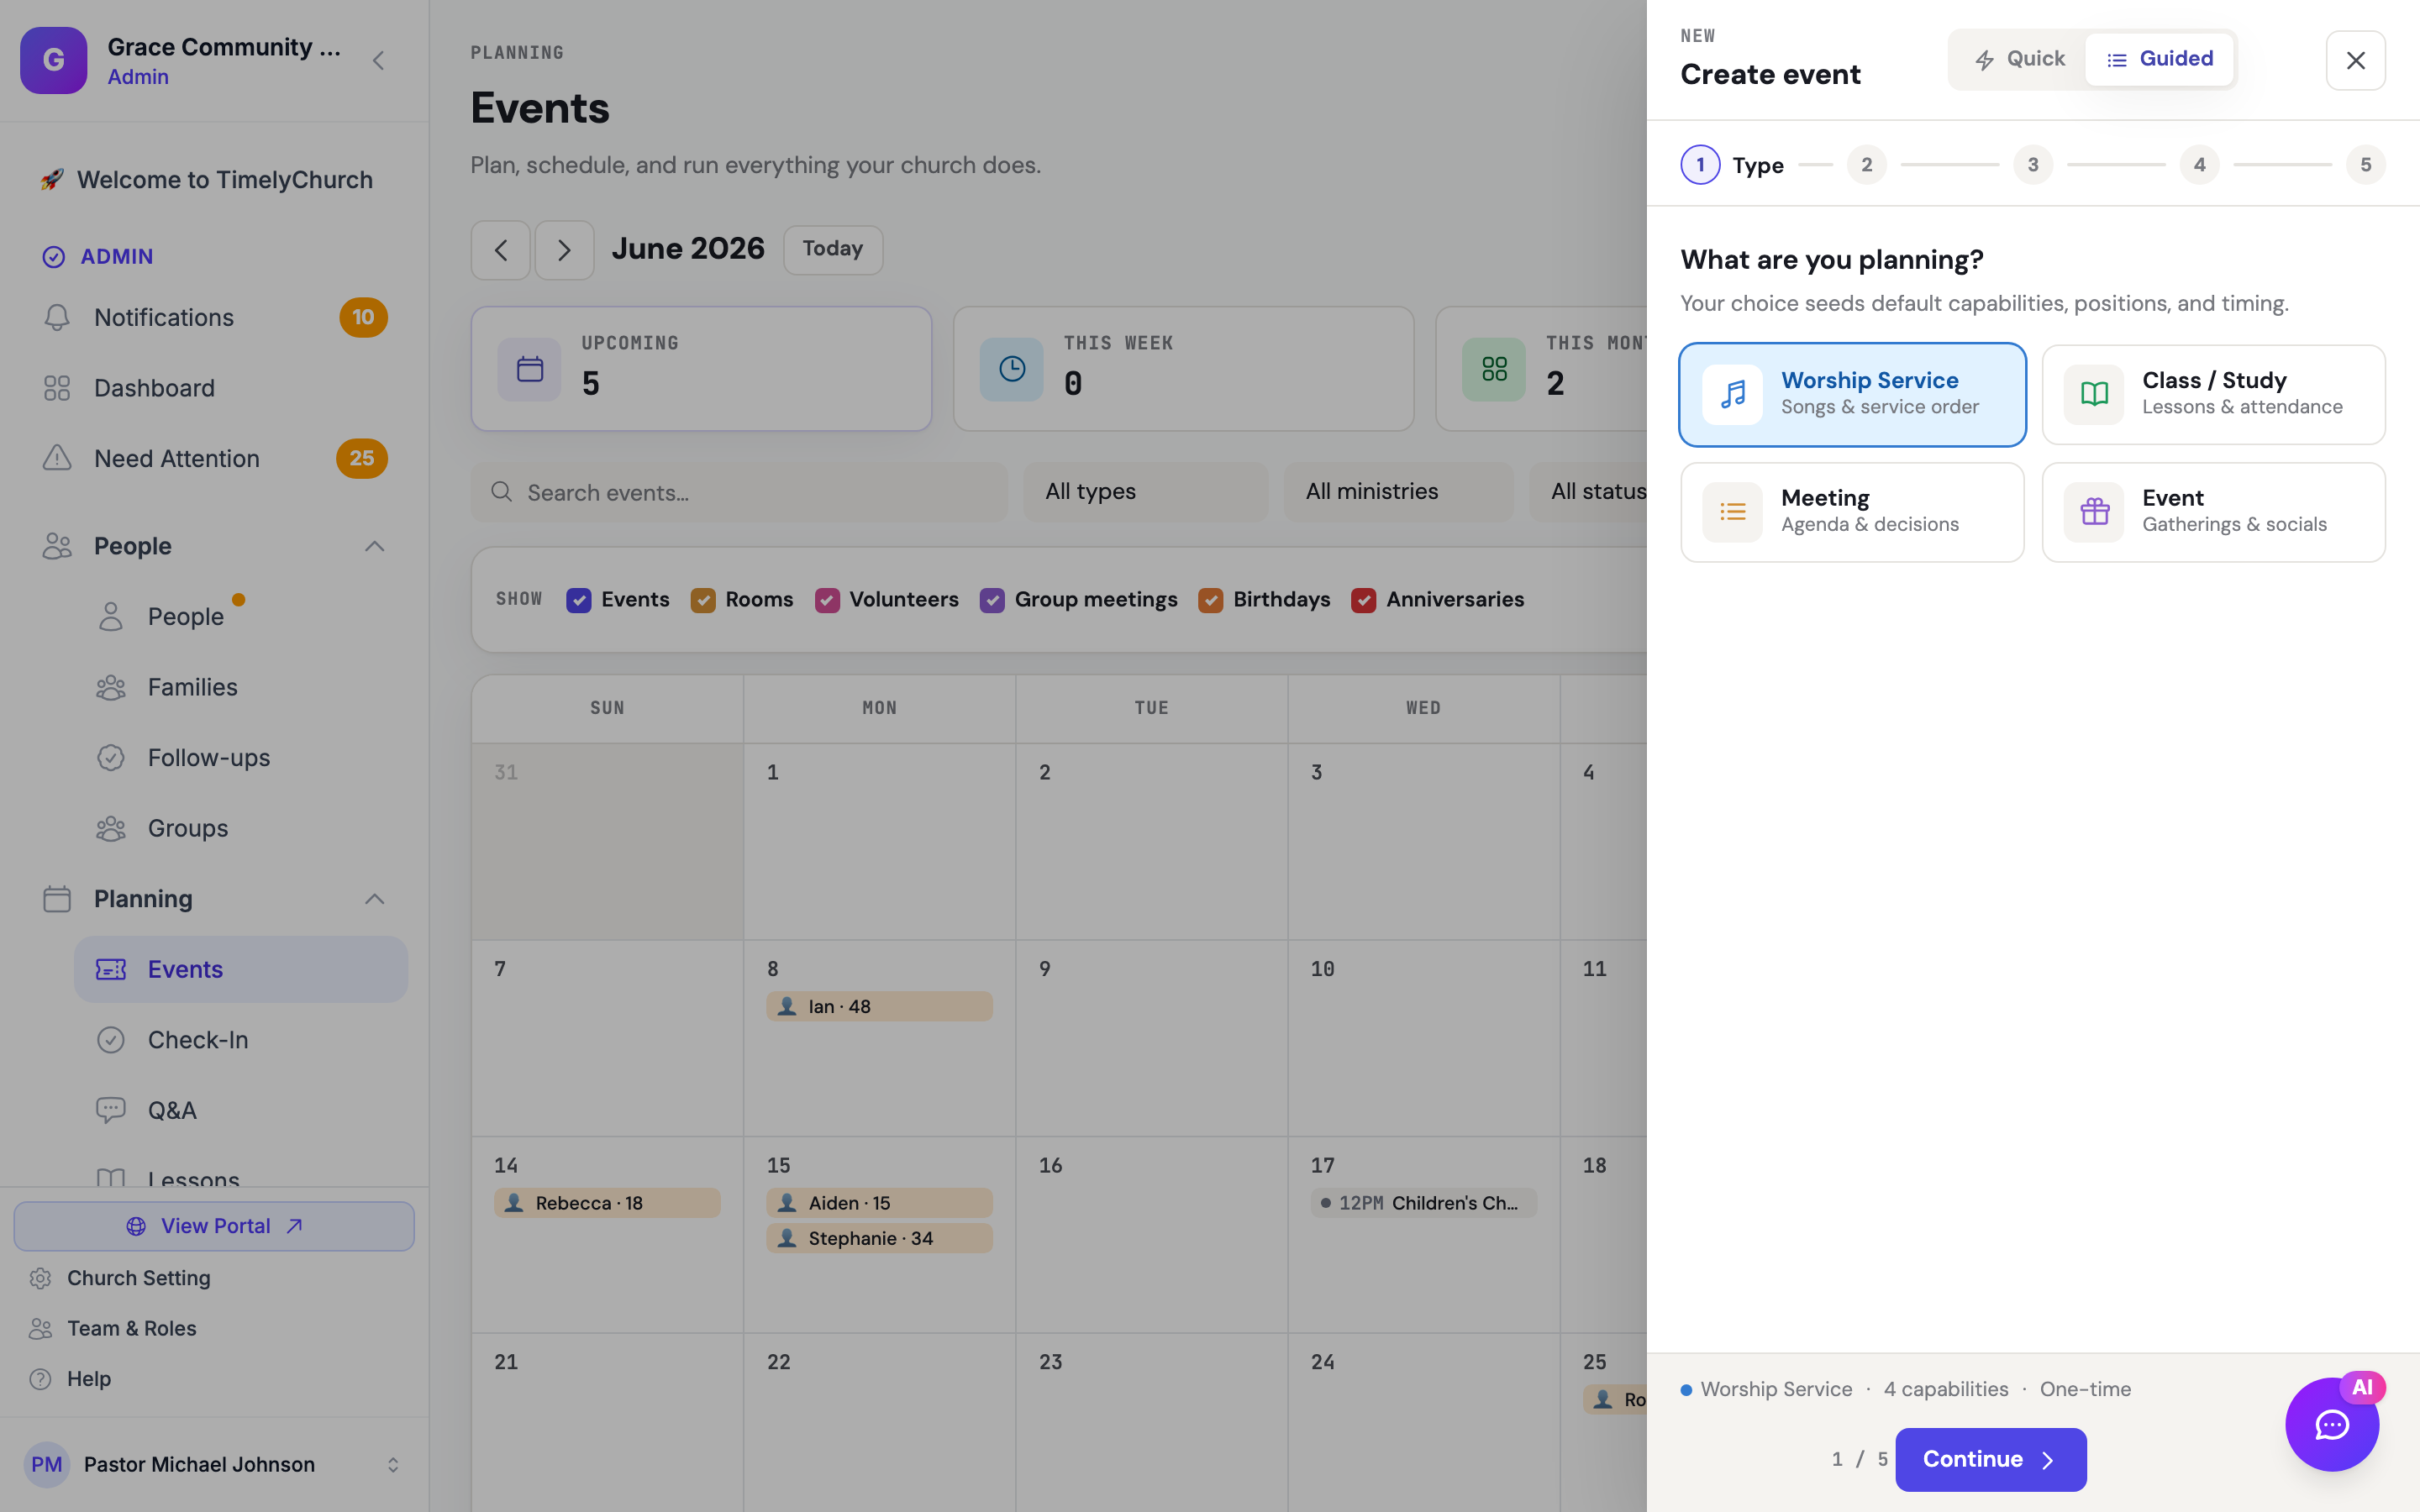
At the top of the Create event drawer there is a Quick / Guided toggle:
- Quick -- One scrolling form with everything on a single screen. Best when you know what you want.
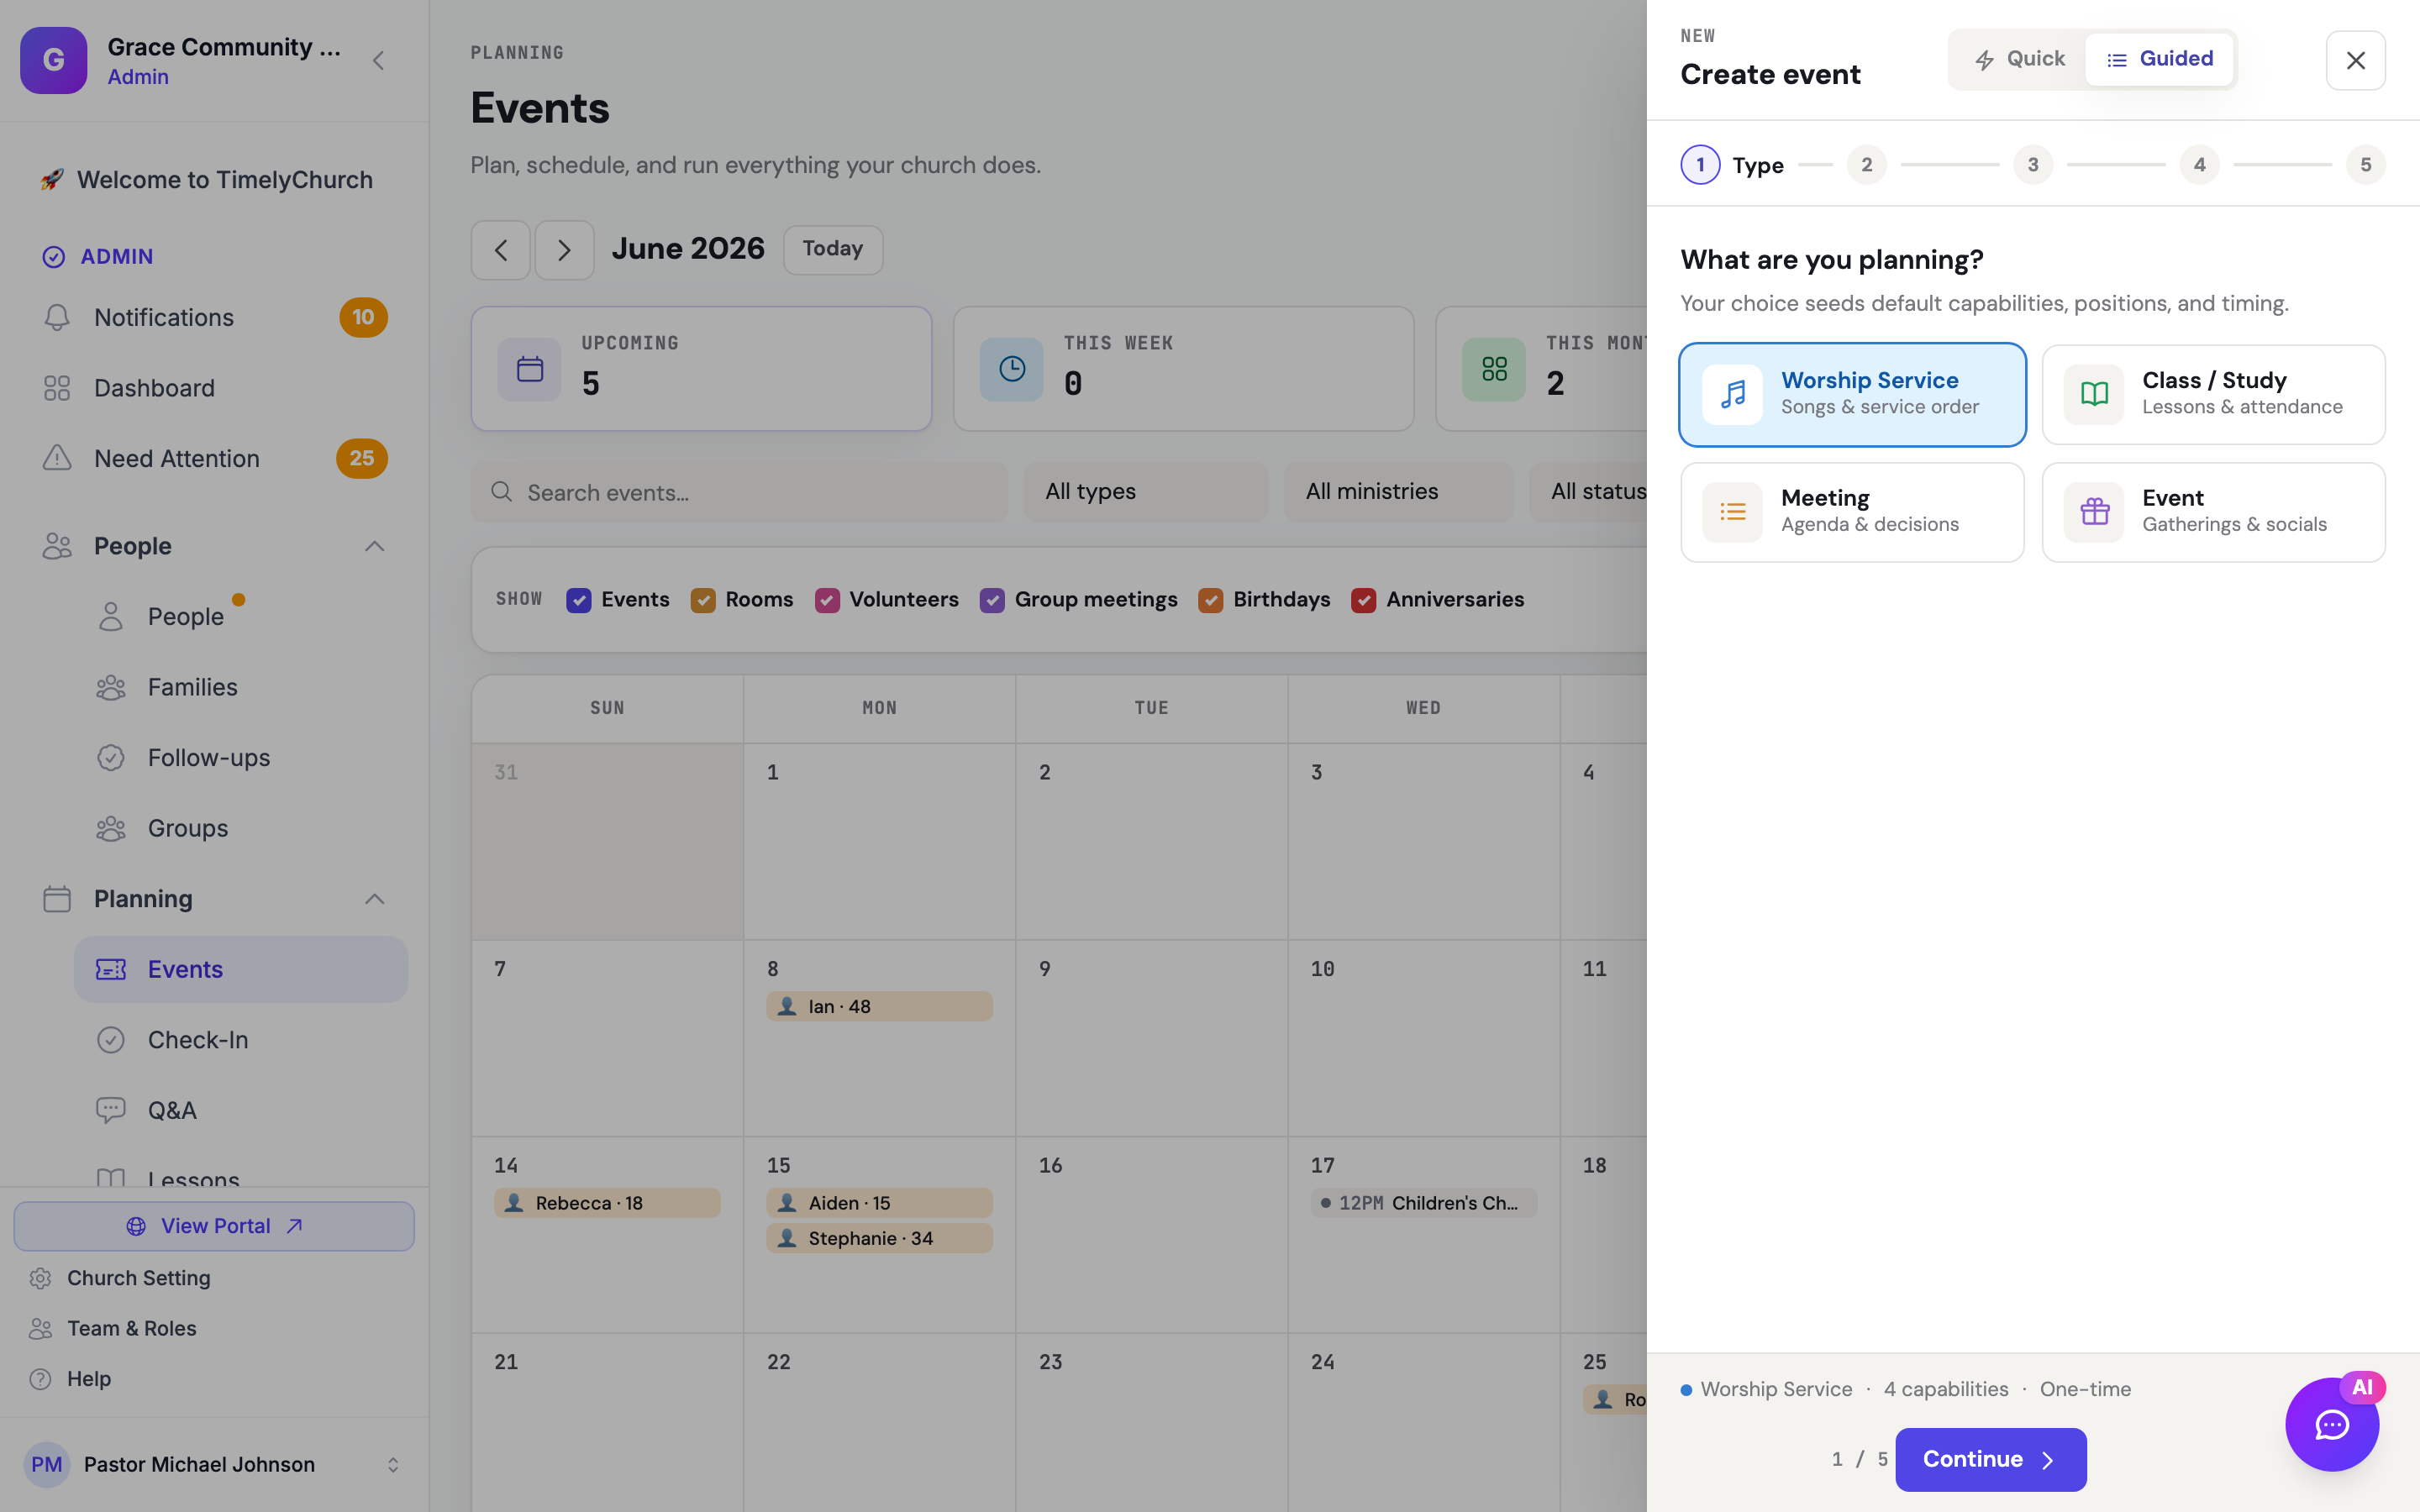
- Guided -- A step-by-step wizard with five steps: Type, Details, Repeat, Capabilities, and Review. Best for your first few events or when you want a checklist to walk through.
Both modes create the same event — they are just two ways through the same fields. You can switch between them at any time.
Event Types
Every event in TimelyChurch has an event type. The drawer's first question, What are you planning?, shows four built-in types plus any custom types your church has added. The type you choose seeds a sensible set of default capabilities, default start/end times, and (where relevant) a volunteer-position template:
- Worship Service -- For Sunday services, special services, and worship gatherings. Defaults to Service Plan, Volunteers, Check-In, and Prep Tasks.
- Class / Study -- For Sunday School, Bible studies, and educational sessions. Defaults to Lesson, Students, Check-In, and Prep Tasks.
- Meeting -- For committee meetings, board meetings, and leadership gatherings. Defaults to Agenda, Prep Tasks, and Resources.
- Event -- For socials, outreach, fundraisers, and general gatherings. Defaults to Volunteers, Check-In, Prep Tasks, and Registration.
- Custom types -- Types your church creates under Events → More → Event Types appear as extra cards labelled Custom type, with their own color and icon. A custom type turns on the capabilities chosen for it on the Event Types page and starts with a 7:00–8:30 PM time slot. See Set Up Event Types & Approval Rules.
Tip: The defaults are just a starting point. You can turn capabilities on or off for any event in the Capabilities section before you save, and you can change them again later from the event's page.
Details
The Details step (or the Details section in Quick mode) covers the core information about the event.
| Field | Description |
|---|---|
| Event title | The name of the event. Required. |
| Description | A free-text description of the event ("What should people know about this event?"). Optional. |
| Event image | Upload a photo for the event (JPG, PNG, or WebP, up to 5 MB; about 1600×900 / 16:9 works best). On the public event page it appears as a full-width banner with the title across it. You can change or remove it later by editing the event. Optional — events without an image show a clean colored header instead. |
| Hosting group | Optionally assign a team, class, or group from your church as the host. For Class / Study events, the group's primary leader can be auto-assigned as the teacher. Optional. |
| Attach a lesson | Class / Study events only. Pick a lesson from your lesson folders (you can search by title). Drafts can be attached — you can keep editing the lesson afterwards. Optional. |
| All-day event | Check this for events without specific start/end times (e.g. a day-long retreat). When checked, the start and end time fields are hidden. |
| Special / Featured event | Check this for one-off highlights such as VBS or a mission trip, so they can be told apart from the weekly schedule (for example, in the events section of your church website). Optional. |
| Date | The date the event takes place. Required. |
| Start time | The time the event begins. |
| End | The time the event concludes. Setting an end time is recommended if you plan to book a room, as it is needed for conflict detection. |
| End date | Only needed for multi-day events. Optional. |
| Location | A free-text field for the venue name (e.g. "Main Sanctuary"). Optional. |
| Room | Select a room from your church's configured rooms. When a room is selected and the event has both a start and end time, a room booking is created automatically and the system checks for scheduling conflicts. Optional. |
| Address | A street address for the event, shown with a "for directions" hint so attendees can navigate to it. Optional. |
Repeat (recurring events)
The Repeat step contains a Repeats toggle that is off by default — a new event is one-time unless you turn this on.
When you switch Repeats on, you can set:
- Quick picks -- One-tap presets such as Weekly, Every other week, and Monthly.
- Frequency -- Daily, Weekly, or Monthly, plus an "Every N" interval (for example, "Weekly, every 2" for biweekly).
- On these days (Weekly only) -- Choose one or more weekdays.
- Repeat by (Monthly only) -- "On day N of the month" or "On the first/second/third/fourth/last [weekday]".
- Ends -- Never, On a specific date, or After a set number of occurrences.
A live summary at the bottom describes the schedule in plain language (e.g. "Weekly on Sun — no end date"). When Repeats is on, the Create button reads Create series.
Note: For full details on recurring events and event series, see the Recurring Events article.
Capabilities
Each event is built from a set of capabilities — the tools and tabs the event will have. They are shown as toggleable cards, pre-selected based on the event type you chose:
| Capability | Description |
|---|---|
| Service Plan | Plan the order of worship — songs, readings, and flow. |
| Agenda | Capture discussion items, decisions, and notes for meetings. |
| Lesson | Attach a teaching plan and materials. |
| Volunteers | Assign serving positions and schedule volunteers. |
| Check-In | Track attendance with a check-in session. |
| Students | Manage a class roster of students. |
| Prep Tasks | Manage a to-do list of things to prepare before the day. |
| Resources | Reserve rooms and equipment for the event. |
| Registration | Collect public sign-ups with capacity limits. |
| Q&A | Run live audience questions during the event. |
Note: The Q&A card is shown in the drawer, but Q&A is not switched on when the event is created. To use it, open the event after saving, click Add capability (or Add), and turn on Live Q&A.
Tip: Capabilities can also be changed after the event is created from the event's page — use Add capability to turn any of them on or off. Changes save automatically.
Registration settings
When the Registration capability is enabled, you can configure how sign-ups work:
- Max Registrations -- Set a capacity limit, or leave it blank for unlimited registrations.
- Enable waitlist when full -- Once a limit is set, check this to place additional registrants on a waitlist instead of turning them away.
- Registration fee -- An optional amount to charge per registration, shown in your church's currency. Leave it blank or set to 0 for a free event. On the public event page, paid events display the price on the registration card (and a Register button), while free events show a "Free" badge. On phones, a Register button also stays pinned to the bottom of the page as visitors scroll.
Note: For detailed registration configuration, see the Event Registration article.
Volunteer positions
When the Volunteers capability is enabled, the drawer shows a read-only preview of the volunteer positions that will be auto-applied for this event type (for example, a Worship Service preview shows Worship Leader, Vocalists, Sound, and so on). These positions are added automatically when the event is created — there is no template picker at create time. If your event type has no default positions, you can add them on the event's page after creating it.
Visibility
New events default to public for Worship Services and Events, and internal for Classes and Meetings, and every new event is active. You do not set visibility in the create drawer — adjust it later by editing the event if you need to hide an event from your public calendar or take it offline without deleting it.
After Creation
After you click Create event (or Create series for a recurring event), you are taken back to the Events page. A success message confirms the event was created and notes any volunteer-position templates that were applied.
For Class / Study events with a hosting group, TimelyChurch automatically assigns the group's primary leader as the teacher, sends them a confirmation notification, and includes that in the success message.
From the event's page (the Event Hub), you can then:
- Edit the event details
- Manage volunteers and serving positions
- Set up the service plan, lesson, or agenda
- Start a check-in session
- View and manage registrations
- Export the event as a PDF
Event Hub Tabs
Every event has an Overview tab. The other tabs appear only for the capabilities that are turned on — for example Service Plan, Classes & Lessons, Agenda, Students, Serving, Attendees, Check-In, Prep Tasks, Resources, and Q&A. If a tab you need is missing, click Add capability on the event and switch that capability on; its tab appears right away.