
Creating Lessons
Lessons are the core teaching content in TimelyChurch's Education module. Each lesson contains everything a teacher needs to prepare for and deliver a class, along with optional parent-facing content that can be shared with families.
Creating a New Lesson
- Open Drive from the Planning section of the admin sidebar. If you want the lesson in a particular folder, open that folder first.
- Click New and choose New lesson (inside a folder you can also click New lesson directly).
- In the New lesson window -- "Create a lesson in this folder. You can attach materials after saving." -- enter the Lesson title.
- Optionally choose an Age group and the Folder (or Unfiled).
- Click More options to add the Scripture, Audience, Category, Series name, Series order, Tags, and Description now, or fill them in later.
- Click Create lesson.
The lesson opens on its own page, where you can add materials and the rest of the details. New lessons start as drafts -- "Saved as Draft — approve when ready".
Editing the Lesson's Details
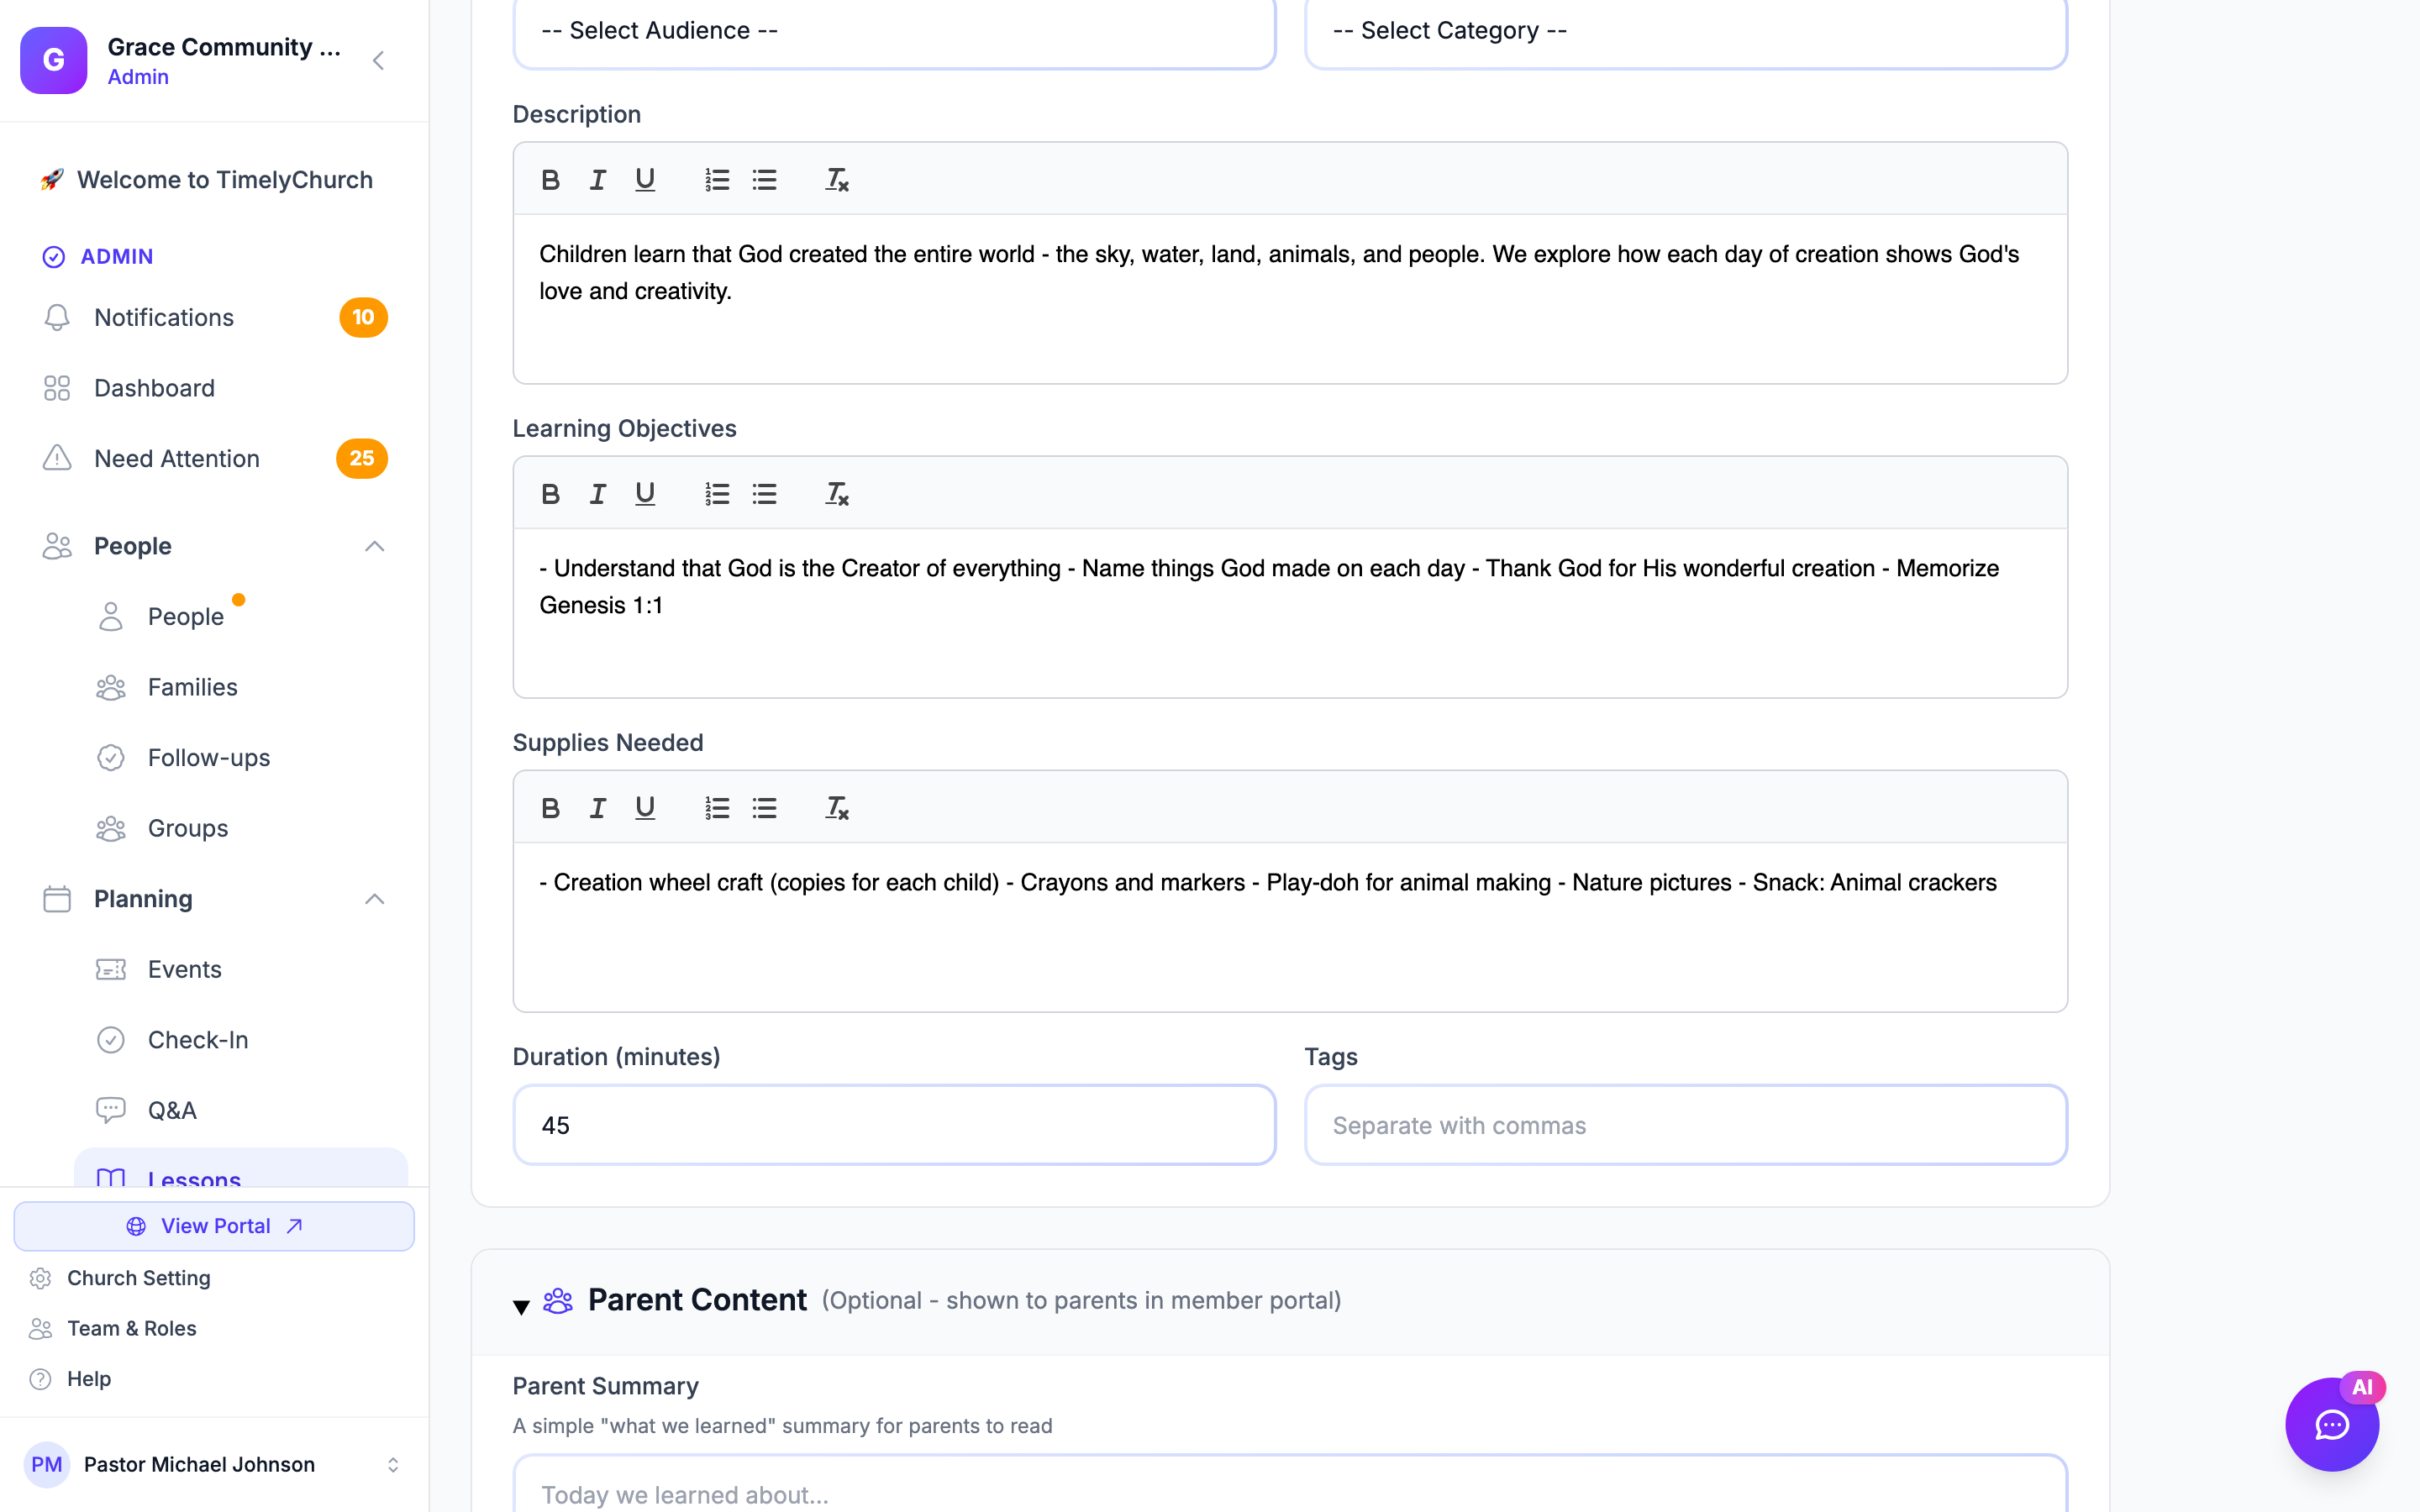
On the lesson's page, click Edit, change what you need, and click Save Changes.
Required Fields
- Title -- The name of the lesson (up to 255 characters). This is the only universally required field, though your church settings may require the scripture reference or learning objectives as well.
- Status -- Every lesson has a status:
- Draft -- Work in progress, waiting for approval.
- Approved -- Ready for use, visible to teachers when they choose a lesson.
- Archived -- No longer in active use but kept for reference.
Content Fields
- Description -- A rich text description of the lesson content.
- Scripture Reference -- The Bible passage(s) covered in the lesson. Can be made a required field in Lesson Settings.
- Learning Objectives -- What students should learn or be able to do after the lesson. Can be made a required field in Lesson Settings.
- Supplies Needed -- A list of materials and supplies required to teach the lesson.
Organization Fields
- Audience -- The target age group for the lesson (for example Kids, Youth, Adults, or All Ages). Audiences are set up in Lesson Settings.
- Category -- The topic or theme of the lesson. Default categories include Bible Study, Worship, Discipleship, Evangelism, Prayer, Fellowship, Missions, and Other. Custom categories can be added in Lesson Settings.
- Age notes (optional) -- More specific age targeting (e.g., "3rd-5th Grade"), separate from the broader audience.
- Duration (minutes) -- The recommended teaching time.
- Tags -- Keywords, separated with commas, for additional organization and searchability.
- Curriculum -- Which Drive folder the lesson lives in.
Series Fields
- Series Name -- Groups the lesson into a named series (e.g., "Life of Moses").
- Series Order -- A number indicating where this lesson falls within the series (starting from 1).
Parent Content
These fields are shown to parents in the member portal (see Family Lessons in the Member Portal):
- Parent Summary -- A simple "what we learned" summary for parents to read.
- Memory Verse -- The scripture text to memorize.
- Memory Verse Reference -- The citation for the memory verse (e.g., "John 3:16").
- Home Activity -- A simple activity families can do at home to reinforce the lesson.
- Discussion Questions -- Optional questions to guide family or class discussion (one per line).
Adding Materials
Lessons carry two kinds of materials: uploaded files and external links. The Materials section of the lesson page says "Attach handouts, slides, and videos teachers need for this lesson."
Uploading Files
- Open the lesson.
- In the Materials section, click Add material (or Add your first material).
- Under Type, choose Upload File.
- Optionally describe it under What is this? (e.g., "Teacher study guide" or "Kids worksheet") -- "Shown on the material so people know which one to open."
- Choose the file. The window shows the maximum file size. Large files show a progress bar while they upload.
- Click Add Attachment.
See Uploading Large Lesson Materials for how big files are handled.
Adding External Links
- Click Add material.
- Under Type, choose External Link.
- Enter the full URL and, optionally, a label under What is this?.
- Click Add Attachment.
External links are useful for YouTube videos, online curriculum providers, or other web resources.
Changing or Removing Materials
- Click Edit note (or Add a label) on a material to change its label.
- Click the delete icon next to a material to remove it.
Lesson Statuses and Workflow
Draft
New lessons start as drafts. Drafts show under the Needs review chip in Drive. An admin can still attach a draft to a class session -- approving it later leaves it attached.
Approved
Approved lessons are available to teachers when they choose a lesson for their class in the member portal. Admins can approve lessons one at a time (Approve on the lesson page) or in bulk (select them in Drive and click Approve).
Archived
Archiving a lesson takes it out of active use. Archived lessons can be restored at any time with Restore. See Managing the Lesson Library.
Approval Workflow
If Require approval for new lessons is on in Lesson Settings:
- New lessons (including those created by teachers in the portal) are saved as drafts.
- An admin must review and approve them before teachers can pick them.
Tips for Organizing Lessons
- Use folders in Drive for each curriculum or quarter (see Organizing Lessons with Curriculum Folders).
- Use Series Name and Series Order to keep multi-week tracks in sequence.
- Use Audience so the right lessons appear for the right classes.
- Add Tags for cross-cutting themes (e.g., "Christmas", "VBS", "missions") that span several categories.
- Fill in the Parent Content to help families continue the conversation at home.
- Use Duration (minutes) so teachers can plan their class time.