
Check-in Label Settings
Audience: This article is for church administrators.
The Check-In Settings page controls how labels are printed at your check-in stations: which label stock you use, what gets printed on each label, and the label designs (templates) your stations use. These settings are stored on the church and apply to every check-in kiosk.
For full check-in workflow docs (kiosks, station setup, walk-up flow), see the Check-in category.
Accessing Check-In Settings
- Open the Check-in module from the left sidebar.
- In the top-right of the Check-in page, click the Settings (gear) button, labeled Check-In Settings.
This opens the Check-In Settings page, which is organized into three tabs:
| Tab | What it controls |
|---|---|
| Label Designer | Your saved label templates (child name tags, parent/security tags, volunteer badges, custom) — create, edit, duplicate, set default, or delete them. |
| Printer Setup | The default label size and what gets printed on each check-in (the print toggles). |
| Options | General check-in behavior. (This tab currently shows "General Options Coming Soon.") |
The Printer Setup form is saved with the Save Printer Settings button.
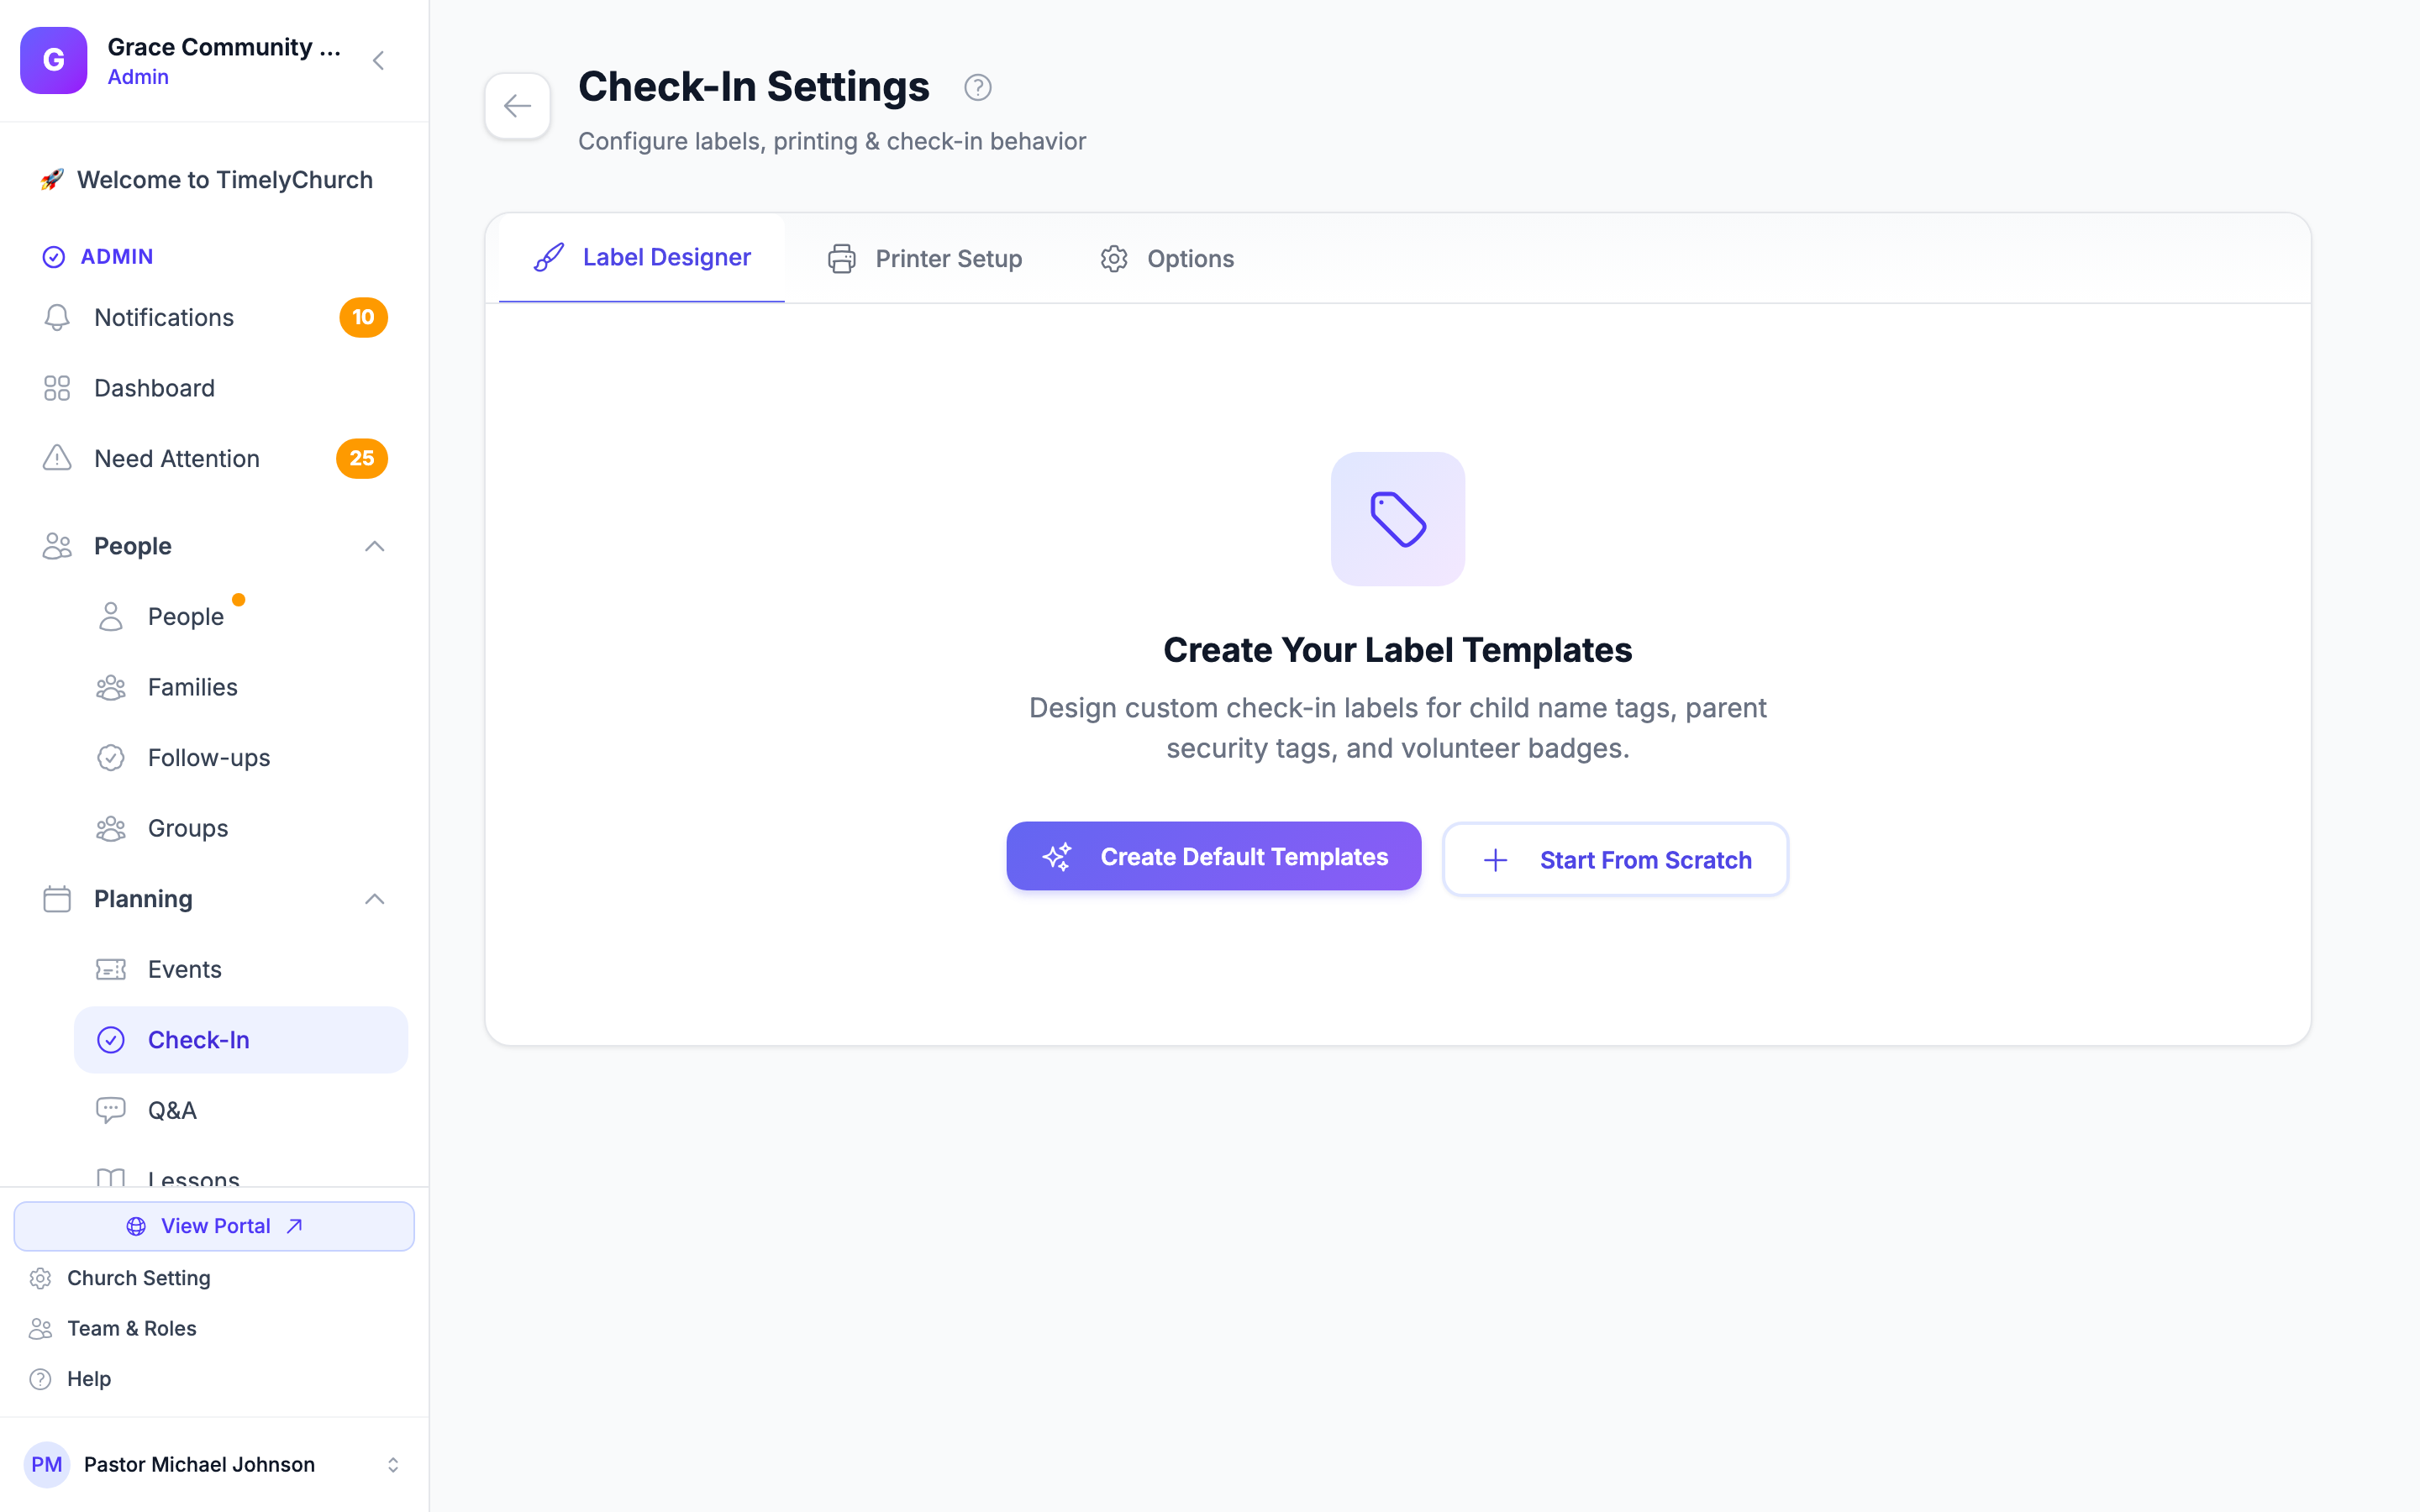
Printer Setup: Default Label Size
The Printer Setup tab is where you pick the physical label stock you are printing on. Each option is a card showing its name, dimensions, and a short description. The available presets are:
| Preset key | Description |
|---|---|
dk-11202 |
Brother DK-11202 (Shipping) — 62mm x 100mm — Best for check-in |
dk-22205-small |
Brother DK-22205 (Continuous Small) — 62mm x 40mm — Compact |
dk-22205-medium |
Brother DK-22205 (Continuous Medium) — 62mm x 60mm — Medium |
dk-11201 |
Brother DK-11201 (Address) — 29mm x 90mm — Compact strip |
dymo-4x2 |
Dymo / Generic 4" x 2" |
If your label stock is not listed, choose the closest preset here, then fine-tune the exact width and height per label in the Label Designer (see below).
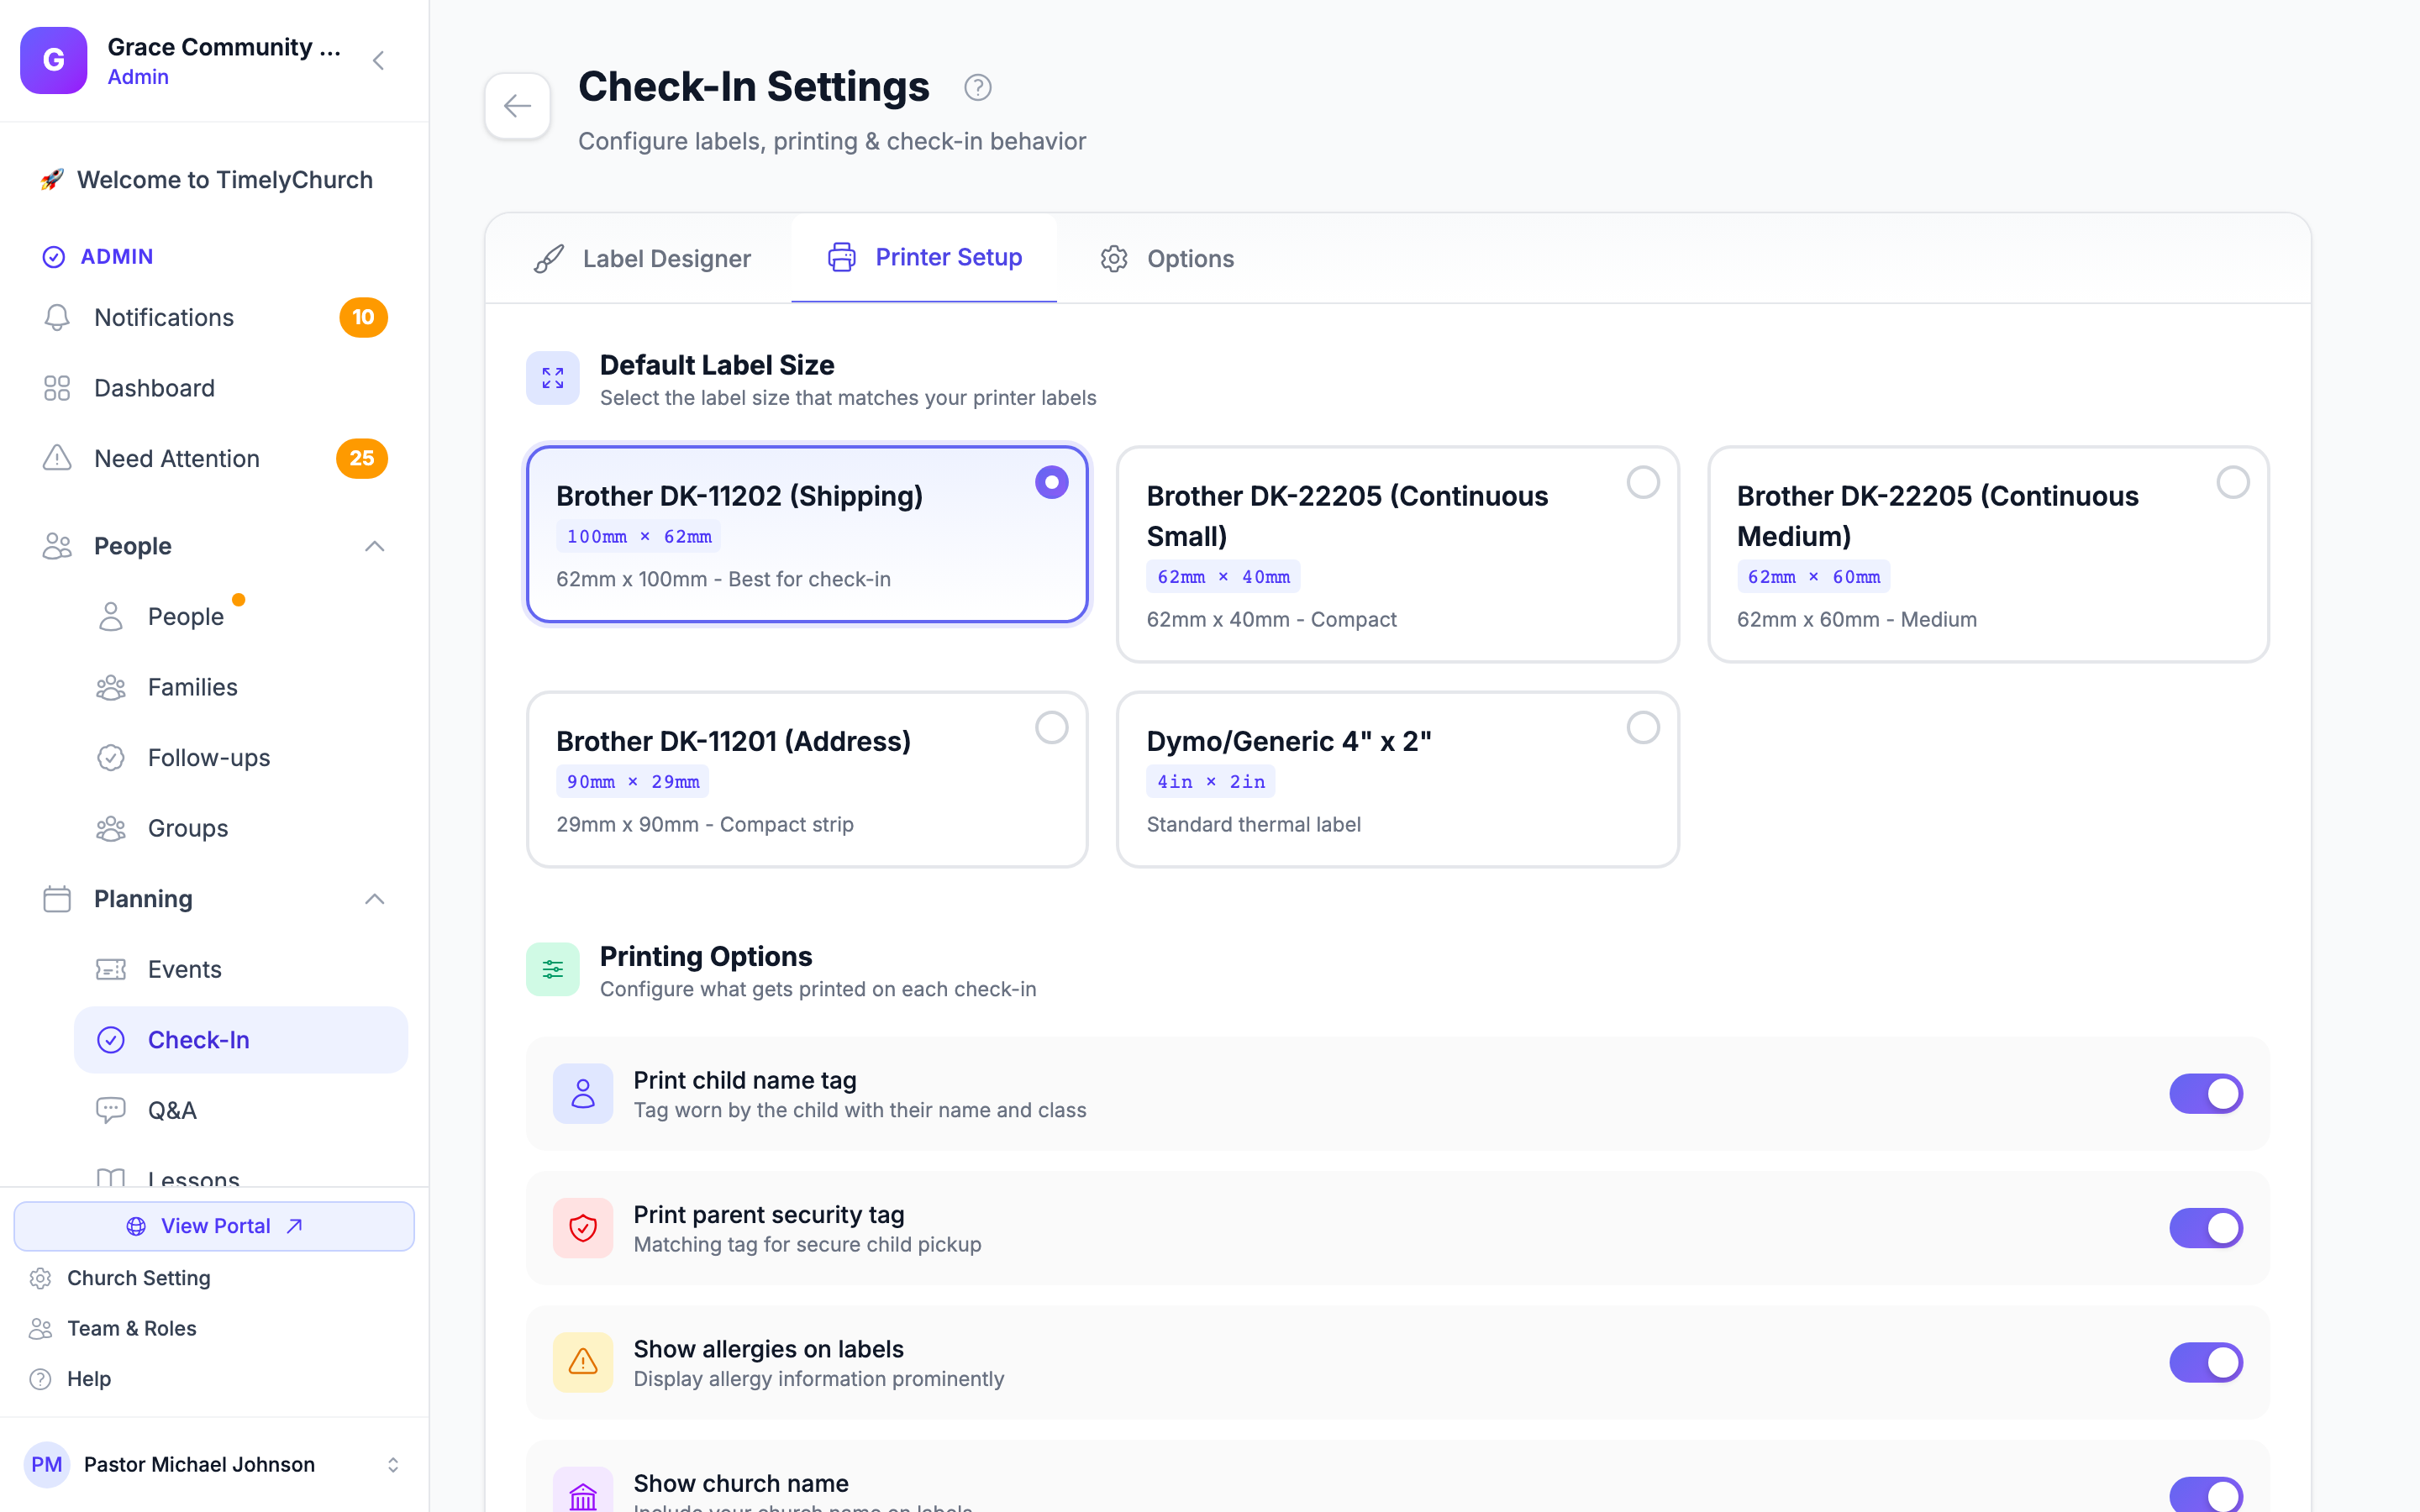
Printer Setup: What to Print on the Label
These toggles on the Printer Setup tab control label content:
| Toggle | Default | Description |
|---|---|---|
| Print child name tag | On | Prints a tag worn by the child with their name and class |
| Print parent security tag | On | Prints a matching tag for secure child pickup (used at pickup to verify identity) |
| Show allergies on labels | On | Displays allergy information from the child's profile prominently on the label |
| Show church name | On | Includes your church name on the label |
Allergies tip: Allergies come from a custom field on the person's profile. The check-in label pulls from an Allergies custom field (and, if present, a Dietary Restrictions field). See Custom Fields for setup.
When you are done, click Save Printer Settings. You will see a "Check-in settings updated." confirmation.
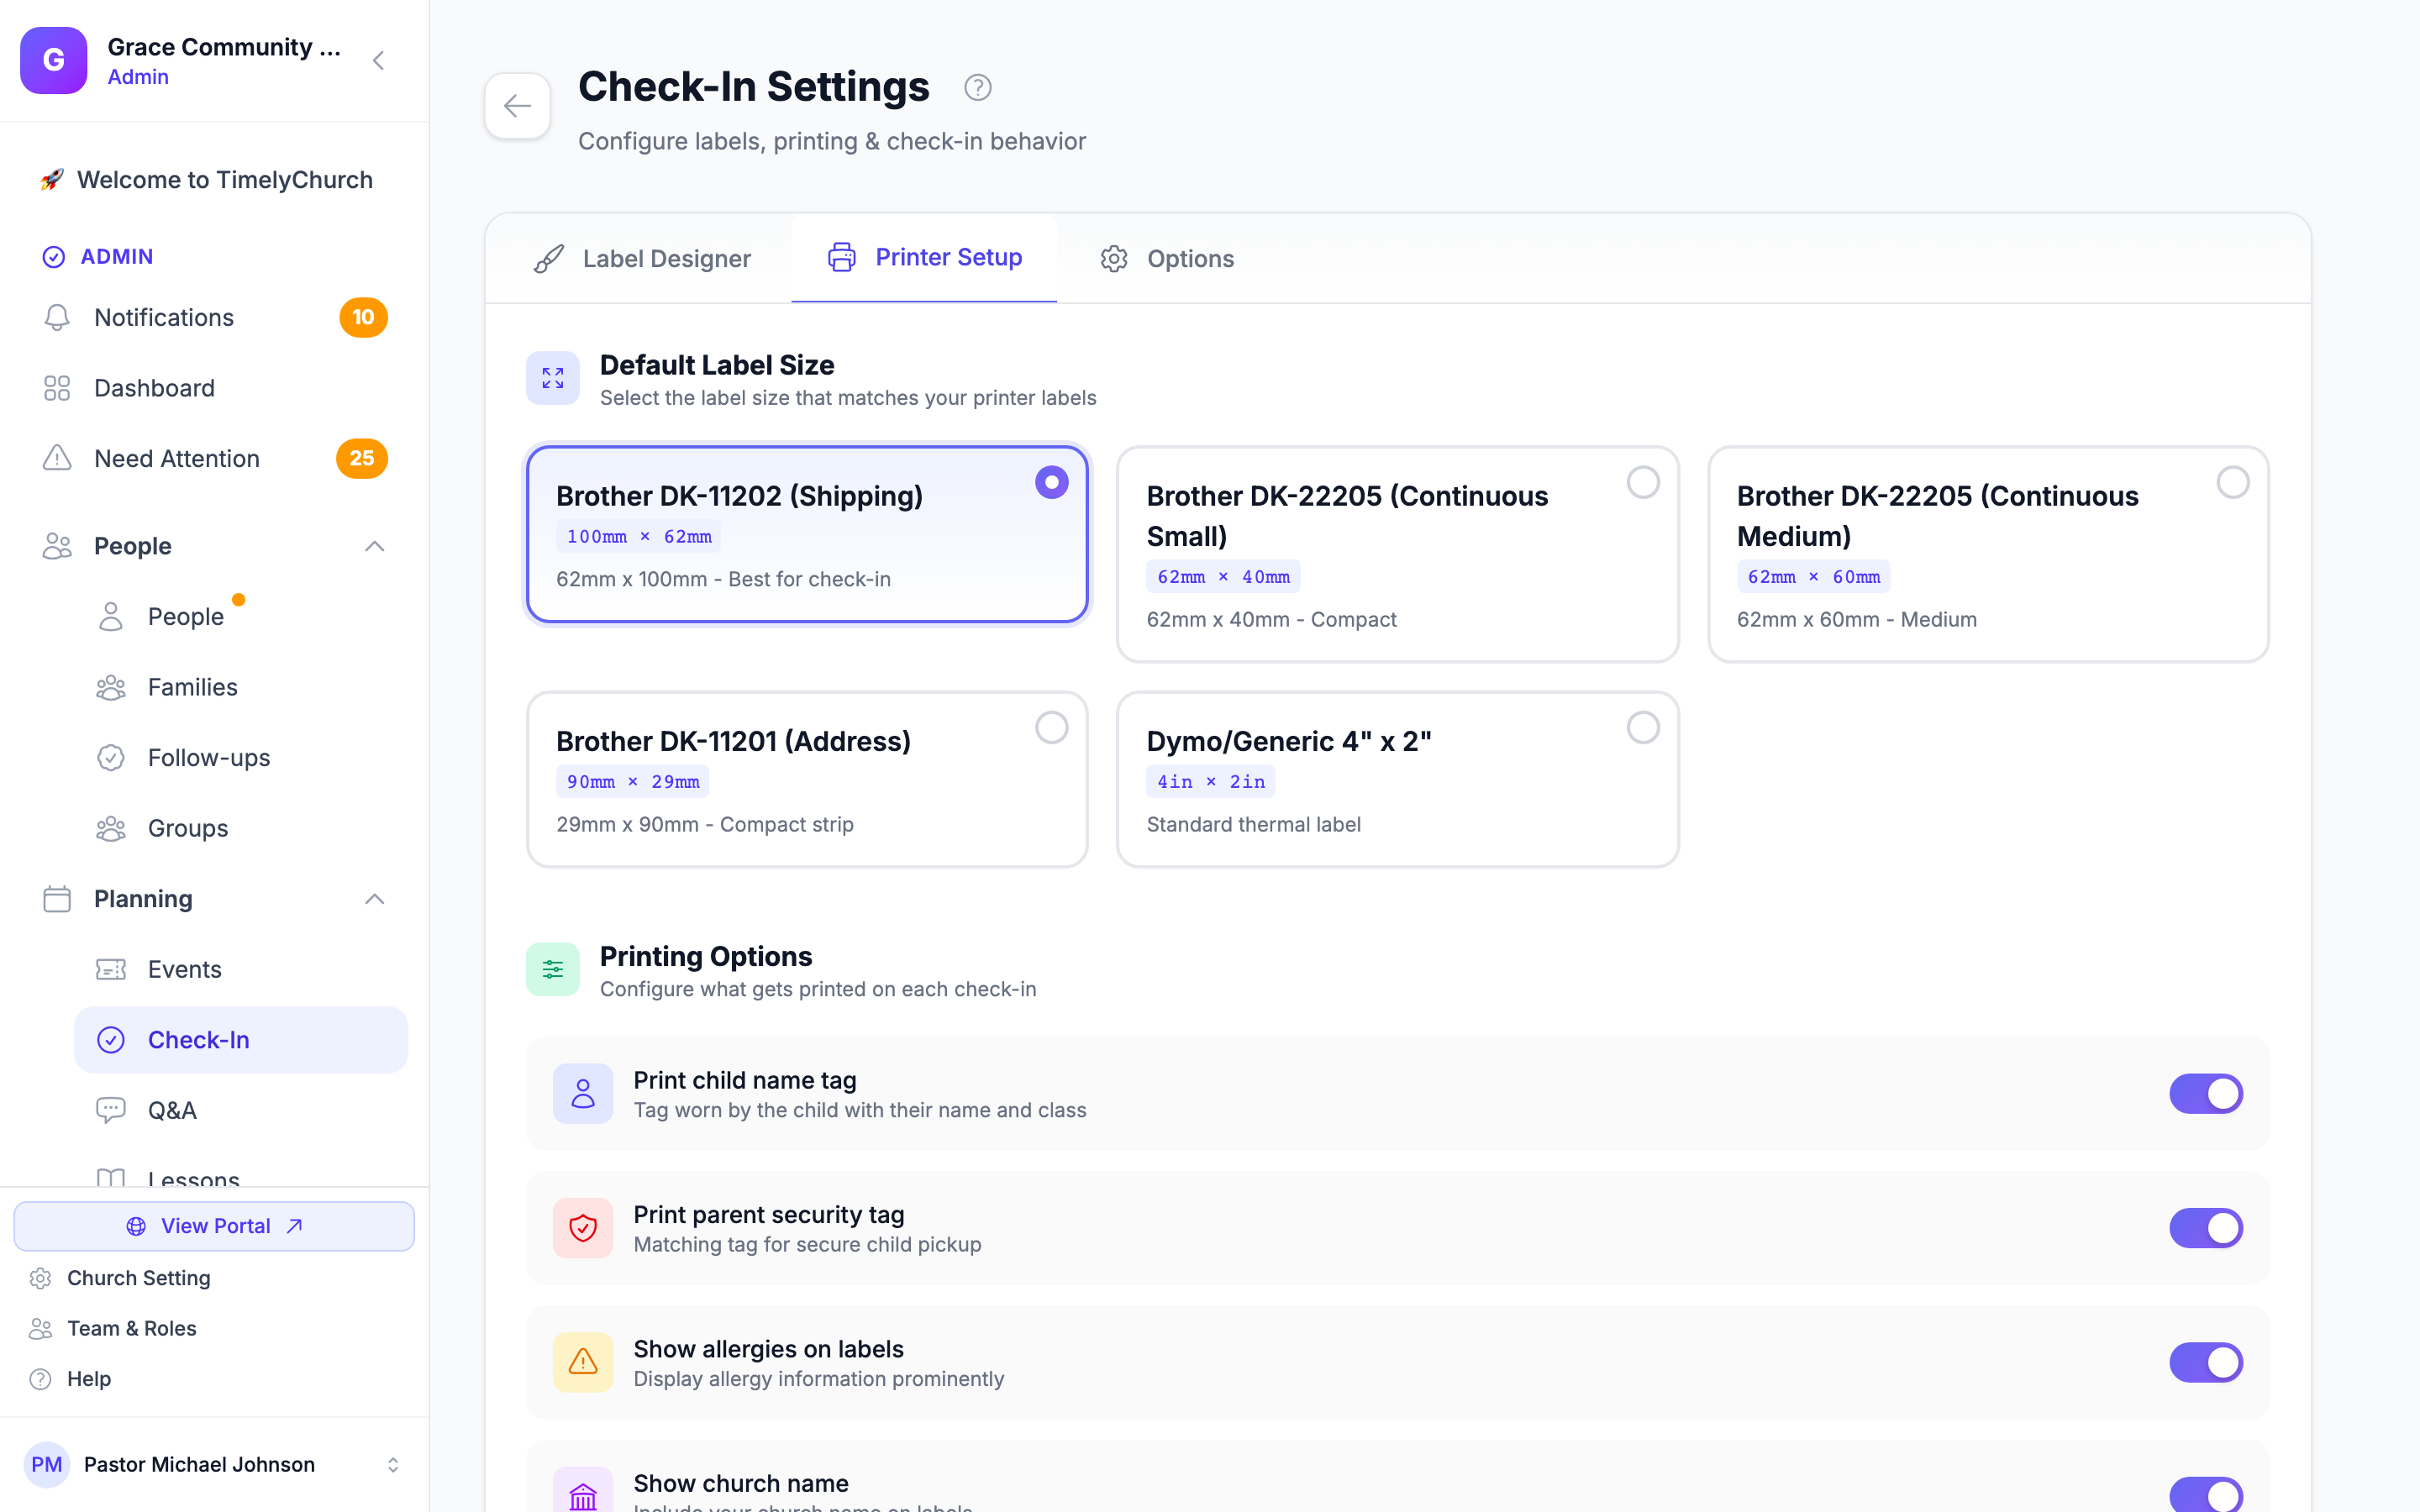
Printer Hardware Setup
The Printer Setup tab also includes a Brother QL-820NWB Setup Guide to help you connect the printer:
- Install the Brother printer driver from support.brother.com.
- Connect the QL-820NWB via USB, WiFi, or Bluetooth.
- In your browser's print dialog, select Brother QL-820NWB as the printer.
- Set the paper size to match your labels (for example, DK-11202 for 62×100mm).
- Set margins to "None" and disable headers/footers.
- Print a test label to verify alignment.
Label Designer (Templates)
The Label Designer tab is where your label layouts live. Templates are grouped by type: Child Name Tags, Parent/Security Tags, Volunteer Badges, and Custom Templates.
- If you are setting up for the first time, click Create Default Templates to generate a starter child tag, parent tag, and volunteer badge that you can then customize.
- Click New Template (or Start From Scratch) to build one from a blank layout, or pick one of the Quick Start designs for a pre-built layout.
- Tap any existing template to open it in the visual designer, where you set its size (width / height / unit), orientation (landscape or portrait), and lay out the fields that print on it (name, class, security code, allergies, and more).
- Each template's row menu lets you set it as the default for its type, duplicate it, or delete it. System templates cannot be deleted.
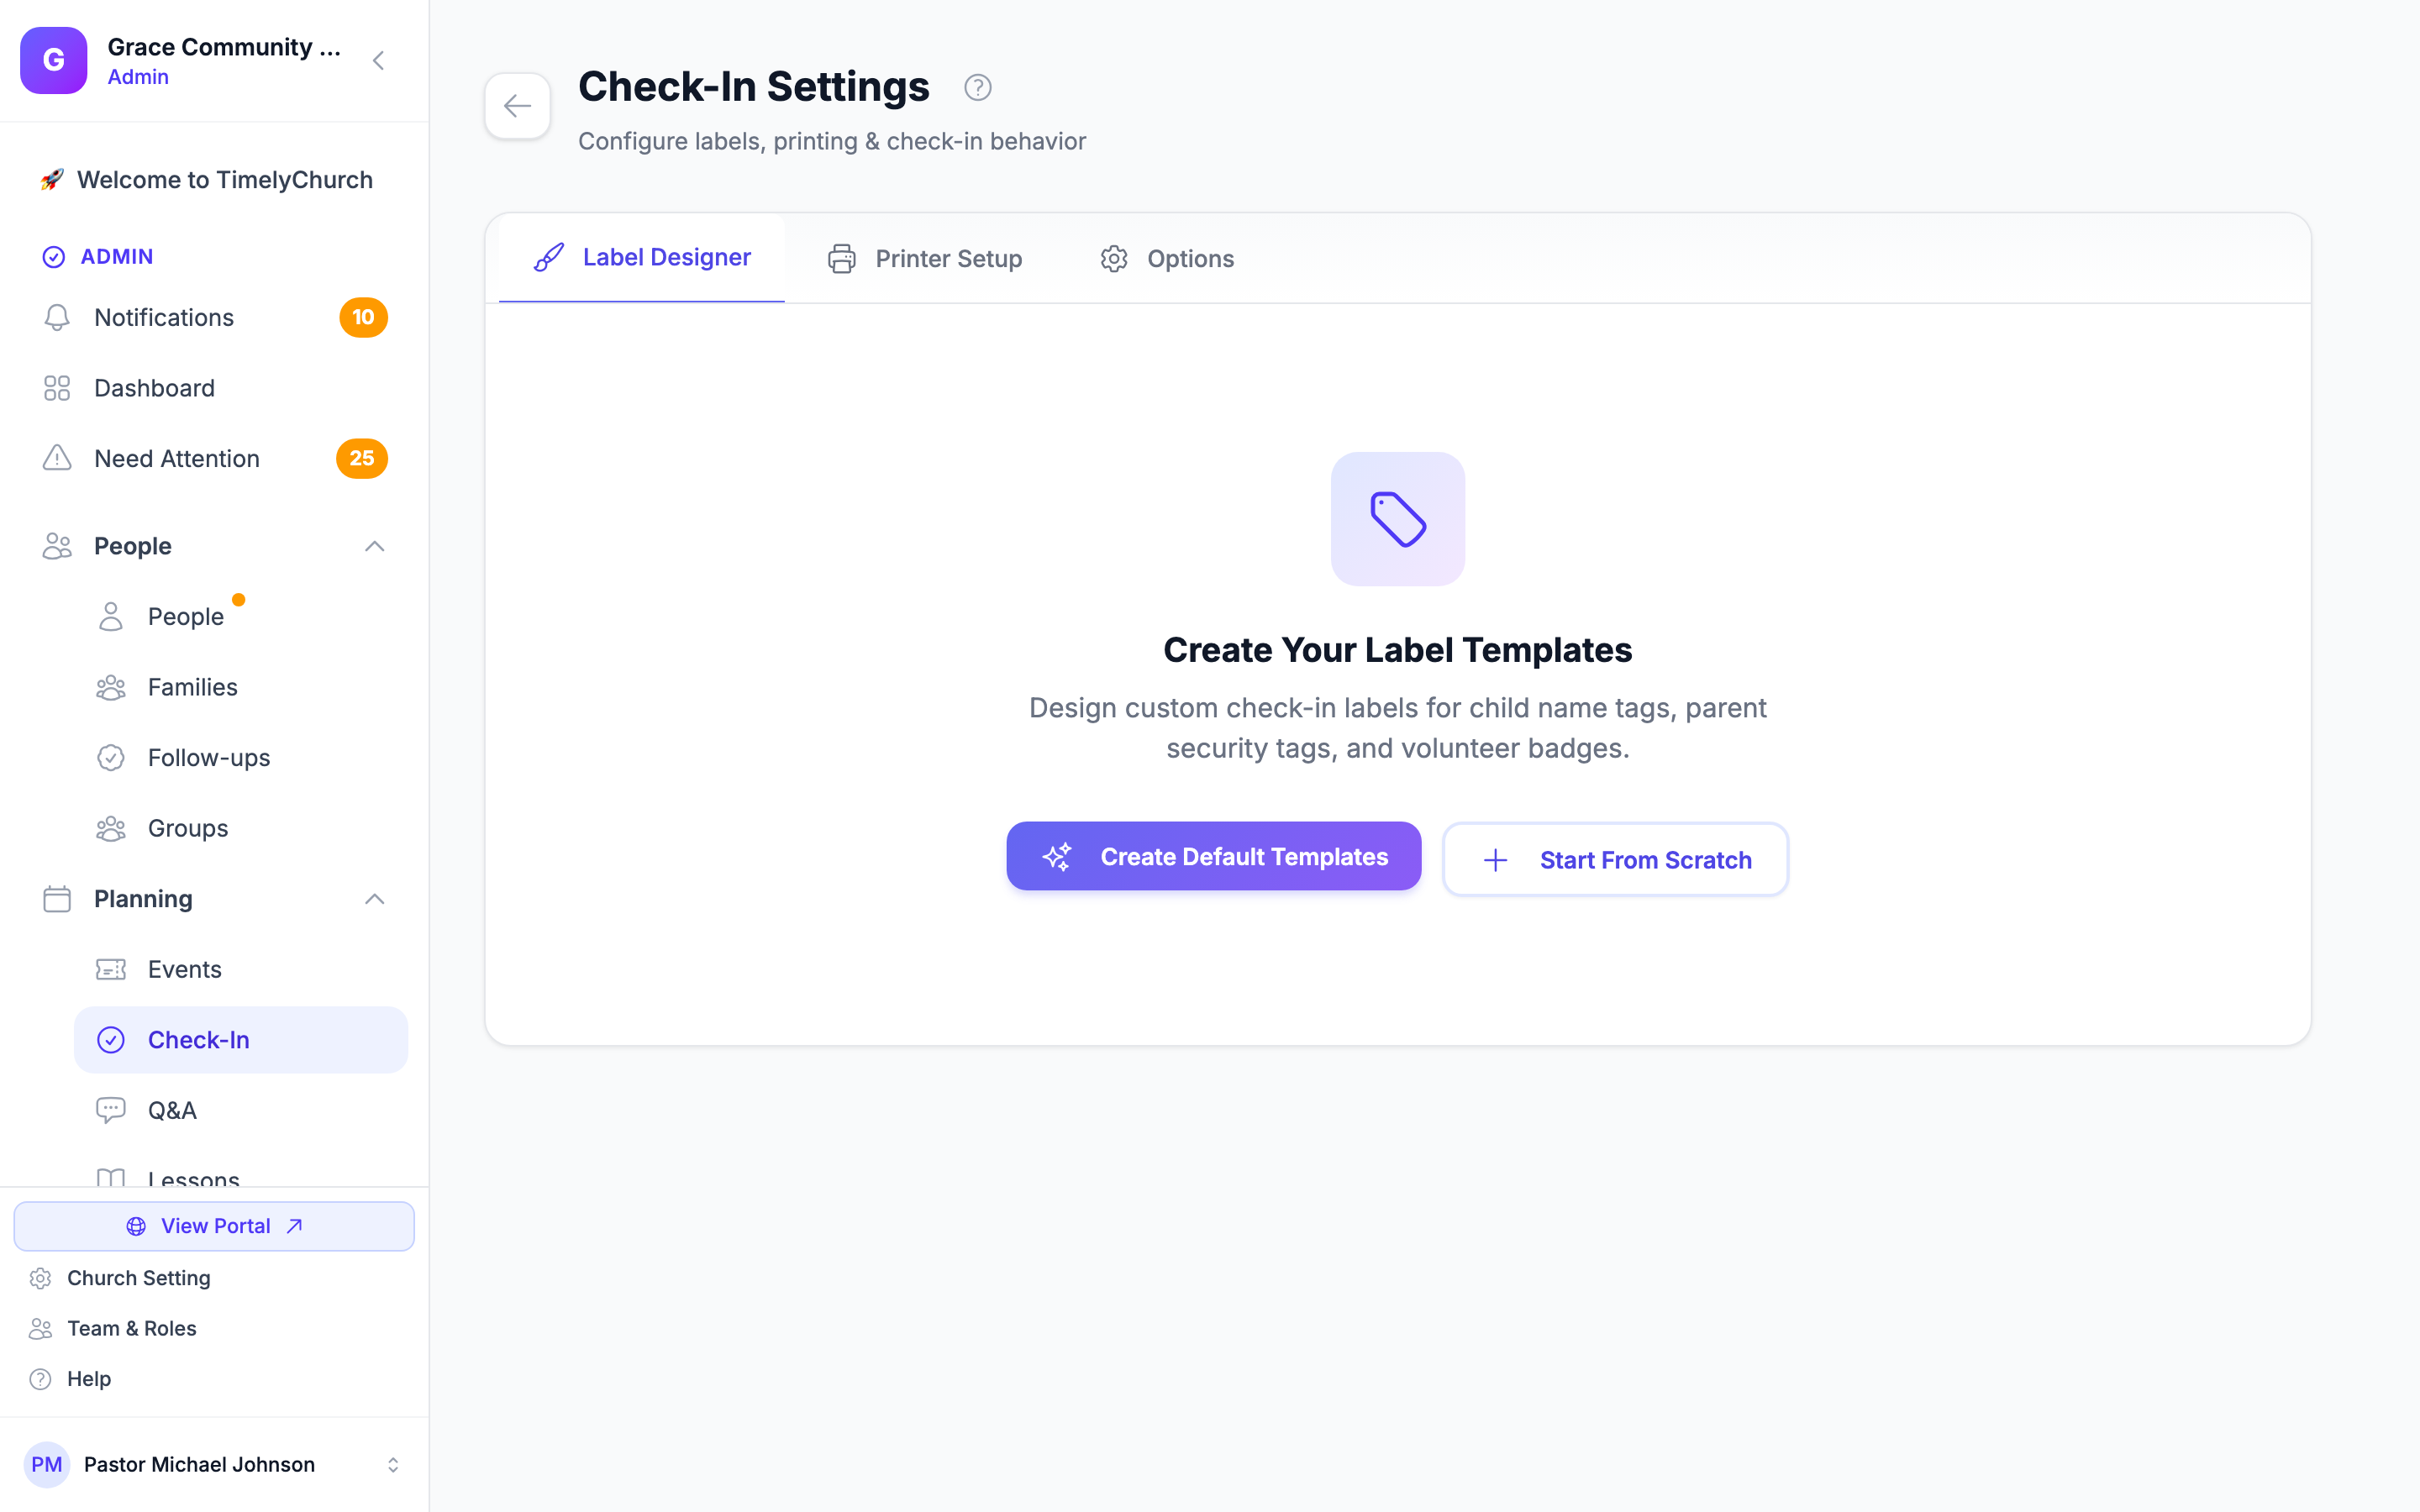
Per-label dimensions and orientation are set inside each template in the Label Designer. The Printer Setup tab's "Default Label Size" just picks the stock you most commonly load.
Saving Changes
- Printer Setup tab: adjust the label size and print toggles, then click Save Printer Settings. You will see a "Check-in settings updated." confirmation.
- Label Designer: changes to a template are saved from the designer itself when you save that template.
Settings take effect immediately on every check-in kiosk linked to your church (no kiosk restart required).
Testing
After changing label settings:
- Open a check-in station.
- Run a test check-in.
- Verify the printed label matches the new size and content.
If the label is cut off or misaligned, adjust the template's dimensions in the Label Designer, and confirm your printer's paper size and margins match the Printer Hardware Setup guide above.
See Also
- Check-in category — kiosk setup, station modes, walk-up flow
- Custom Fields — for setting up the Allergies field used on labels