
Managing Your Availability
TimelyChurch lets you tell your coordinators when you are not available to serve, so they can plan the schedule around you. You set your availability on the Availability tab of your My Schedule page, where you can block individual Sundays or a date range.
Opening the Availability Tab
Your availability now lives on your My Schedule page:
- Click My Schedule in the sidebar (under the Team section).
- At the top-right of the page, use the List / Calendar / Availability switcher and select Availability.
The Availability tab ("My availability") shows your Upcoming Sundays as tappable tiles — tap any Sunday to switch it between Available and Blocked — plus a Block a date range option for longer absences: pick From and To dates and tap Mark unavailable.
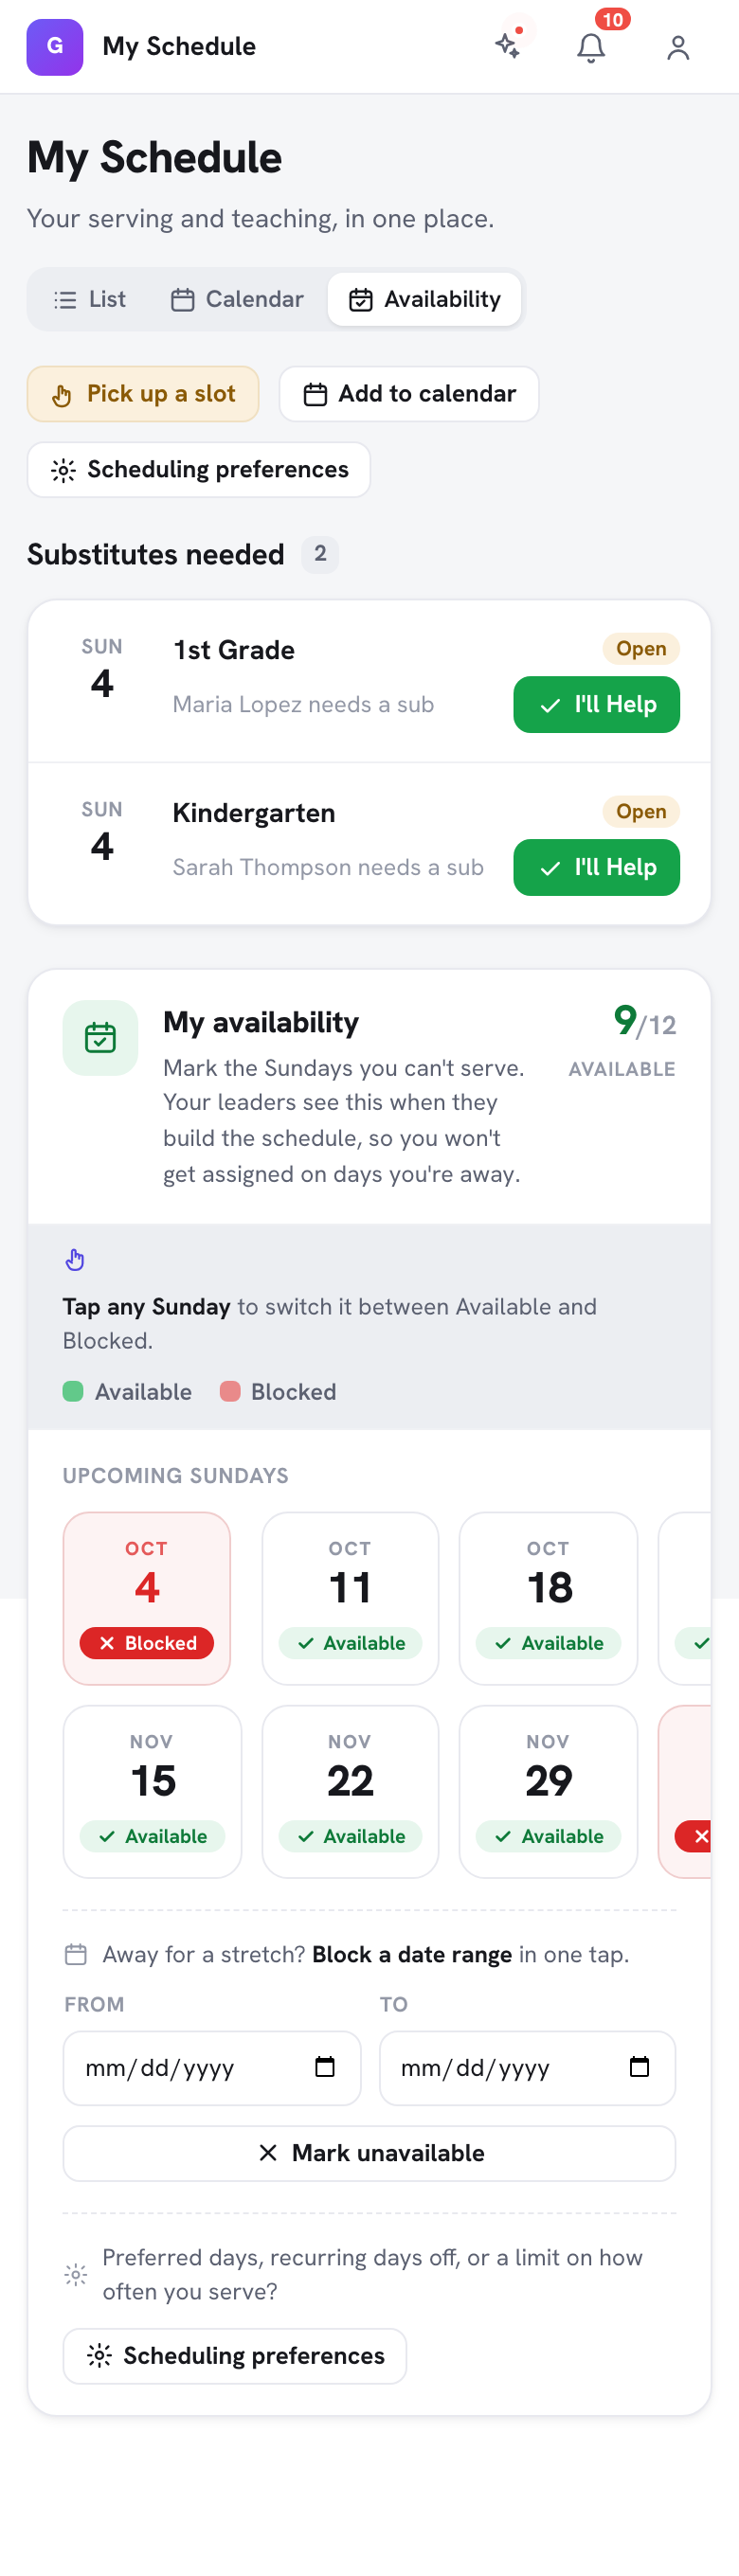
Note: The Add Unavailable Date modal, Recurring Patterns, and Scheduling Preferences described below belong to the fuller Serving Availability page. To open it, click the Scheduling preferences button on your My Schedule page (it also appears on the Availability tab, next to "Preferred days, recurring days off, or a limit on how often you serve?"). The Availability tab above covers most day-to-day needs.
Your Serving Teams
At the top of the page, under Your Serving Teams, you will see a pill for each serving team you belong to (for example, "Sound Team" or "Greeting Team"), each shown in that team's color. Unavailable dates you add apply across all of your teams at once.
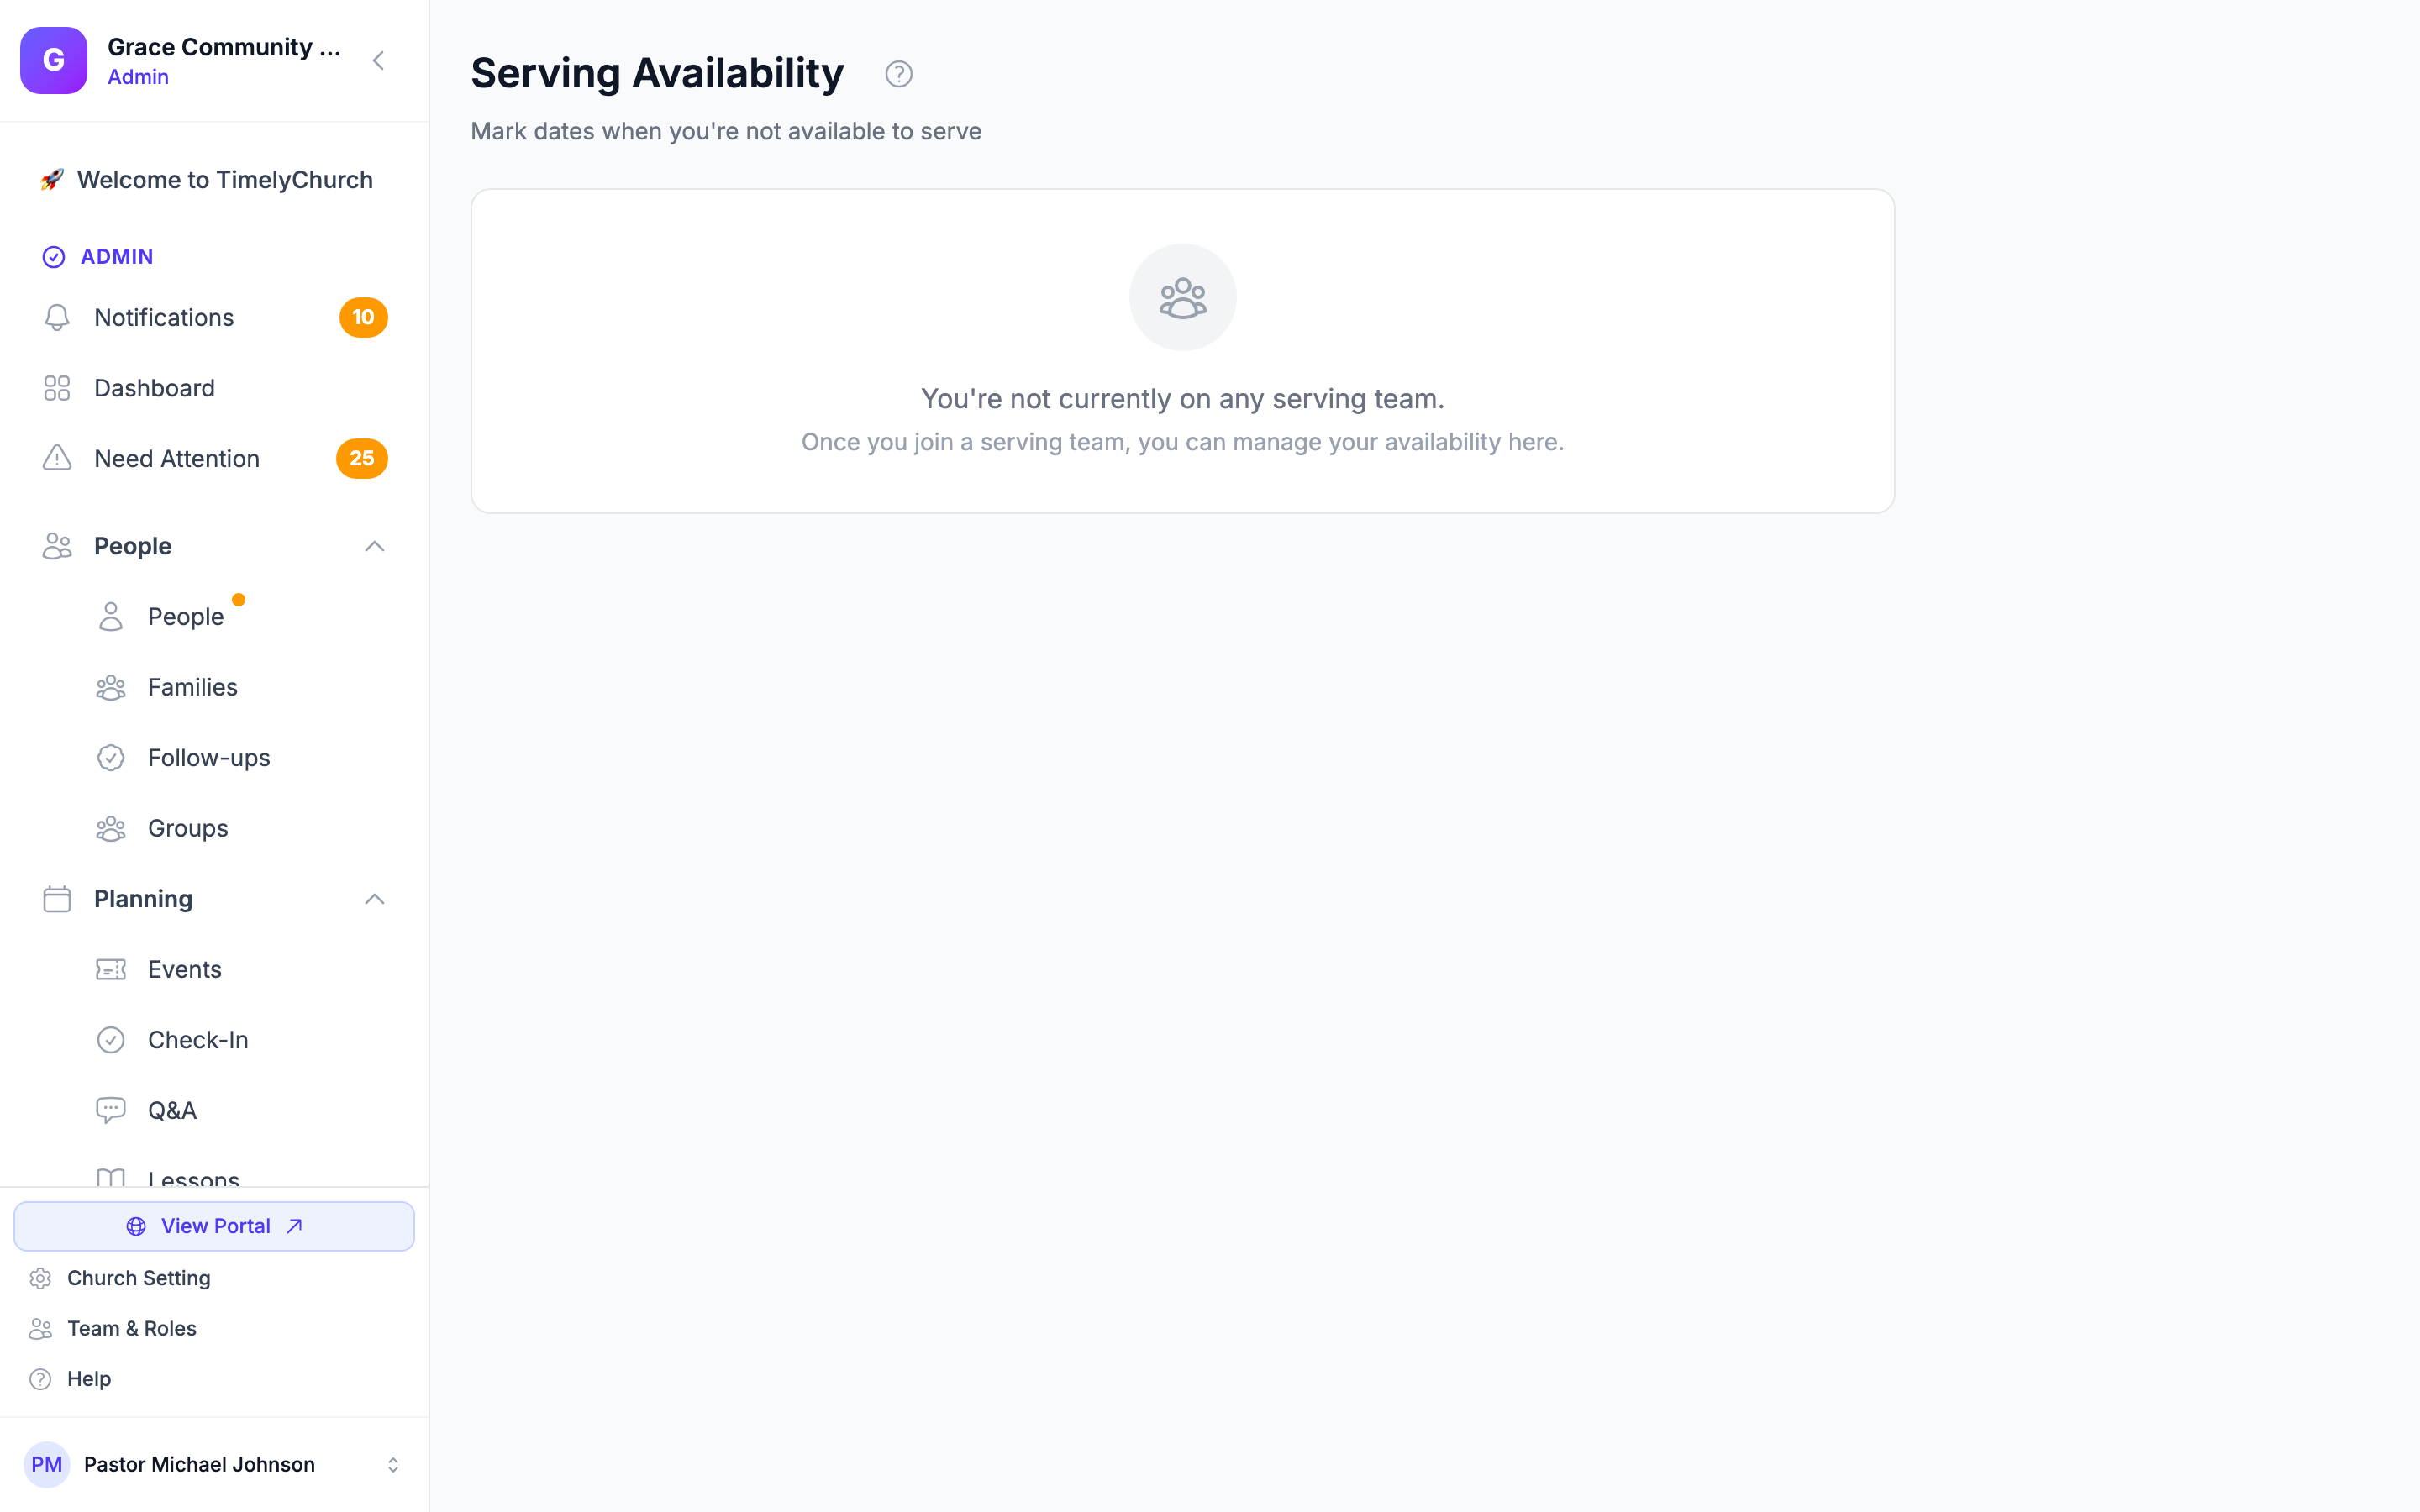
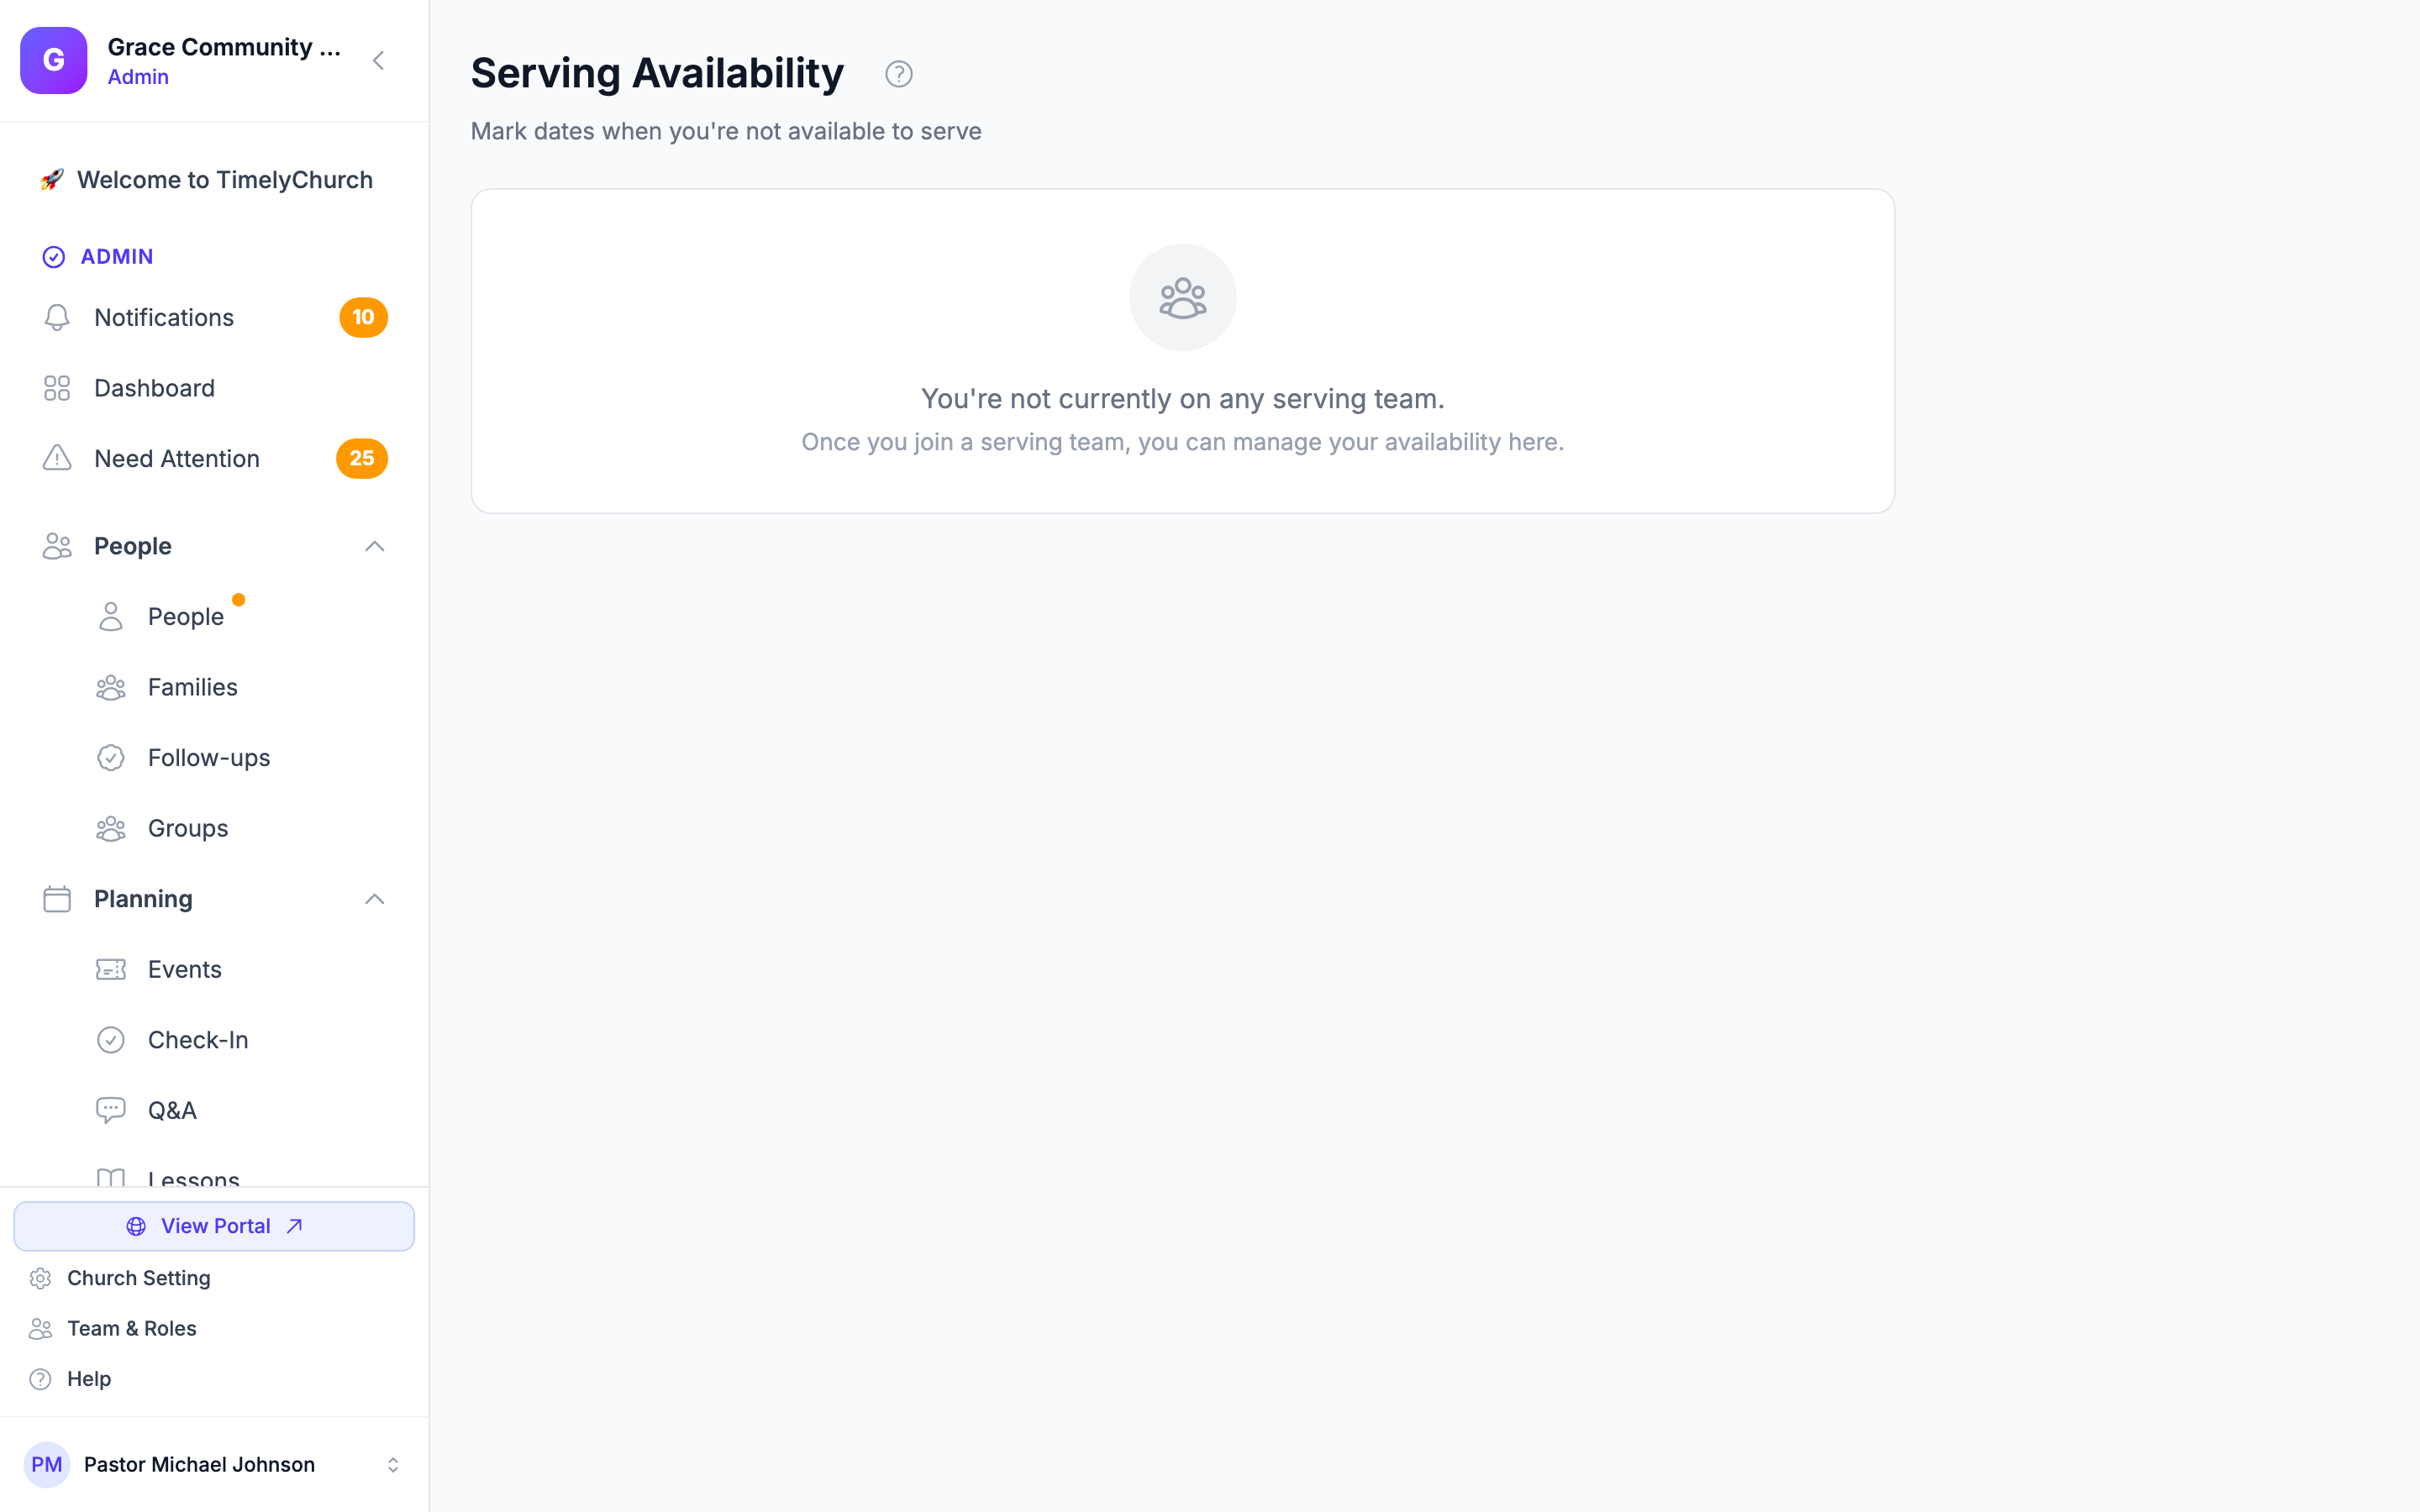
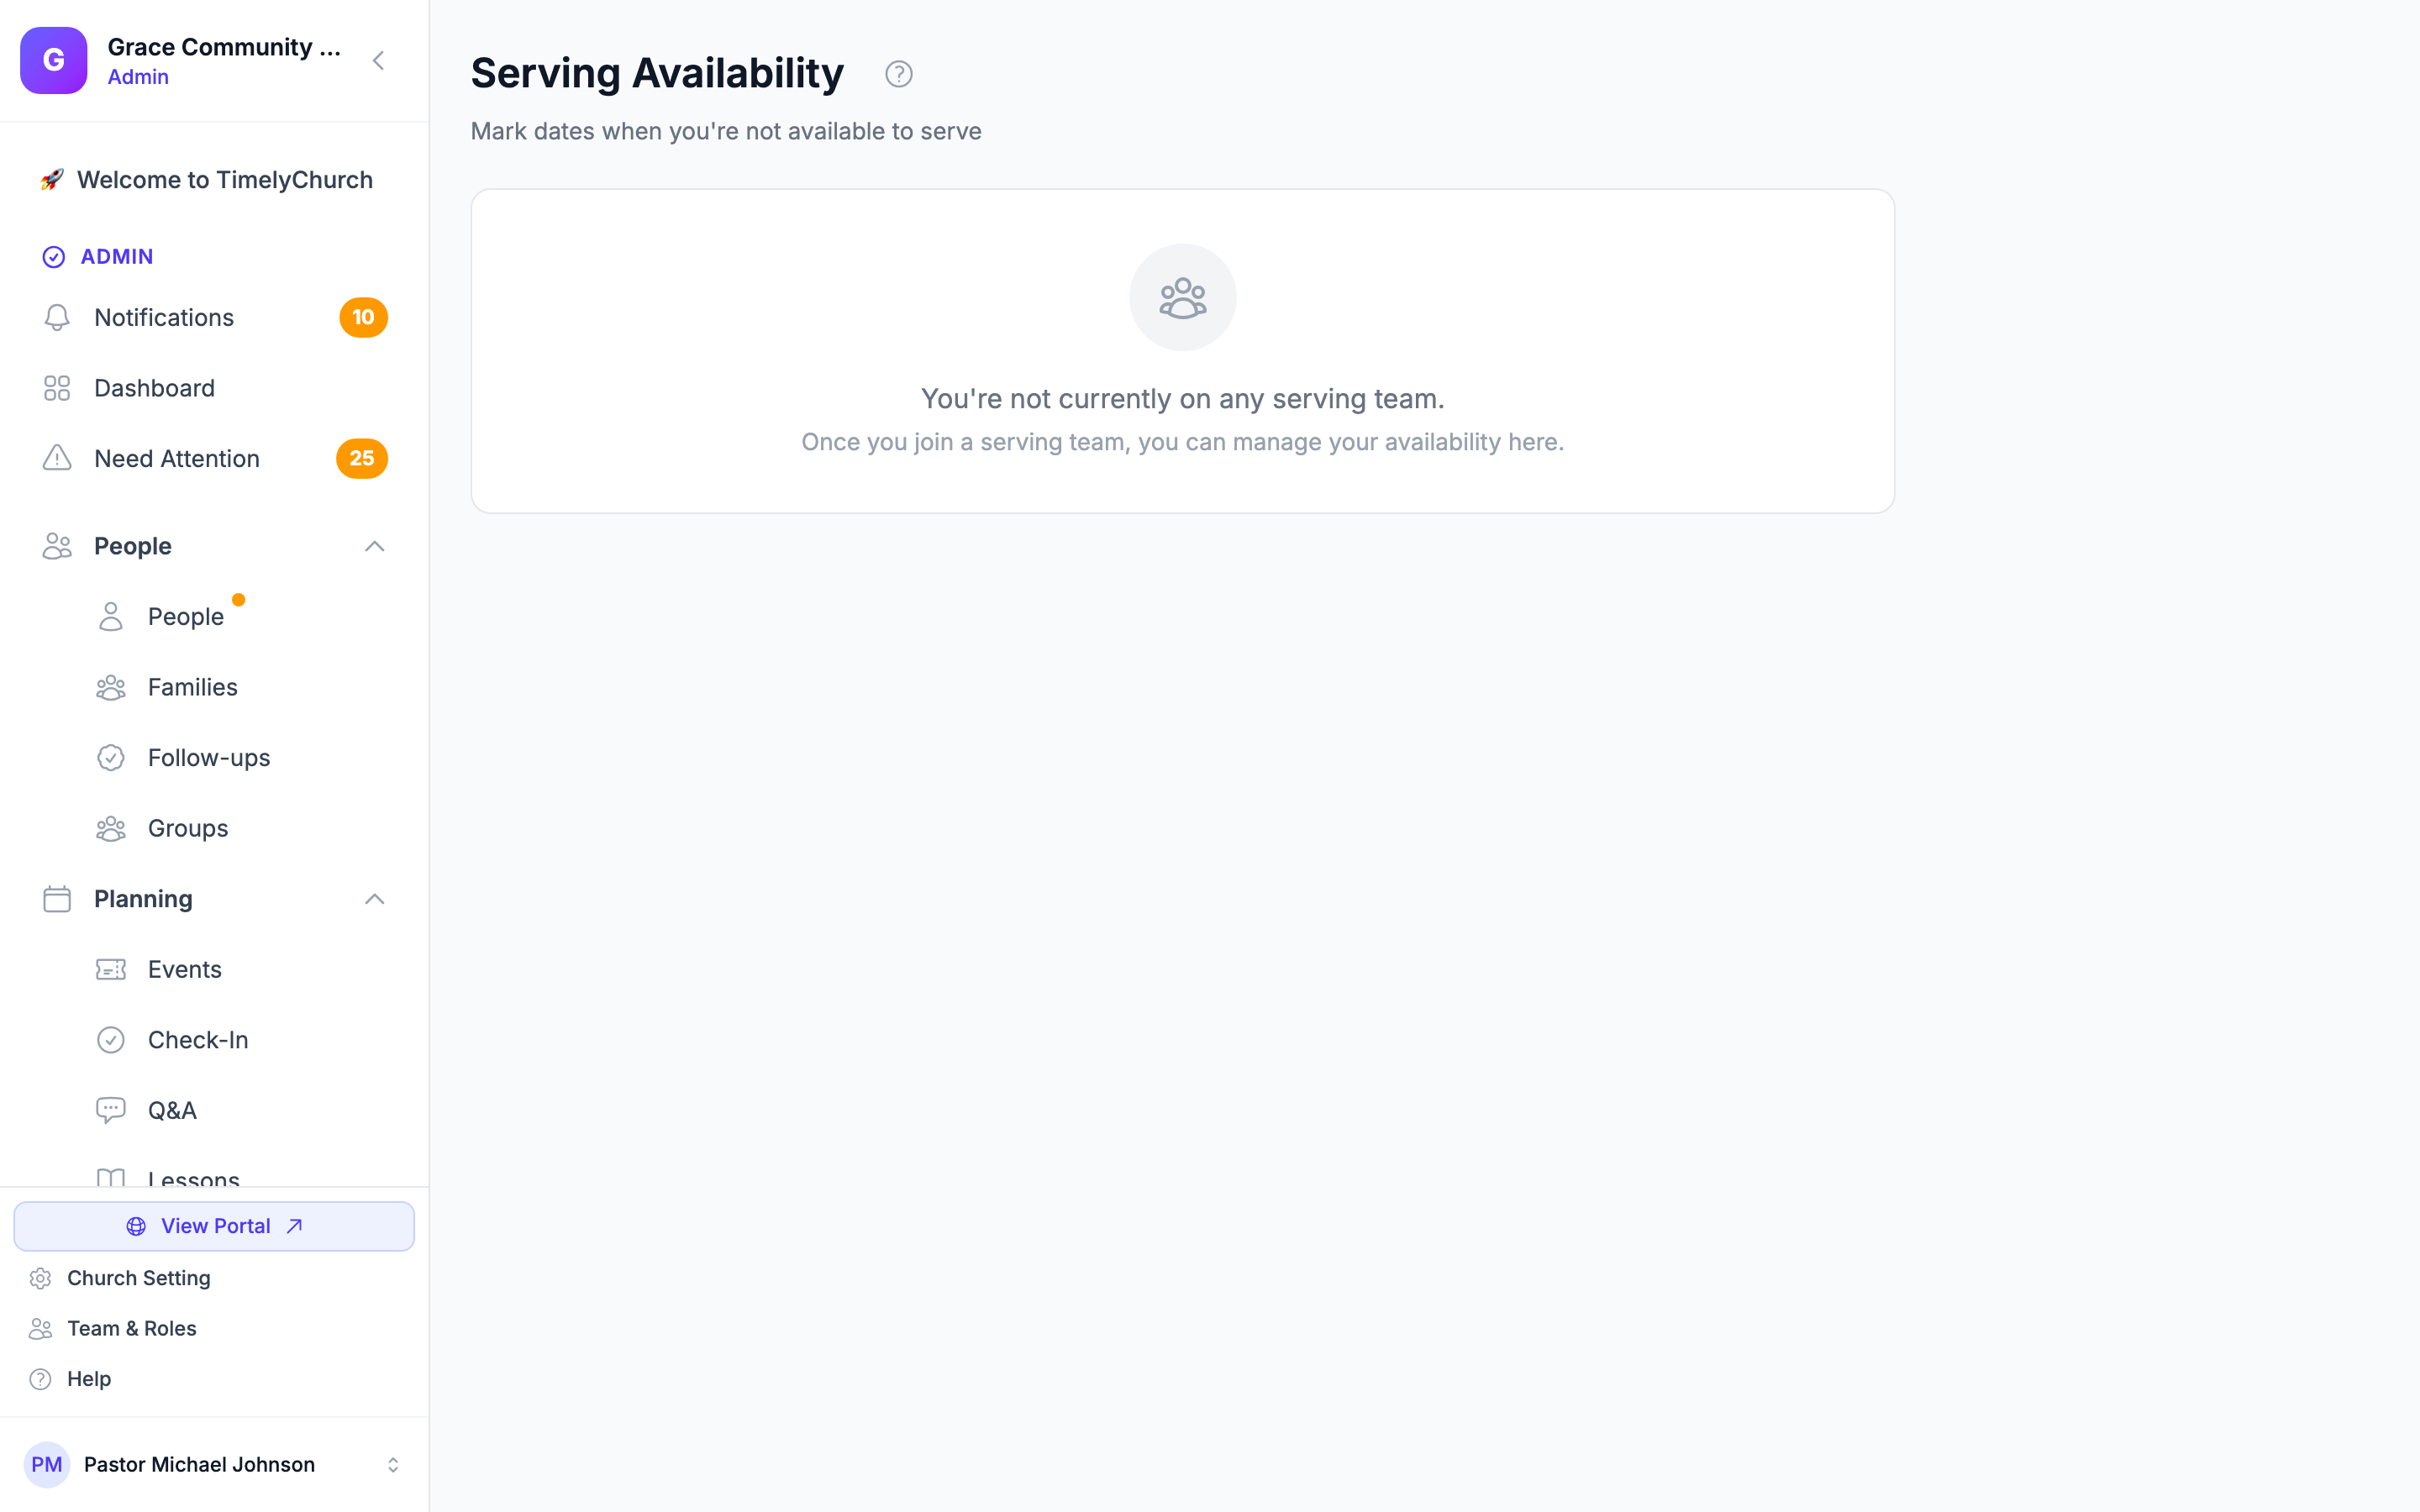
Note: If you are not currently on any serving team, the page will display a message: "You're not currently on any serving team." Once you join a serving team, you will be able to manage your availability here. Contact your church administrator if you should be on a team.
Adding an Unavailable Date or Date Range
- Click the Add Unavailable Date button in the top-right corner.
- A modal window will appear.
- Enter a Start Date and an End Date. For a single day, set both dates to the same date.
- Optionally enter a Reason (for example, "Out of town" or "Family event").
- Click Add Date.
- The date or range will be added to your Upcoming Unavailable Dates list. If you entered a reason, it appears beneath the date so coordinators can see the context at a glance.
Tip: To block an extended absence such as a vacation, set the Start Date and End Date to span the whole period rather than adding each day one at a time.
Removing an Unavailable Date
If your plans change and you become available on a date you previously blocked:
- Find the date in your Upcoming Unavailable Dates list.
- Click the trash (delete) icon to the right of that date.
- A confirmation appears ("Remove Unavailable Date?"). Click Mark as Available to confirm.
- The date is removed from your list, making you available for scheduling again.
Recurring Unavailability Patterns
The Recurring Patterns panel lets you block a repeating pattern (for example, "1st Sunday of Month" or "Every Other Sunday") instead of clicking each date one at a time. This is useful when you have a standing conflict, such as a recurring work shift or a bi-weekly co-parenting schedule.
Click + Add Pattern, choose a pattern from the dropdown, optionally add a reason, and save. To stop a pattern, click the X next to it on the panel and confirm the prompt.
For the full list of available patterns and how recurring unavailability interacts with one-off unavailable dates, see Recurring Unavailability.
Scheduling Preferences
Near the top of the page, expand the Scheduling Preferences section to set detailed preferences that help coordinators plan your serving schedule:
Preferred Days to Serve
- Tap the days of the week when you prefer to serve (Sun, Mon, Tue, etc.). Leave empty if you have no preference.
Days to Avoid
- Tap days you would prefer not to be scheduled on.
Preferred Times
- Check whether you prefer Morning, Afternoon, or Evening events.
Frequency Limits
- Max Times Per Month -- Choose "No limit" or a cap from 1 to 8 times.
- Min Days Between -- Choose "No minimum" or a minimum gap of 1 to 4 weeks between assignments.
Auto-Scheduling Options
- Include me in auto-scheduling -- Allow coordinators to automatically include you when generating schedules.
- I can fill in last-minute when needed -- Indicate whether you are willing to serve as a last-minute fill-in.
After setting your preferences, click Save Preferences to apply them.
Tip: Setting clear scheduling preferences helps your church plan better and avoids scheduling conflicts. Even if you do not have specific unavailable dates, setting your preferred days and frequency limits provides valuable information to coordinators.
Best Practices
- Update early and often. As soon as you know about upcoming commitments (trips, work schedules, family events), block those dates.
- Use a date range for vacations. Rather than adding individual dates, set the Start and End dates to block an extended absence in one step.
- Review monthly. Take a few minutes at the start of each month to review and update your availability for the coming weeks.
- Communicate changes. If your plans change on short notice and you have already been assigned, blocking the date doesn't take you off the schedule. Decline the assignment or Propose swap from My Schedule (teachers: use Need a sub?) so your leaders know to find cover.