
Setting Up a Check-In Kiosk
The Kiosk Mode provides a full-screen, self-service check-in experience designed for tablets, touchscreen monitors, or any computer with a web browser. This article explains how to configure and deploy a kiosk.
Launching the Kiosk
- In the left sidebar, open Planning and click Check-In.
- Click the Kiosk Mode button in the top-right corner. The kiosk will open in a new browser tab. (You need the Check-In Use permission.)
- The kiosk automatically enters fullscreen mode. If it does not, click the fullscreen toggle button in the header bar.
You can also launch the kiosk directly from a session detail page by clicking Kiosk Mode there, which pre-selects that specific session.
Tip: Bookmark the kiosk URL on your tablet's home screen for quick access each week.
Kiosk Header Bar
The kiosk header displays:
- Church name and the active session name
- Live attendance stats -- Total, Check-ins, and Heads (headcount), refreshed every few seconds
- Current time (updates in real-time)
- Add Visitor button -- Register walk-in visitors directly from the kiosk
- Headcount button -- Tap to add a manual headcount for areas without individual check-ins
- Layout toggle -- Switch between Classic and Split layouts
- Fullscreen toggle -- Enter or exit fullscreen mode
- Lock button -- Lock the kiosk to prevent unauthorized exit (see below)
Choosing a Layout
The kiosk offers two layouts:
Classic Layout
The default layout. A centered phone number pad is displayed on the main screen. Links for "Search by name," "Have a pre-check code?", and "Scan QR Code with Camera" appear below the number pad.
Split Layout
The screen is split into two panels:
- Left panel: A live camera view for scanning QR codes (ideal for pre-check-in codes).
- Right panel: The phone number pad for manual lookup.
Choose Split if you expect a mix of pre-check-in QR scans and manual phone lookups.
To switch layouts, click the layout toggle button (Classic / Split) in the kiosk header. The toggle is hidden while the kiosk is locked.
Session Selection
If multiple check-in sessions are active at the same time (for example, a worship service and a children's program), the kiosk will display a session selection screen before showing the phone lookup. Families tap the session they are checking into.
If only one session is active, the kiosk skips this step and goes directly to the phone entry screen.
To pin a tablet to one session, open the kiosk from that session's page (Kiosk Mode) or from the event's Check-In tab (Open kiosk), then bookmark that address -- see Check-In Rooms.
Locking the Kiosk
To prevent someone from accidentally navigating away from the kiosk or accessing admin features:
Locking for the First Time (Setting Your PIN)
- Click the Lock button (padlock icon) in the kiosk header.
- The Set Kiosk PIN modal opens. Enter a 4-6 digit PIN using the on-screen number pad.
- Confirm the PIN by typing it again in the second field.
- Tap the green confirm button.
- The kiosk enters locked mode. The layout toggle and fullscreen toggle are hidden, the lock button turns red, and the label changes to "Locked."
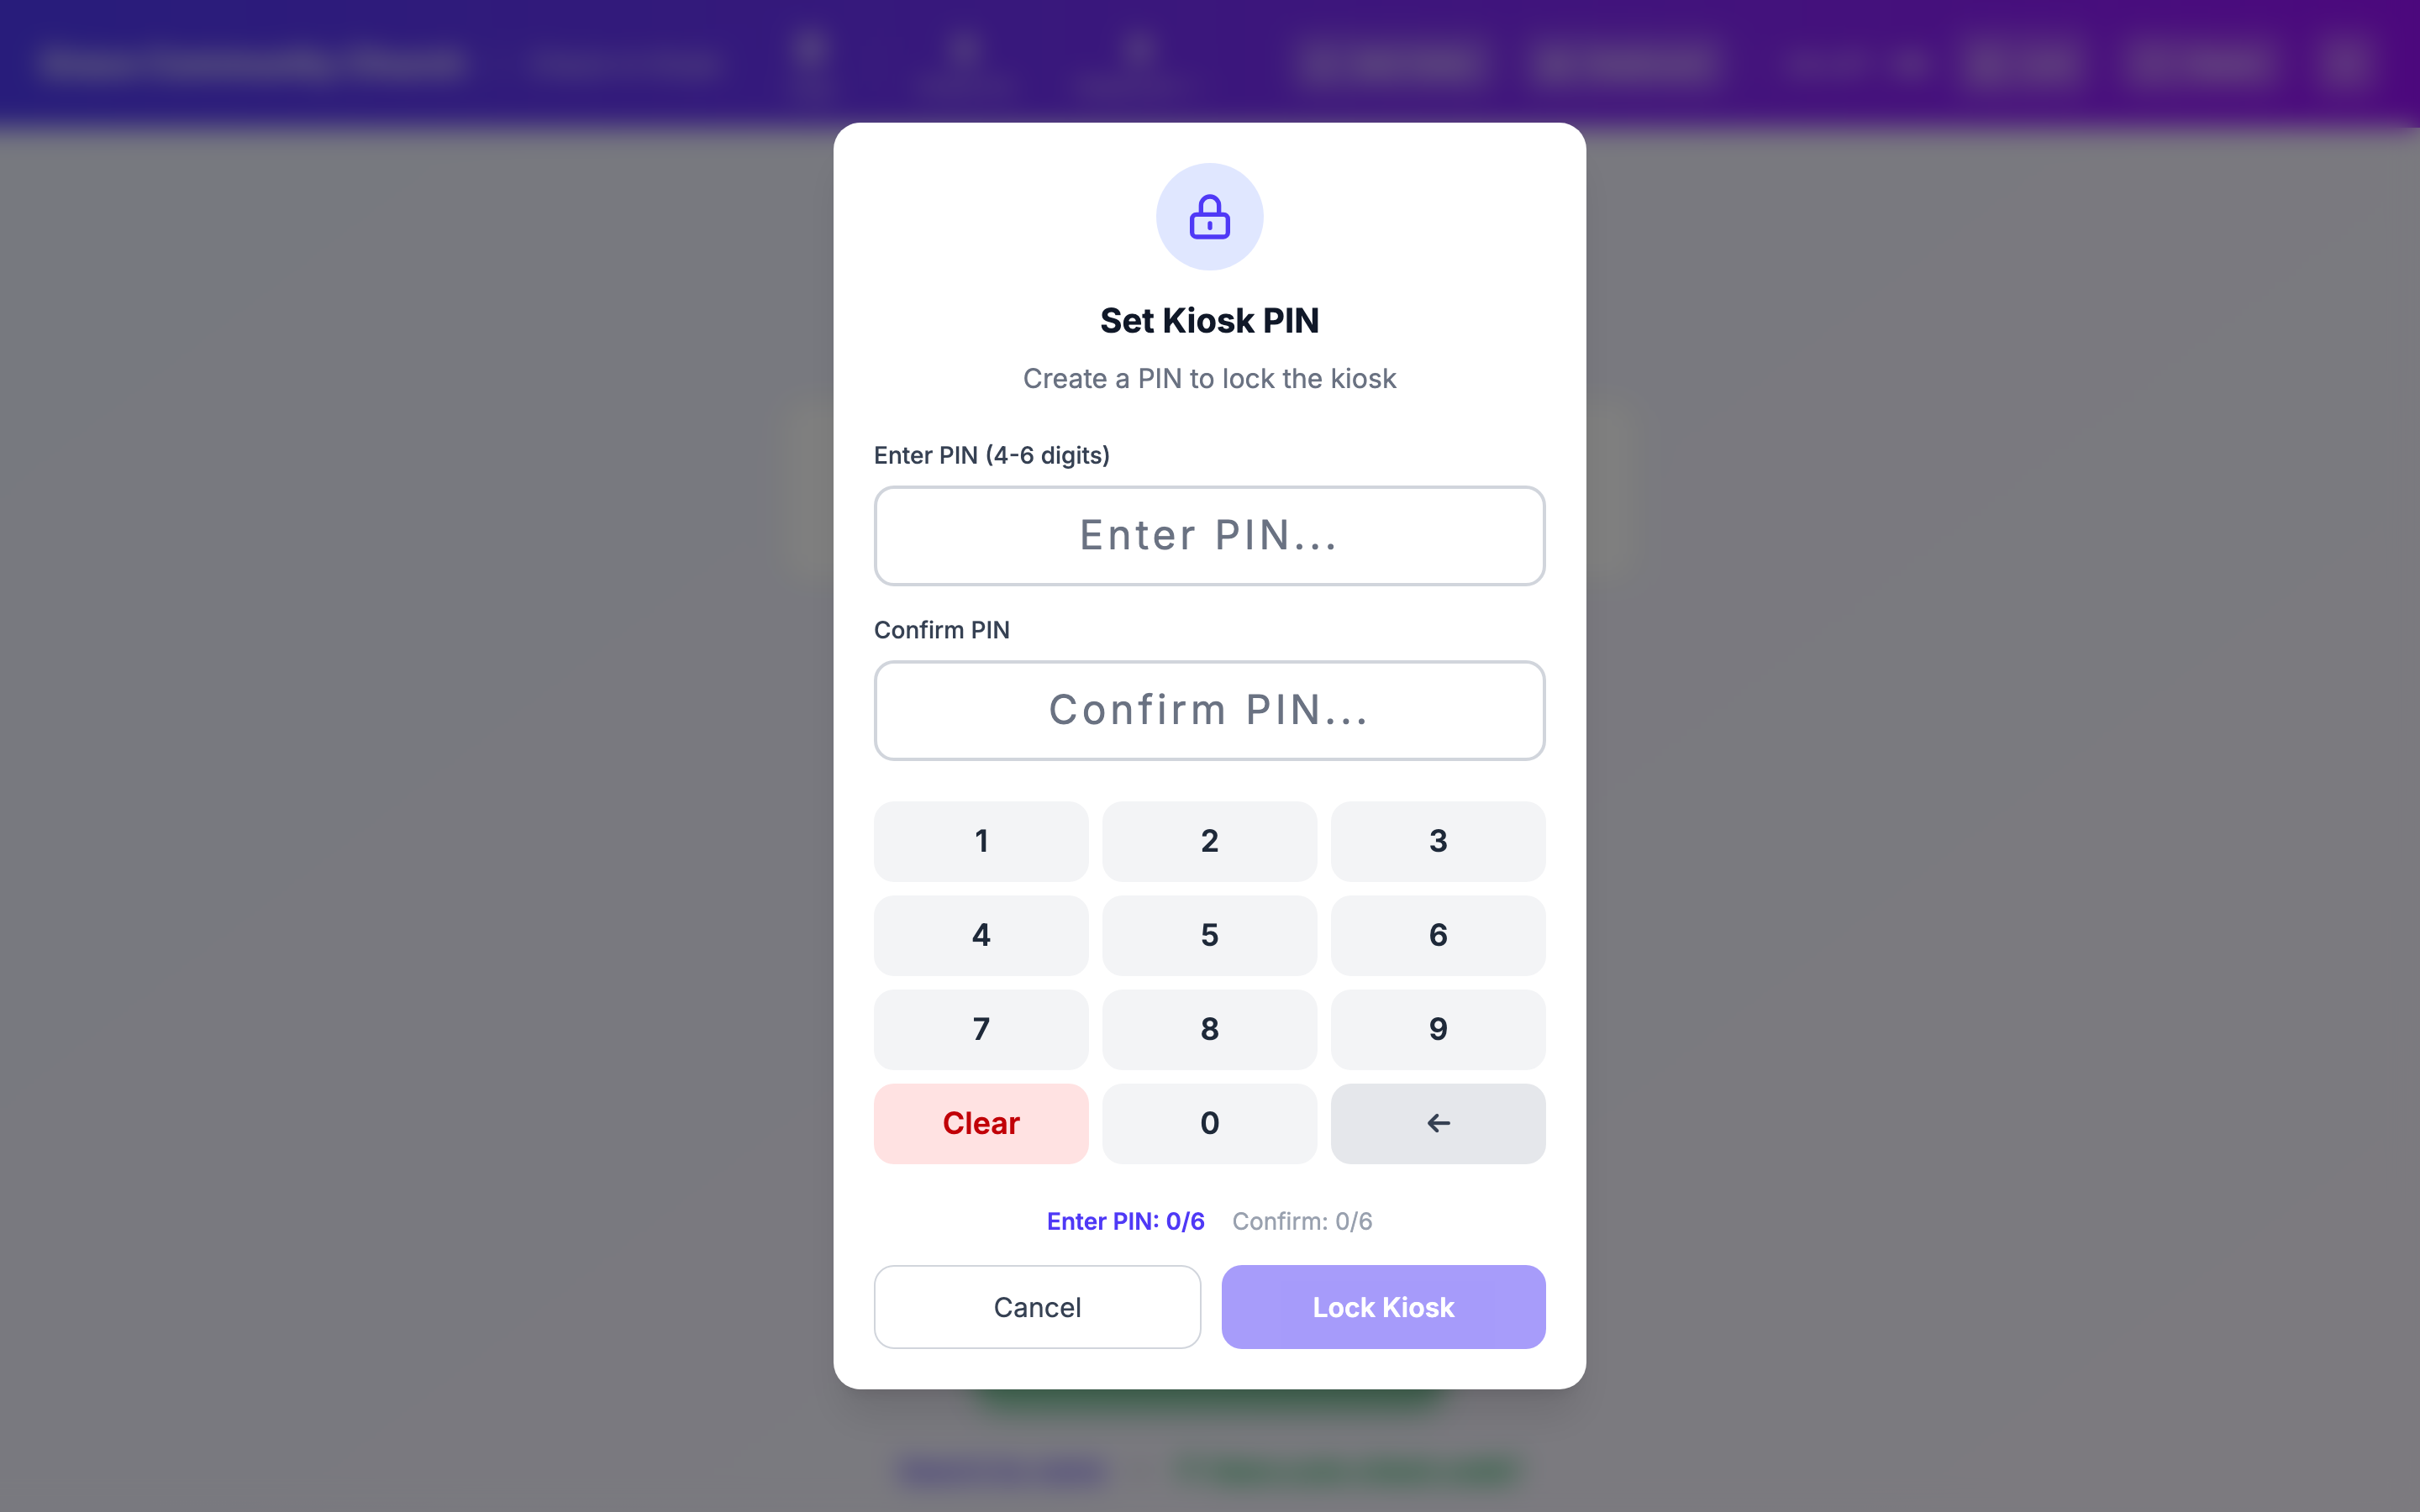
Important: The PIN you set on first lock is the PIN you will need to unlock or exit the kiosk. Write it down somewhere safe — there is no "forgot PIN" flow inside the kiosk itself. The lock survives a page reload, but closing the kiosk's browser tab clears it. (See the troubleshooting article for how to recover if a PIN is lost.)
After several wrong PINs in a row, the kiosk shows Too many failed attempts and makes you wait before trying again.
Unlocking or Exiting a Locked Kiosk
- Tap the red Locked button in the header.
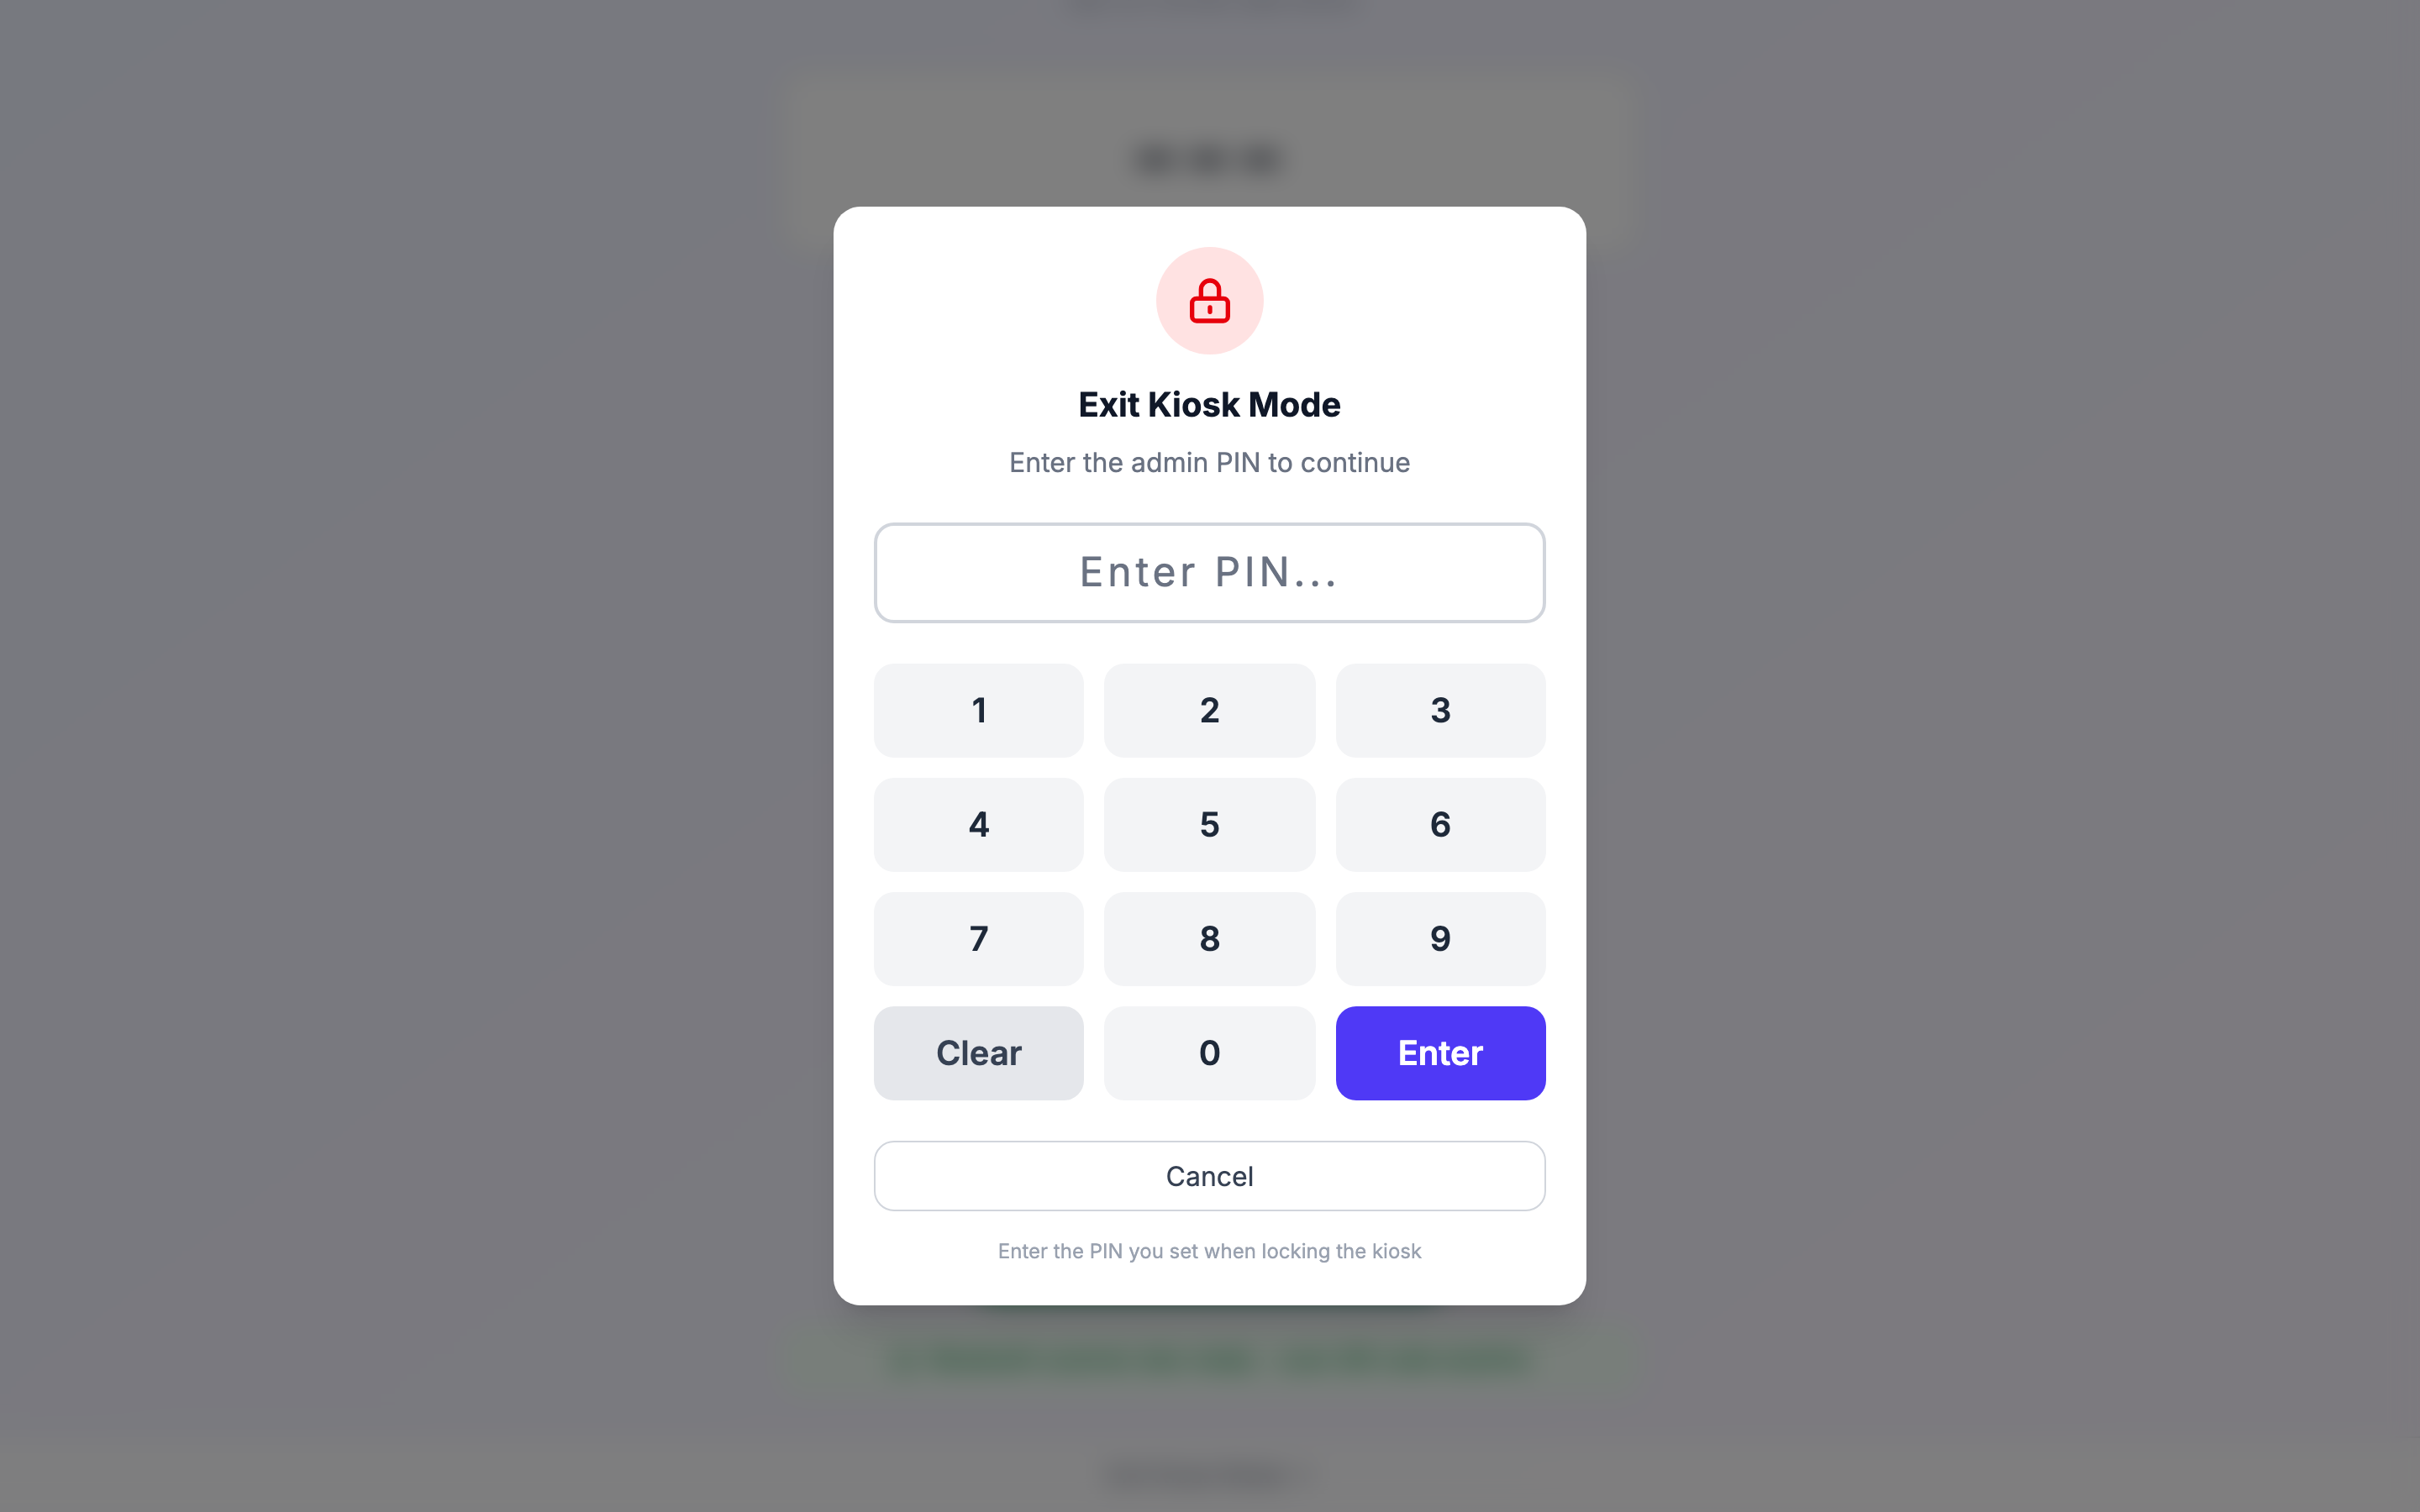
- The Exit Kiosk Mode modal opens. Enter the PIN you set when locking.
- Once the PIN is verified, you are presented with two options:
- Unlock Kiosk -- Stay in kiosk mode but unlocked. The layout, fullscreen, and lock buttons reappear and the kiosk continues running. Use this when you need to change a setting on the kiosk and then re-lock it.
- Exit Kiosk Mode -- Leaves the kiosk entirely and returns to the admin Check-In page in your browser. Use this when the service is over and you are tearing down.
- You can also tap Cancel to dismiss the modal without doing either.
Important: Always lock the kiosk when it is deployed in a public area, especially near children's check-in. The lock prevents a guest from tapping their way into admin pages or out of fullscreen mode.
QR Code Scanning
The kiosk supports two methods for QR code scanning:
Camera-Based Scanning
Click "Scan QR Code with Camera" on the phone entry screen (Classic layout), or click Start Camera in the left panel (Split layout). The kiosk uses the device's built-in camera to read QR codes. This works with tablets and laptops that have a front-facing camera.
Bluetooth or USB Scanner
If you have a handheld barcode/QR scanner connected to the kiosk device via Bluetooth or USB, the scanner is always active. Scan a QR code at any time -- the kiosk will process it regardless of what screen is displayed. A green hint under the number pad reads "Bluetooth scanner also ready - scan QR code anytime."
Hardware Recommendations
Tablet Setup
- An iPad or Android tablet (10" or larger) works well.
- Mount the tablet on a stand at a height comfortable for adults.
- Print to a thermal label printer through the tablet's print dialog or AirPrint -- see Printing Check-In Labels on an iPad or Tablet.
Desktop/Laptop Setup
- Any modern web browser (Chrome, Edge, Safari, Firefox) on a touchscreen monitor.
- A USB or Bluetooth barcode scanner for fast QR code processing.
- A Brother QL or Dymo thermal label printer connected via USB.
Label Printer
- Brother DK-11202 labels (62mm x 100mm) are the recommended default and provide the best check-in label size.
- Brother DK-22205 continuous roll can be cut to small (62mm x 40mm) or medium (62mm x 60mm).
- Brother DK-11201 address labels (29mm x 90mm) work as a compact strip option.
- Dymo 4" x 2" labels are also supported.
- Custom dimensions can be entered in settings.
Network Considerations
The kiosk needs an internet connection to look families up. Ensure your Wi-Fi is reliable in the area where the kiosk is deployed.
If the Connection Drops
If the connection drops while a family is checking in, the kiosk does not lose the check-in:
- Check-ins, walk-in visitors, and headcounts are saved on the kiosk device, and an amber bar at the bottom of the screen reads "Offline — check-ins saved: [number]. Will send automatically."
- When the connection comes back, the kiosk sends them on its own (it also retries every few seconds). Tap Send now to send them straight away.
- Saved check-ins older than 12 hours are discarded rather than sent late, and the kiosk tells you how many were dropped. If that happens, check those families in again or record them with Manual Attendance.
Keep the kiosk's browser tab open until the bar disappears -- the saved check-ins live on that device.
Tip: If your church Wi-Fi is sometimes unreliable, consider using a dedicated mobile hotspot as a backup for the kiosk device.
"Session expired"
If the kiosk's sign-in runs out during a long service, a red banner appears at the top: Session expired -- "A leader needs to unlock this kiosk again. Check-ins are paused until then." A leader taps Reload and signs in again. Check-ins saved on the device while the kiosk was paused are kept and sent after the reload.