
Group Resources
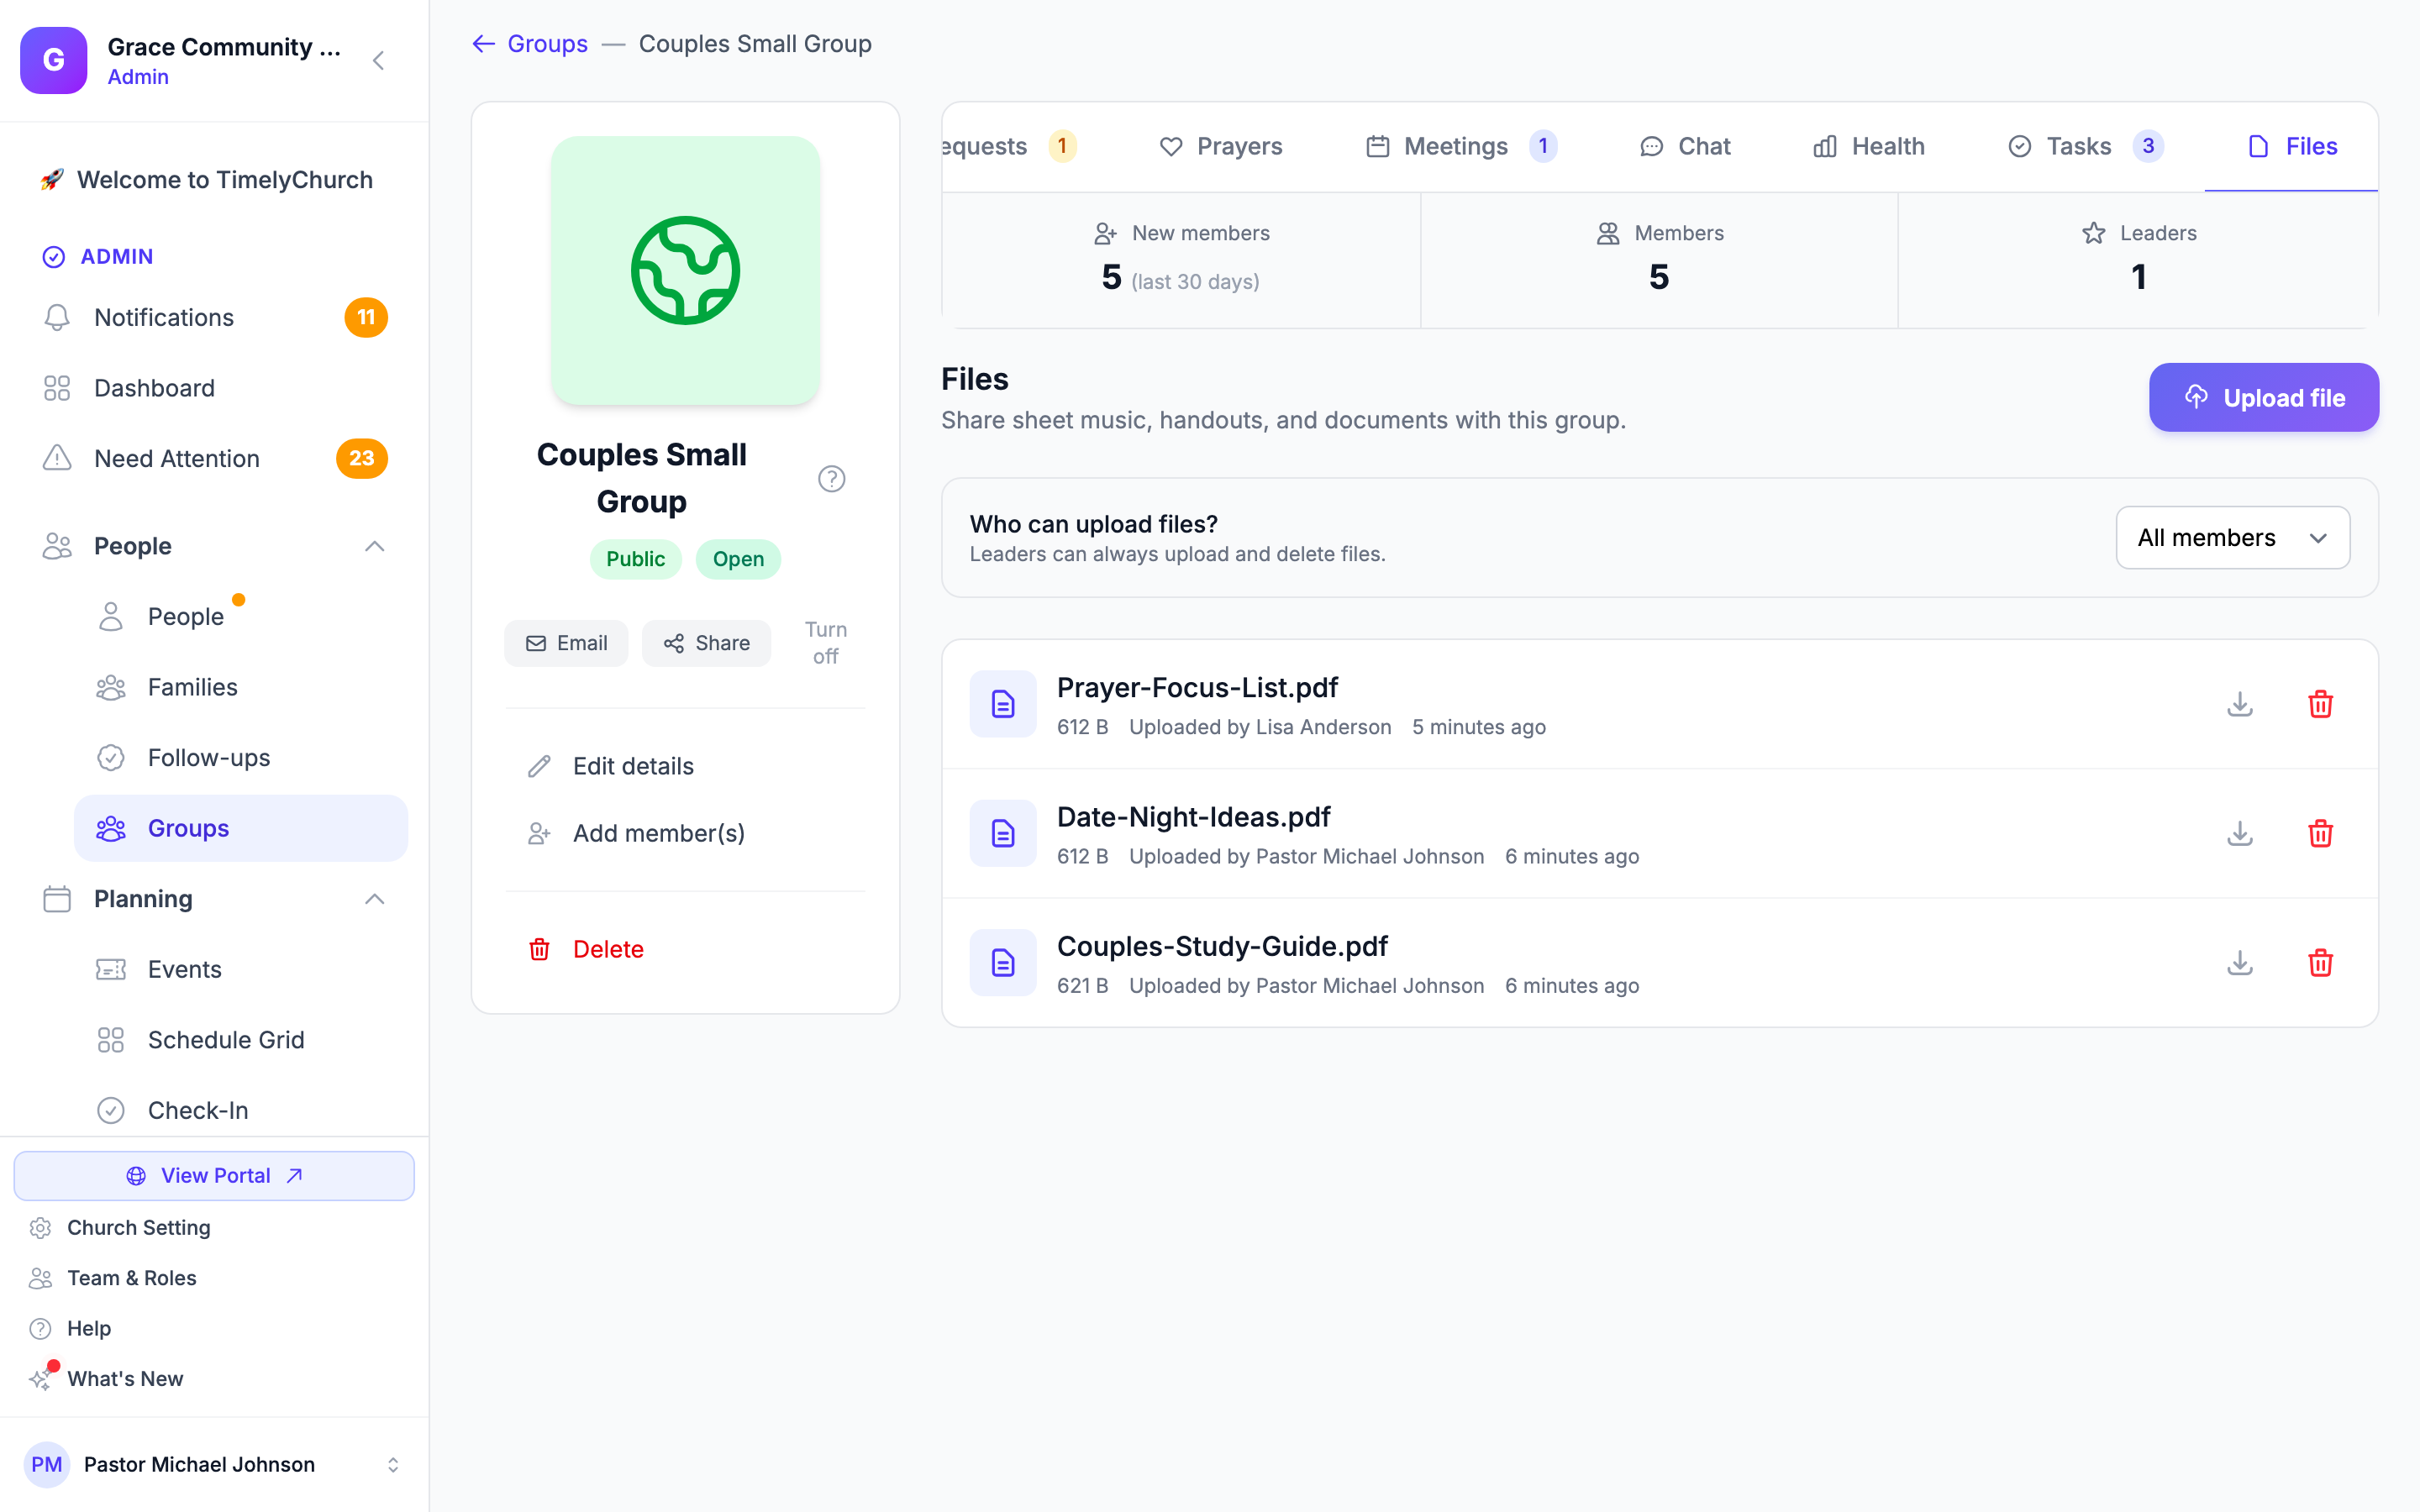
Every group -- a small group, a serving team, a class, a committee -- has a Files tab for sharing documents with just that group: sheet music for a worship team, a sign-up sheet, a permission slip, notes from the last meeting. This article covers how to upload, download, and remove group files, and who can do what.
Overview
The Files tab appears on the group page in the admin panel and on the group's page under My Groups in the member portal. It is available for every kind of group: Private groups, Public groups, Teams, and Classes. (For a class, open it from Planning > Classes and click More tools to reach the group page with its Files tab.)
Any active member of the group can see, open, and download the files. Who can add files depends on the group's upload setting (see below).
Uploading a File
- Open the group and click the Files tab.
- Click Upload file (in the portal: Upload a file).
- Choose the file from your device.
- Click Upload.
Each file can be up to 10 MB. There is no limit on how many files a group can have.
Who Can Upload Files
By default, only leaders and co-leaders can upload files. A leader can open this up:
- Go to the Files tab.
- Find Who can upload files?
- Choose Leaders only or All members.
The note under the setting reminds you: "Leaders can always upload and delete files." The setting belongs to this group only; changing it doesn't affect any other group.
Viewing and Downloading
Each file in the list shows its name, size, and who uploaded it (Uploaded by). Click Download to save a copy to your device.
Moving a File to Trash
- Leaders and admins can remove any file in the group.
- A regular member can remove only a file they uploaded themselves.
Click Move to Trash next to the file and confirm. Removing a file is not immediate and permanent: in the portal the confirmation reads "Move this file to trash? It can be restored later." A church admin who can open Drive can restore it from Drive's Trash until it is permanently removed.
Older Files in a Resources Tab
Some groups that shared files before the Files tab existed also show an older Resources tab on the admin group page. When that happens, the Files tab shows a note such as "2 older files live in Resources — new files uploaded here won't move them." with a View Resources link. The Resources tab disappears on its own once the group has no older files left in it. Upload anything new to the Files tab.
Things to Know
- Files belong to one group and are not shared across groups. If you need the same file in several groups, upload it to each group.
- The Files tab in the member portal works the same way: every member can view and download, and uploading follows the group's Who can upload files? setting.
Tip: Name files clearly before uploading ("Sunday Setlist - May 4.pdf" rather than "scan001.pdf") -- the file name is what members see in the list.