
Attendance Reports and Check-In History
TimelyChurch provides detailed attendance data from every check-in session. This article covers how to view session reports, track trends, and use the data for follow-up.
Session Detail Report
After a check-in session (or while it is still active), you can view its full report.
Accessing the Report
- Go to Check-In in the admin sidebar.
- In the Active Sessions banner (or the Today's Sessions panel in the right sidebar), click the eye icon or the session name.
- The session detail page opens.
Report Contents
Summary Statistics
The top of the page displays six key metrics:
| Metric | Description |
|---|---|
| Total Checked In | Total number of people who checked in during this session. |
| Currently Present | People who are still checked in (not yet checked out). |
| Checked Out | People who have been checked out. |
| Children | Number of checked-in people flagged as children (under 18). |
| Adults | Number of checked-in people who are adults. |
| First-Time Visitors | People for whom this was their very first check-in in the entire system. |
Linked Event
If the session is linked to an event, a banner at the top shows the event name and start time, with a link to the event detail page in the Events module.
By Class/Location
A grouped breakdown (shown in the sidebar when more than one class/location is in use) shows how many people checked into each class or group. This helps children's ministry leaders see how many children were in each room.
Check-In Timeline
A breakdown of check-ins grouped by the hour they occurred (e.g., "10 AM: 23 check-ins, 11 AM: 8 check-ins"), shown as a small bar chart in the sidebar. This reveals arrival patterns and peak times.
Attendance List
A complete list of every check-in for the session, ordered by most recent first. Each entry shows:
- Person's name and photo (or initials)
- A Child badge for children
- Class/group assignment
- Check-in time
- Checkout time (if checked out), or a Present badge if still checked in
For active sessions, each still-present row also has a Check Out button.
Today's Sessions Overview
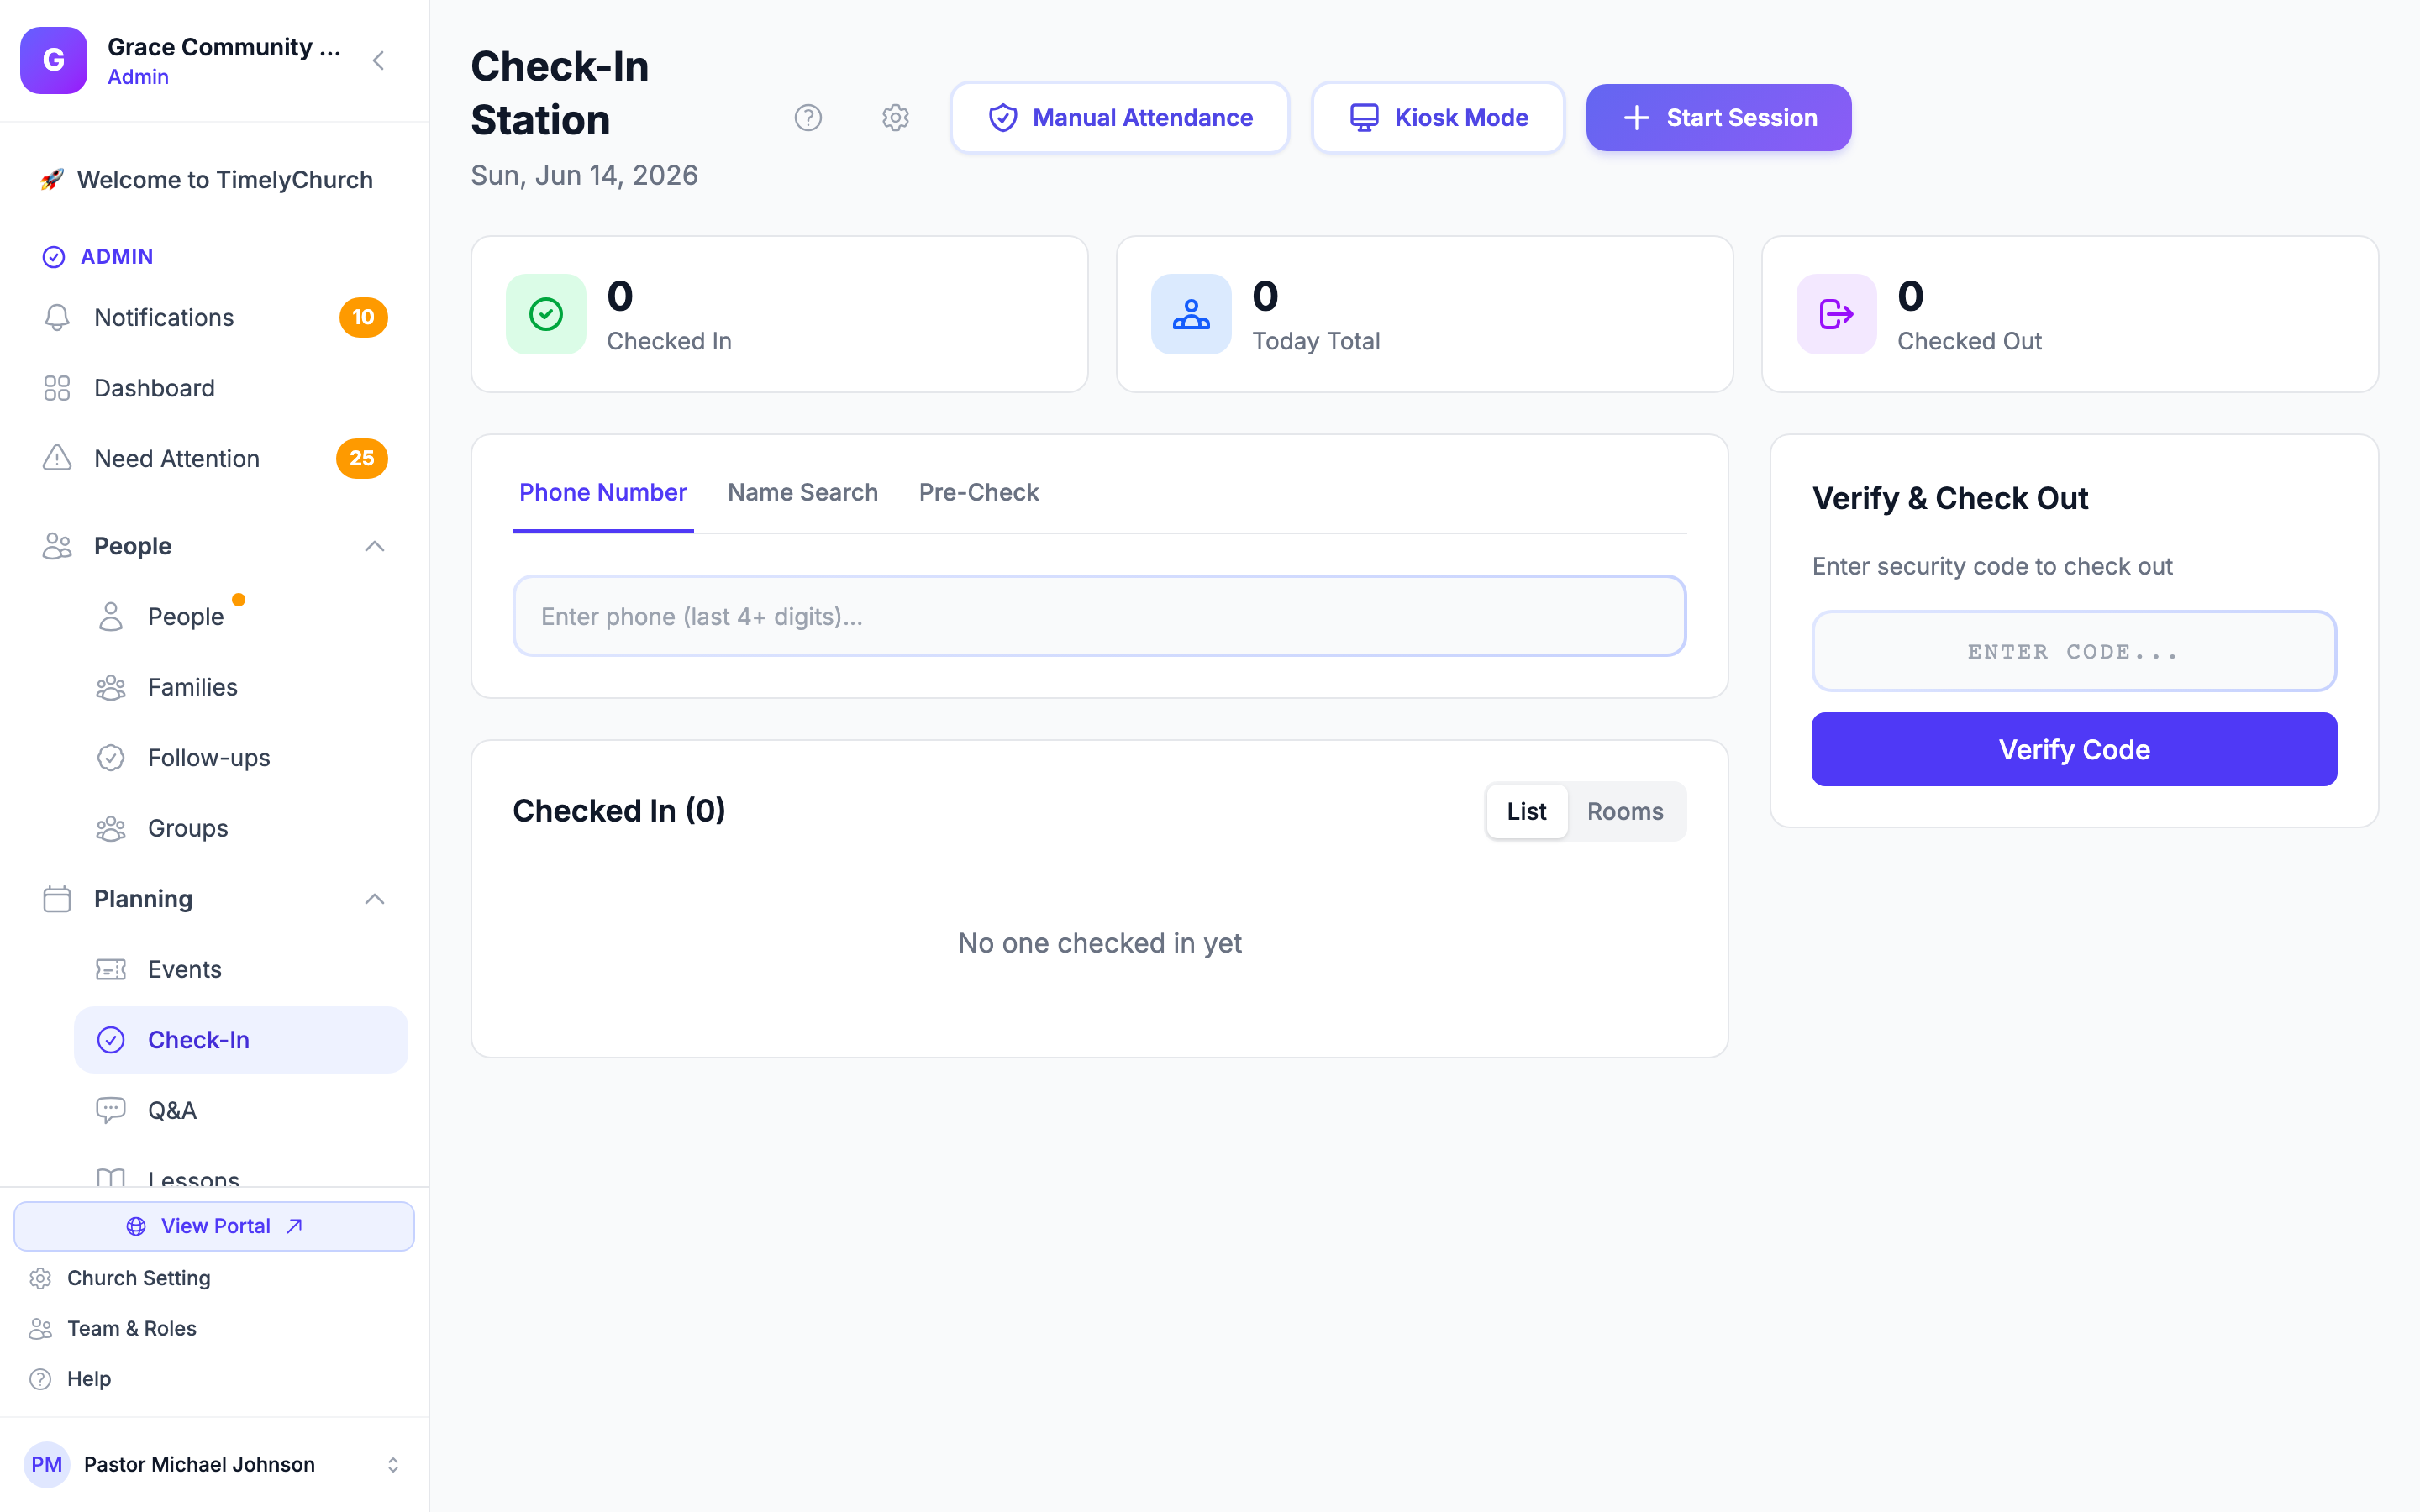
The Check-In Station page displays all sessions for the current day in the sidebar, including:
- Session name
- Start and end times
- Number of check-ins
This provides a quick overview of the day's activity without navigating to each session.
Historical Attendance via Reports
For attendance trends over time, use the Reports section of the admin panel.
- Go to Reports in the admin sidebar.
- Open the Attendance group and select Check-ins.
- Filter by date range.
- Review the list of check-ins, the summary stats (total check-ins, unique people, check-ins with allergies), and the source breakdown (kiosk, manual class entry, headcount, or volunteer-recorded).
This report draws from the same check-in data and can help you spot patterns such as:
- Average Sunday attendance over a chosen range
- Which classes are growing or declining (see the By Class report)
- Seasonal attendance fluctuations
Peak Times Data
Behind the check-in reports, TimelyChurch also computes when people actually walk in the door -- grouping every check-in across a date range by the hour of day it occurred, with a count and percentage for each hour (0-23).
Note: Peak-times data is computed from your check-in records but is not yet surfaced as its own report page in the admin sidebar. The same arrival patterns are visible per session in the Check-In Timeline on each session detail report (see above).
What This Data Tells You
- Arrival pattern -- Most check-ins cluster around the start of your service. The hourly breakdown shows how tight that window is.
- Staffing gaps -- If most check-ins land in a single hour, you may need extra volunteers at the door during that window.
- Late arrivals -- See how many families arrive after the service starts. This can shape policies around late drop-offs.
Check-In Durations Data
TimelyChurch also computes how long people stay checked in -- from check-in to checkout -- broken down by class or group, for a chosen date range.
Note: Like peak-times data, the durations breakdown is computed from your check-in records but is not yet surfaced as its own report page in the admin sidebar.
What the Durations Breakdown Covers
For each group with checkouts in the range, the data includes:
- Group name -- The class or group.
- Average duration (minutes) -- The mean time between check-in and checkout.
- Min and max duration -- The shortest and longest stays in the range.
- Total checkouts -- How many completed check-in-to-checkout cycles the average is based on.
It also reports an overall average duration across the whole church for the range.
Why It Matters
- Service length validation -- If your worship service is supposed to run 75 minutes but average check-in duration is 110 minutes, families are sticking around. Knowing this helps with fellowship hall scheduling.
- Late pickup detection -- A class with an unusually high max duration may indicate parents are forgetting to pick up children, or simply that they are lingering after the service. Combine with the Unclaimed Children alert (article 11) for a fuller picture.
- Operational planning -- Useful for setting expected end times on sessions, which the unclaimed children alert relies on.
Note: Only check-ins with both a check-in time AND a checkout time count toward duration averages. People still checked in (or who left without scanning out) are excluded.
Attendance Records and Classes
Since Check-In absorbed the old Attendance module (v7.30), the check-in itself is the attendance record -- there is no separate second record to keep in sync. When a person is checked into a class, that check-in counts as their attendance for that class on that date. This means:
- Sunday school teachers do not need to take attendance separately when families check in. It is already recorded.
- Class attendance reports reflect check-in data. Open a class (under Groups), then use its Attendance tab.
- The check-in record includes the check-in time and who performed the check-in.
Note: A check-in is treated as "present." Teachers can still take attendance manually for class meetings (marking each person present or absent) from the class's meeting/attendance view -- useful for classes that meet without running a kiosk check-in.
Headcount
A headcount lets you record a bulk count for a session without checking people in individually. You enter and adjust the headcount in Kiosk Mode (tap the Headcount control), and Kiosk Mode shows the combined live total:
Total = Individual Check-ins + Headcount
This is useful for services where only children are individually checked in while adults in the auditorium are counted via headcount.
First-Timer Tracking
The session report automatically identifies first-time visitors -- people who had never been checked in before this session. This count appears in the summary statistics.
Use this data to:
- Prepare welcome packets or follow-up communications for first-timers.
- Track visitor-to-regular conversion rates over time.
Exporting Data
Session and attendance data can be reviewed on screen. For churches that need to export data for external reporting or record-keeping, open Reports > Attendance > Check-ins, set your date range, and use the Export button to download a CSV of the check-in records. The Overview, By Class, and Absentees attendance reports each offer a CSV export as well.
Tips for Effective Attendance Tracking
- Link sessions to events. This ensures attendance data is associated with the correct service or program and appears in event reports.
- Use classes and rooms. Assigning children to classes during check-in generates per-class attendance automatically and powers the room view.
- End sessions when done. Ending a session records the end time and prevents stale data from accumulating. It does not force-checkout anyone still present.
- Review first-timer counts weekly. This is one of the most valuable metrics for church growth tracking.
- Combine headcount with individual check-ins. Use headcount for adult worship attendance and individual check-in for children's ministry to get a complete picture.
Tip: The session detail page is a great tool for a post-service debrief. Review who attended, check the first-timer count, and note any children still not checked out before locking up.