
Church Settings
Church Settings is where you configure your church's profile, manage your subscription, set up custom fields, export data, configure integrations, and more. This guide walks you through each settings tab.
Accessing Church Settings
- Log in to your TimelyChurch admin panel.
- At the bottom of the sidebar, click Church Settings.
- You will see the settings page organized into several tabs.
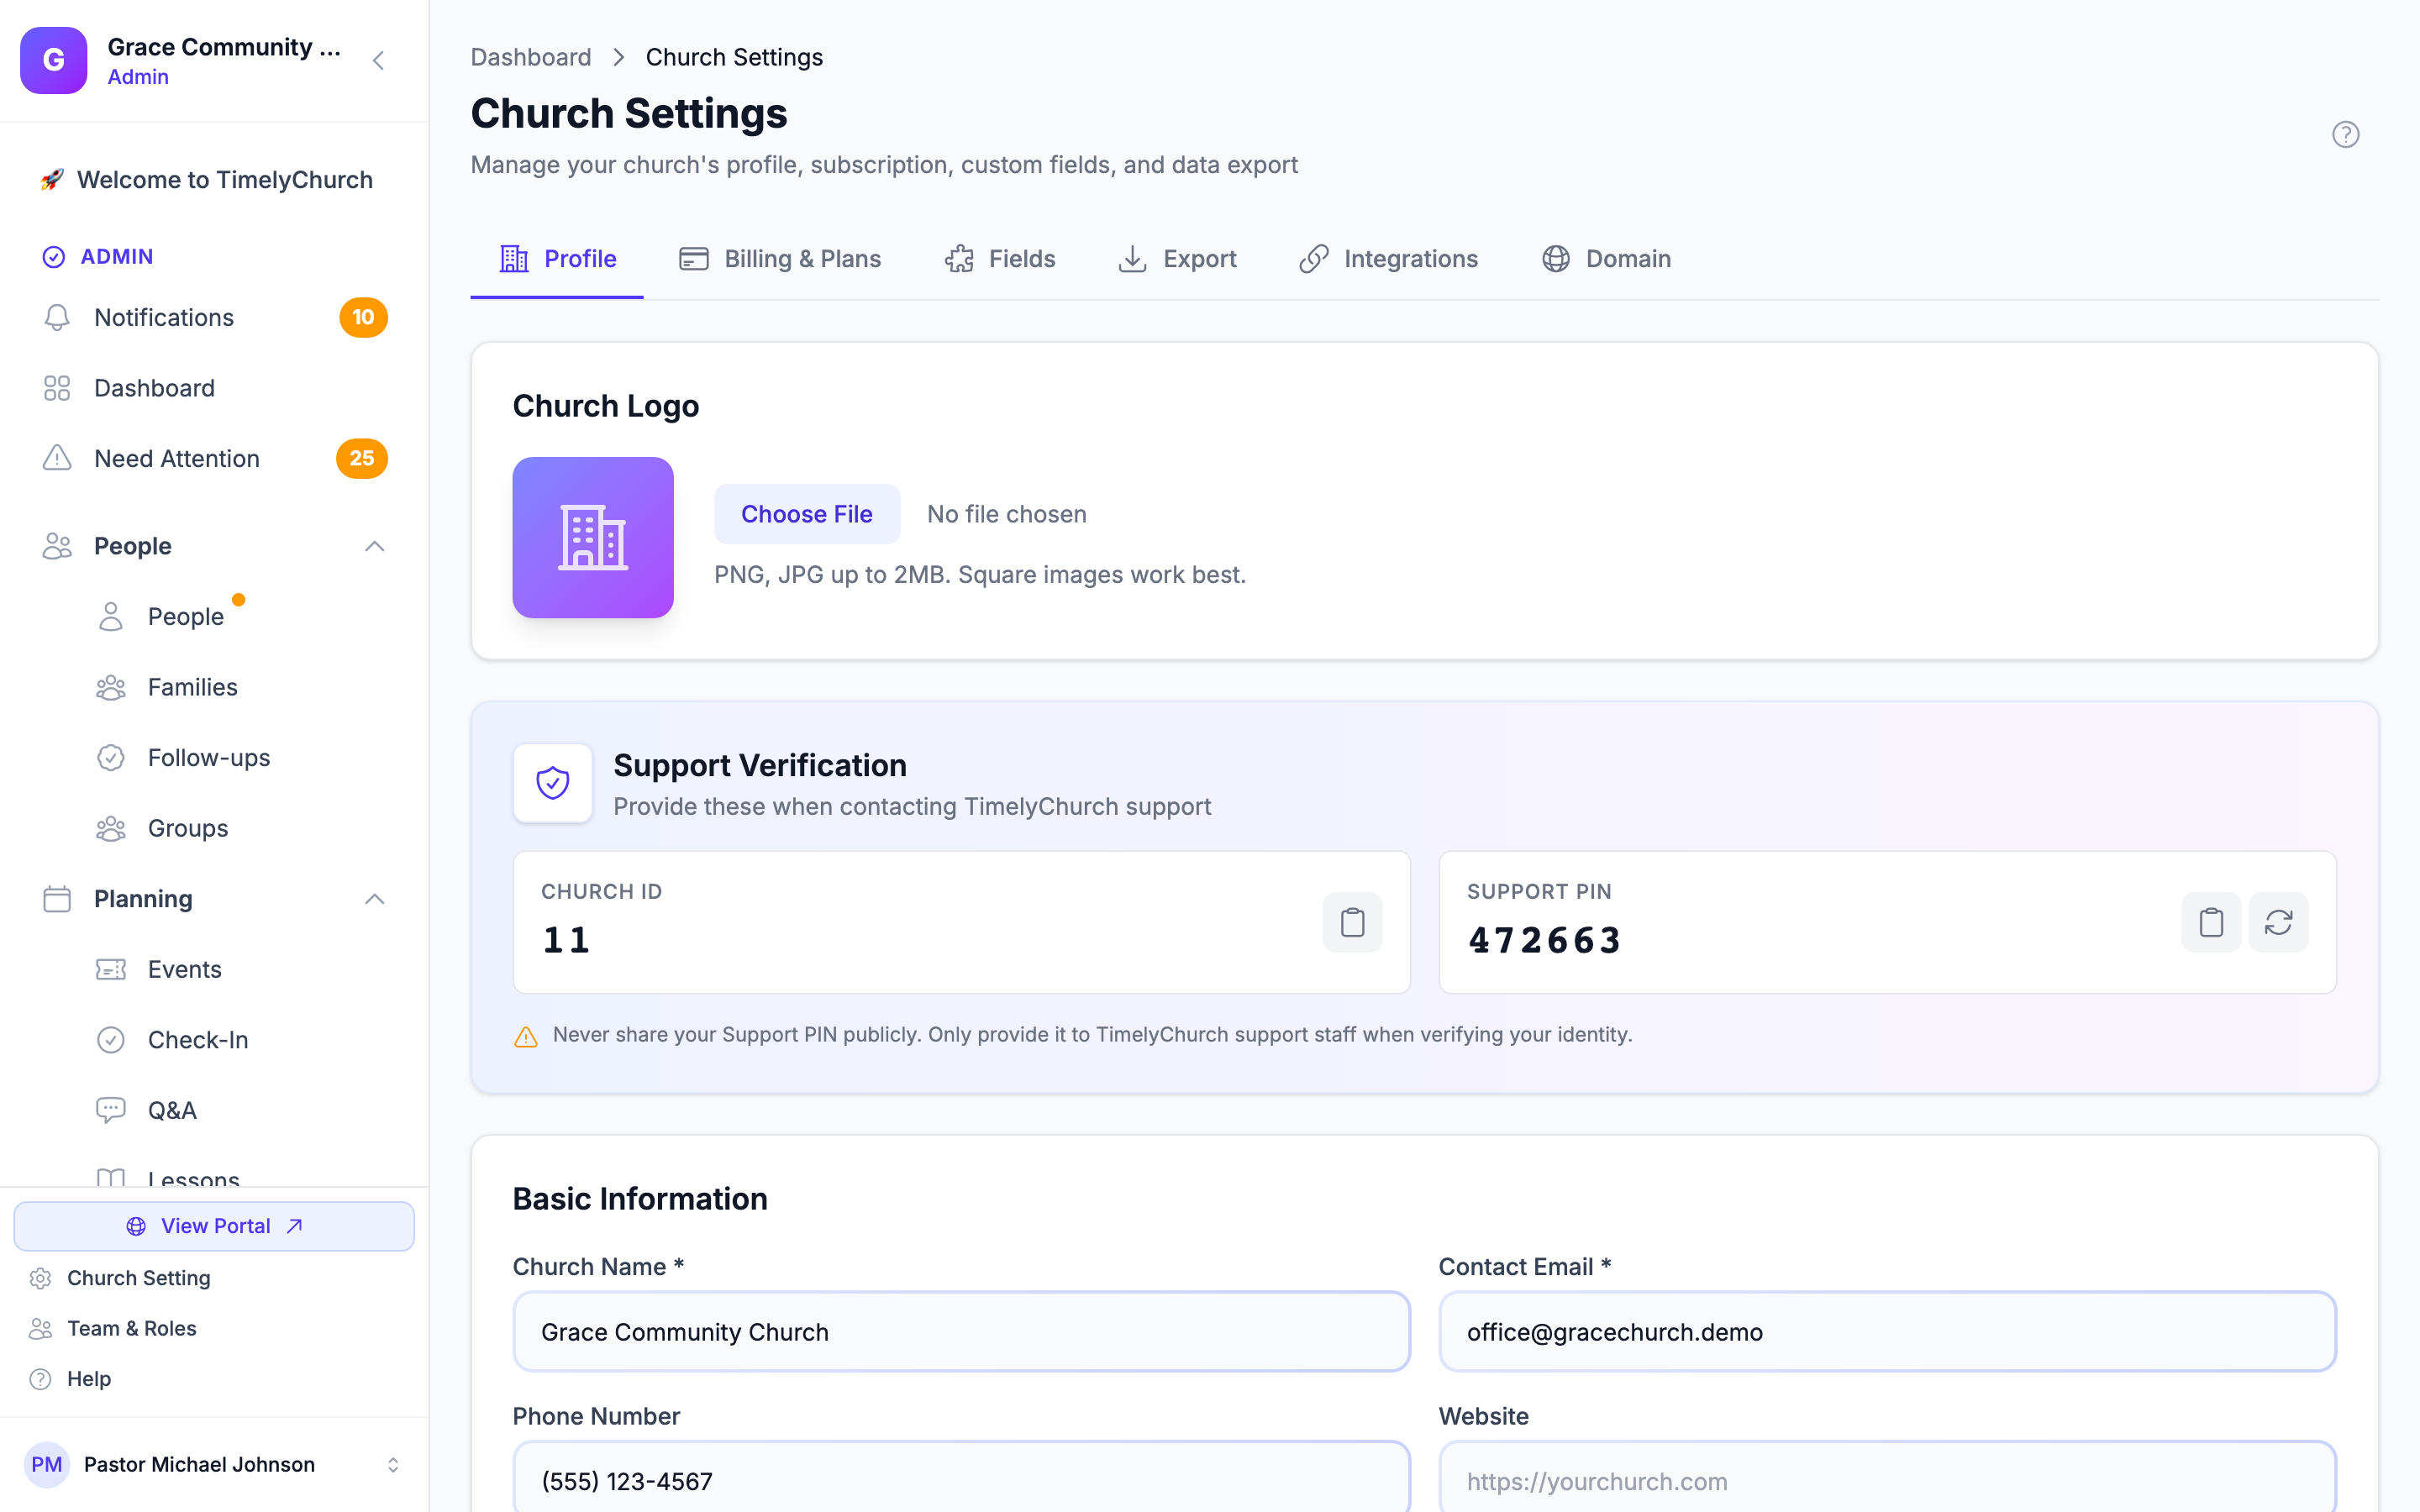
The Church Settings page has six tabs:
| Tab | Purpose |
|---|---|
| Profile | Church name, logo, address, timezone, contact info, and your Support PIN |
| Billing & Plans | Your current plan, upgrade/downgrade, billing |
| Fields | Track custom data on people profiles |
| Export | Download people and family data as CSV |
| Integrations | Connect Stripe for online giving and Telegram for broadcasts |
| Domain | Set up a custom domain (available on qualifying plans) |
Tip: Only users with admin-level permissions can access Church Settings. If you do not see this option, ask your church administrator.
Profile Tab
The Profile tab is where you set up the basic information about your church. This information appears across the platform and on your public portal.
Editing Your Church Profile
- Click the Profile tab (this is selected by default).
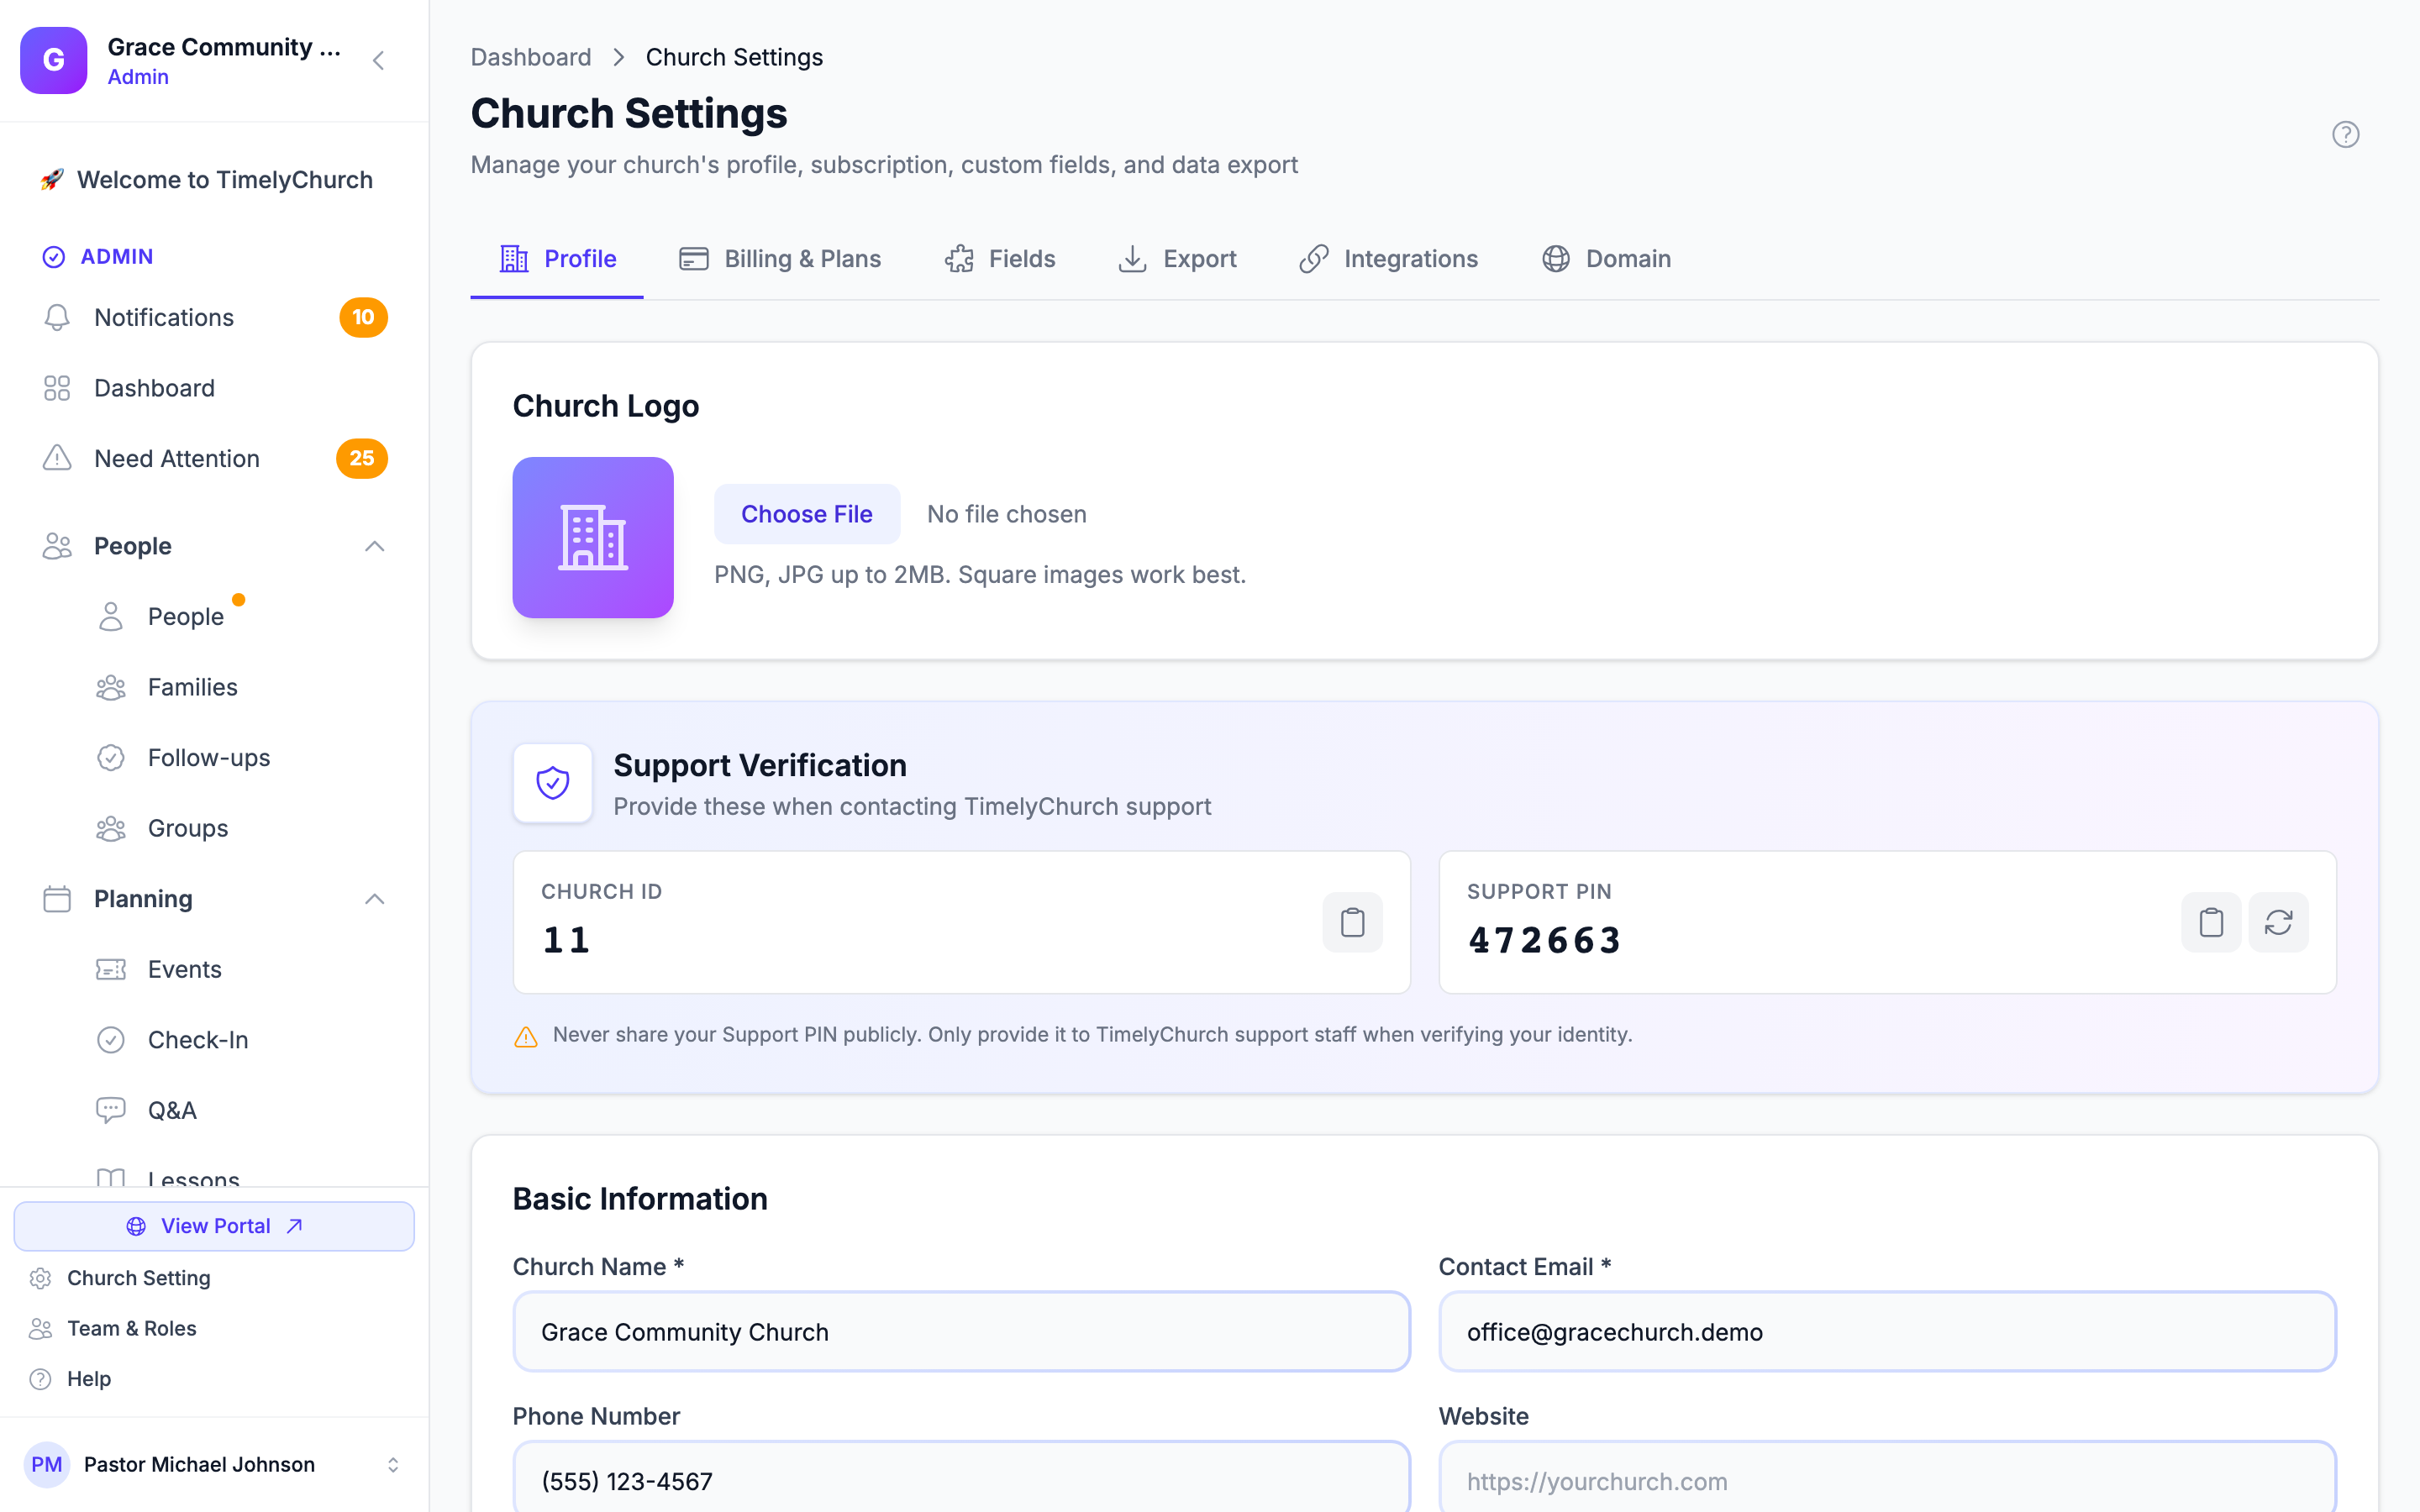
- Fill in or update the following fields:
- Church Name -- The official name of your church (required).
- Contact Email -- Your church's primary email address (required).
- Phone Number -- Your church's phone number.
- Website -- Your church's website URL.
- Address -- Your church's physical address.
- About Your Church -- A brief description of your church, its mission, and values. This may be shown on public pages.
- Timezone -- Select your church's timezone. This affects how dates and times are displayed throughout the platform (required).
- Click Save Changes to apply your updates.
Uploading Your Church Logo
Uploading a custom church logo is part of the Custom Branding feature, available on the Pro plan.
- In the Profile tab, find the Church Logo section.
- Click the file picker and select an image from your computer.
- The logo should be a PNG or JPG image no larger than 2 MB. Square images work best.
- The logo uploads automatically once selected.
To remove your logo, click the red X button on the logo preview and confirm.
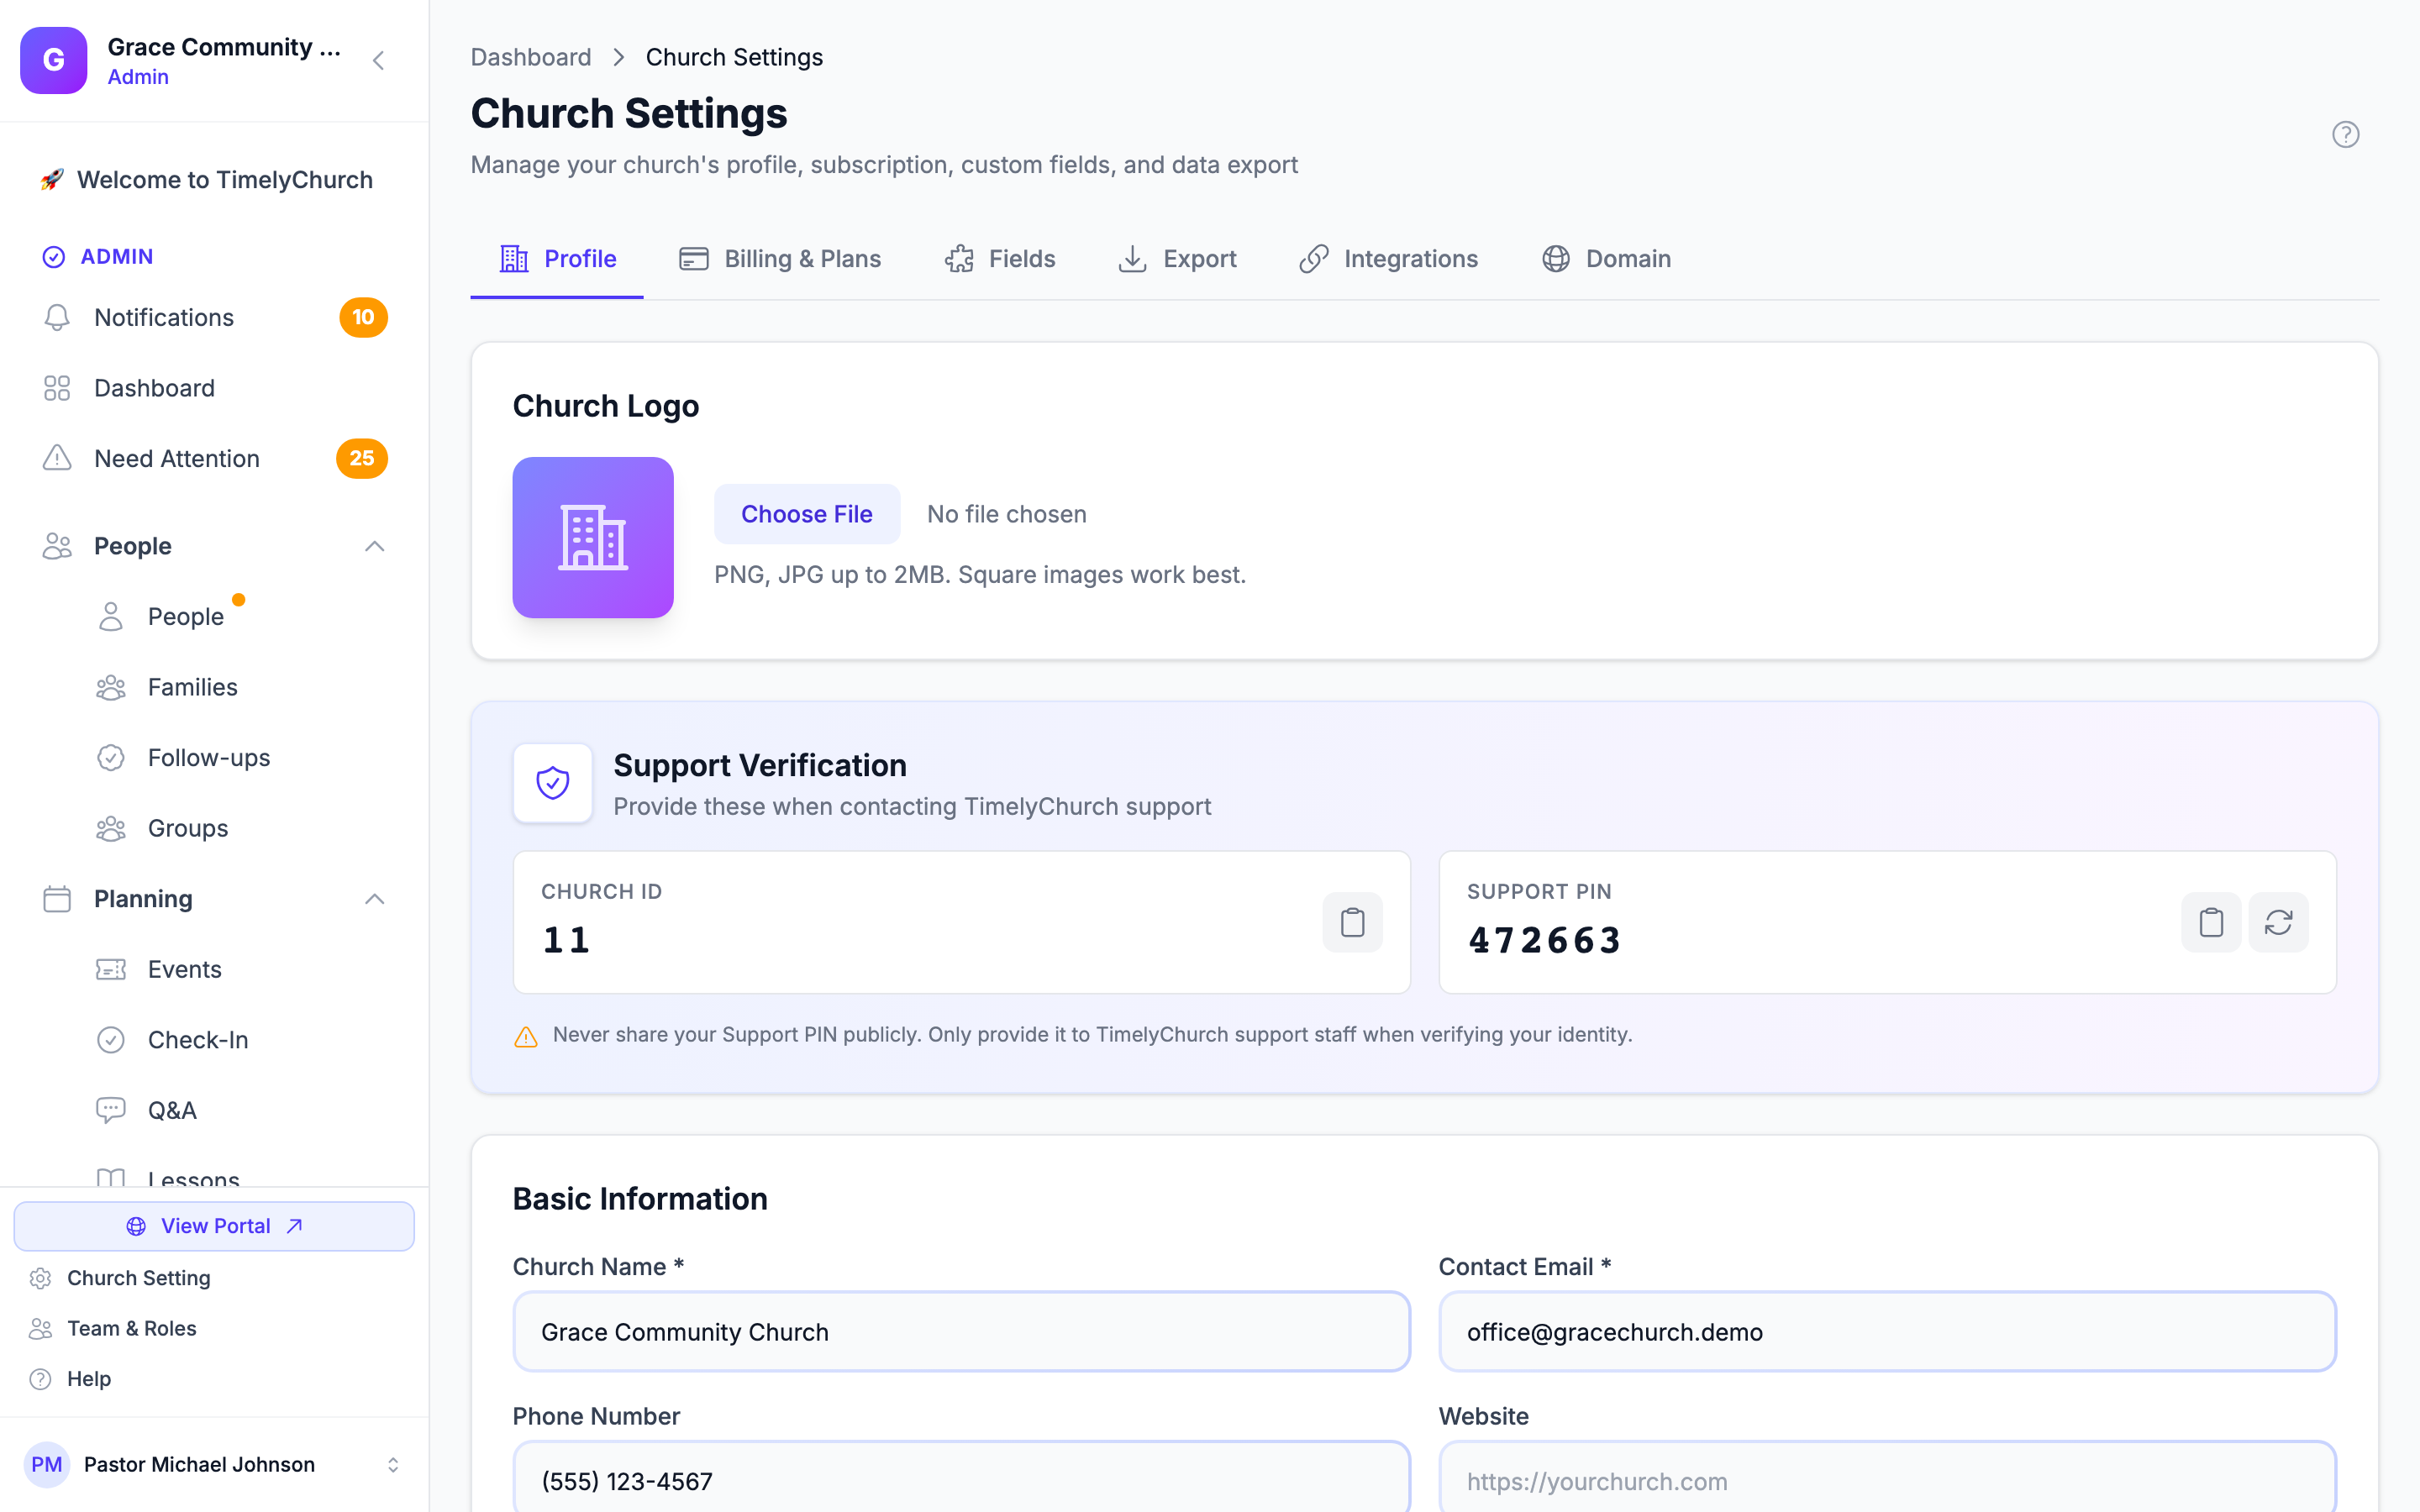
Note: On the Starter and Growth plans, the Church Logo section is locked with an "Upgrade to Pro" prompt. Upgrade your plan from the Billing & Plans tab to unlock custom branding.
Tip: Your logo appears on the admin panel sidebar, your public portal, statements, check-in labels, and email communications. Use a clear, high-resolution image for the best results.
Setting Your Timezone
Choosing the correct timezone is important because it affects:
- Event start and end times.
- Schedule dates.
- When announcements and scheduled emails go live.
- Dashboard date displays.
Common timezone options include:
- Eastern Time (ET) -- for churches in the eastern US.
- Central Time (CT) -- for churches in the central US.
- Mountain Time (MT) -- for churches in the mountain region.
- Pacific Time (PT) -- for churches on the west coast.
Billing & Plans Tab
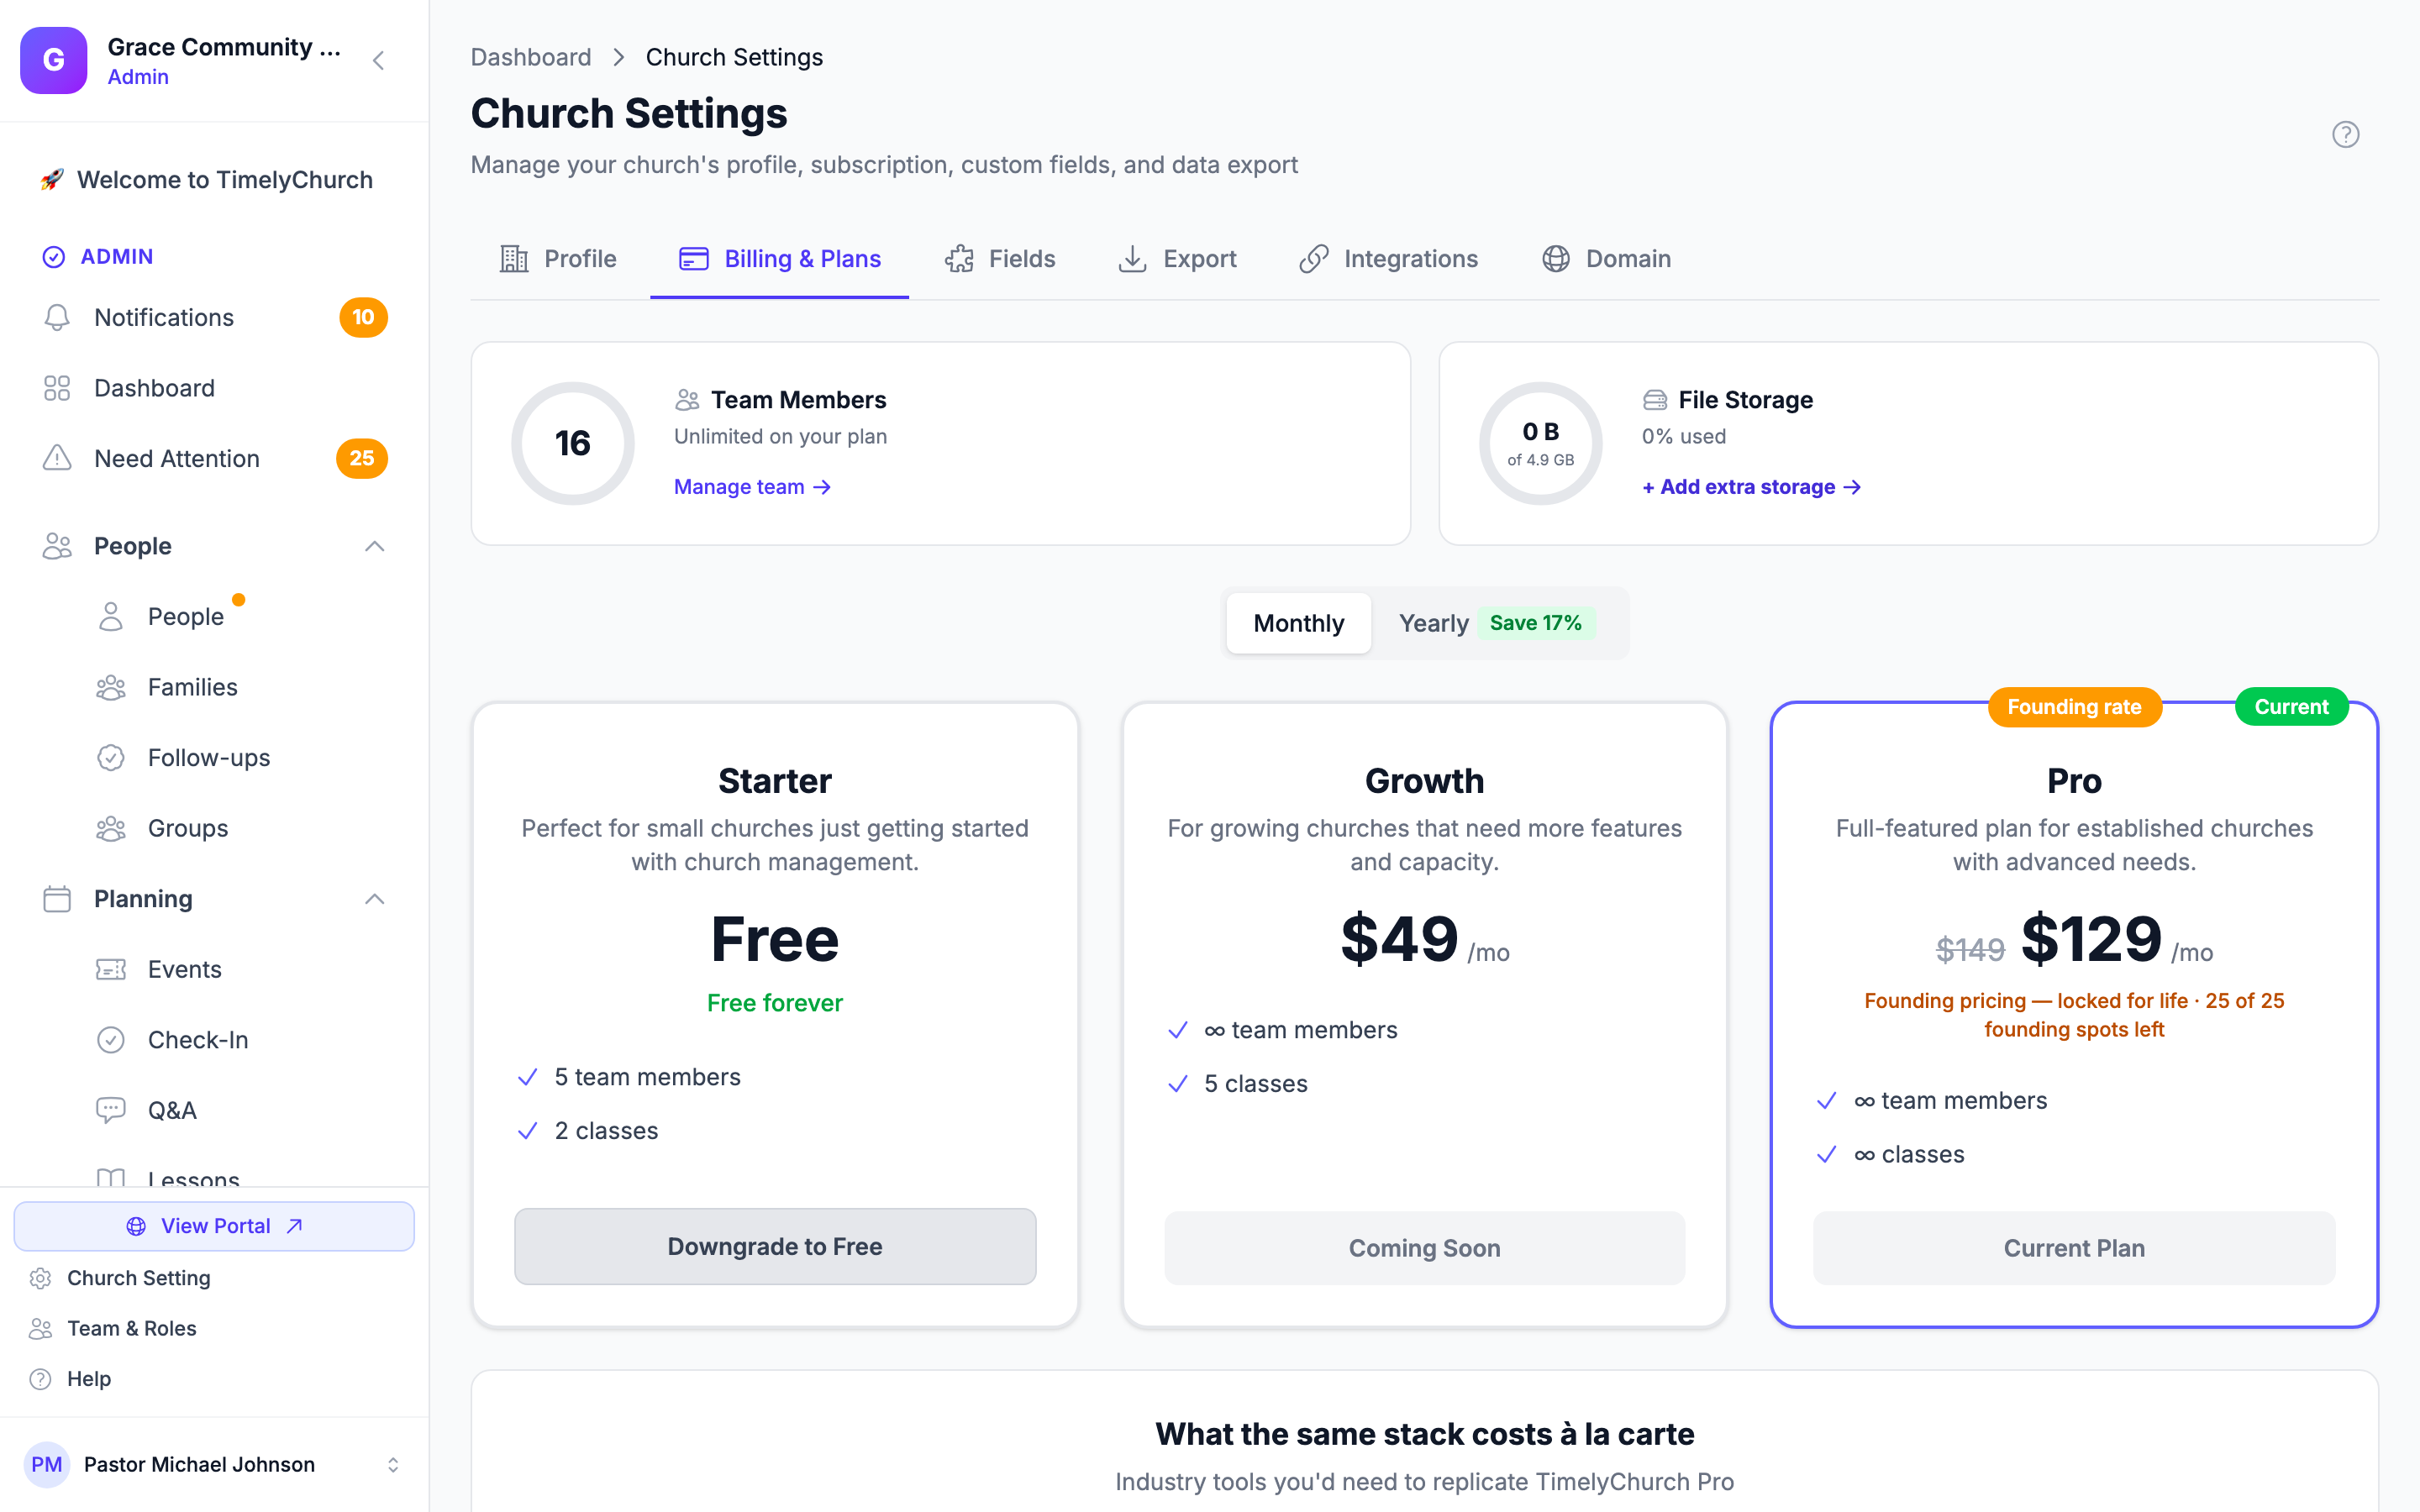
The Billing & Plans tab (labeled "Billing & Plans" in the tab bar) shows your current plan and lets you upgrade, downgrade, or cancel.
- Click the Billing & Plans tab.
- You'll see:
- Your current plan along with usage rings showing your team members and storage against your plan's limits.
- Your trial countdown if you're still inside your trial.
- The available plans displayed side by side.
- A monthly / yearly toggle. Yearly billing saves you about two months compared to paying monthly.
- To change your plan, choose monthly or yearly, click the plan you want, enter payment details, and confirm.
The Plans
| Plan | Price | Best For |
|---|---|---|
| Starter | Free | Very small churches just getting started; the default plan after a trial ends |
| Growth | $49/month or $488/year (save ~17%) | Growing churches that need more capacity, check-in, volunteers, forms, and messaging |
| Pro | $129/month founding price or $1,290/year | Established churches running online giving, accounting, custom branding, and the AI Assistant |
Note on Pro pricing: The first 25 Pro subscribers lock in the $129/month founding price for the life of their subscription. After those founding slots fill, new Pro checkouts use the list price of $149/month.
Multi-campus plans are also available for churches with several locations -- contact support if you need one.
For full feature lists per plan, see Trial and Plan Selection.
Tip: Not sure which plan is right? Run through the Trial and Plan Selection page -- it has a complete feature comparison.
Fields Tab (Custom Fields)
Custom fields let you track information that is unique to your church -- beyond the standard fields like name, email, and phone number.
What Are Custom Fields?
Custom fields are additional data fields you create for your people records. For example, you might want to track:
- Spiritual milestones (baptism date, membership date).
- Volunteer preferences or skills.
- Medical information (allergies, special needs).
- Custom categories specific to your church.
Creating a Custom Field
- Click the Fields tab.
- Click Add Field.
- Choose the field type:
- Text -- A single line of text.
- Long Text -- A multi-line text area.
- Number -- A numeric value.
- Date -- A date picker.
- Yes/No -- A simple toggle.
- Dropdown -- A single selection from a list of options.
- Multi-Select -- Multiple selections from a list.
- Email -- An email address field.
- Phone -- A phone number field.
- URL -- A website link field.
- Enter a field name and configure any additional settings.
- Choose which tab the field should appear on in people profiles (Custom, Spiritual, Volunteer, Medical, or Other).
- Save the field.
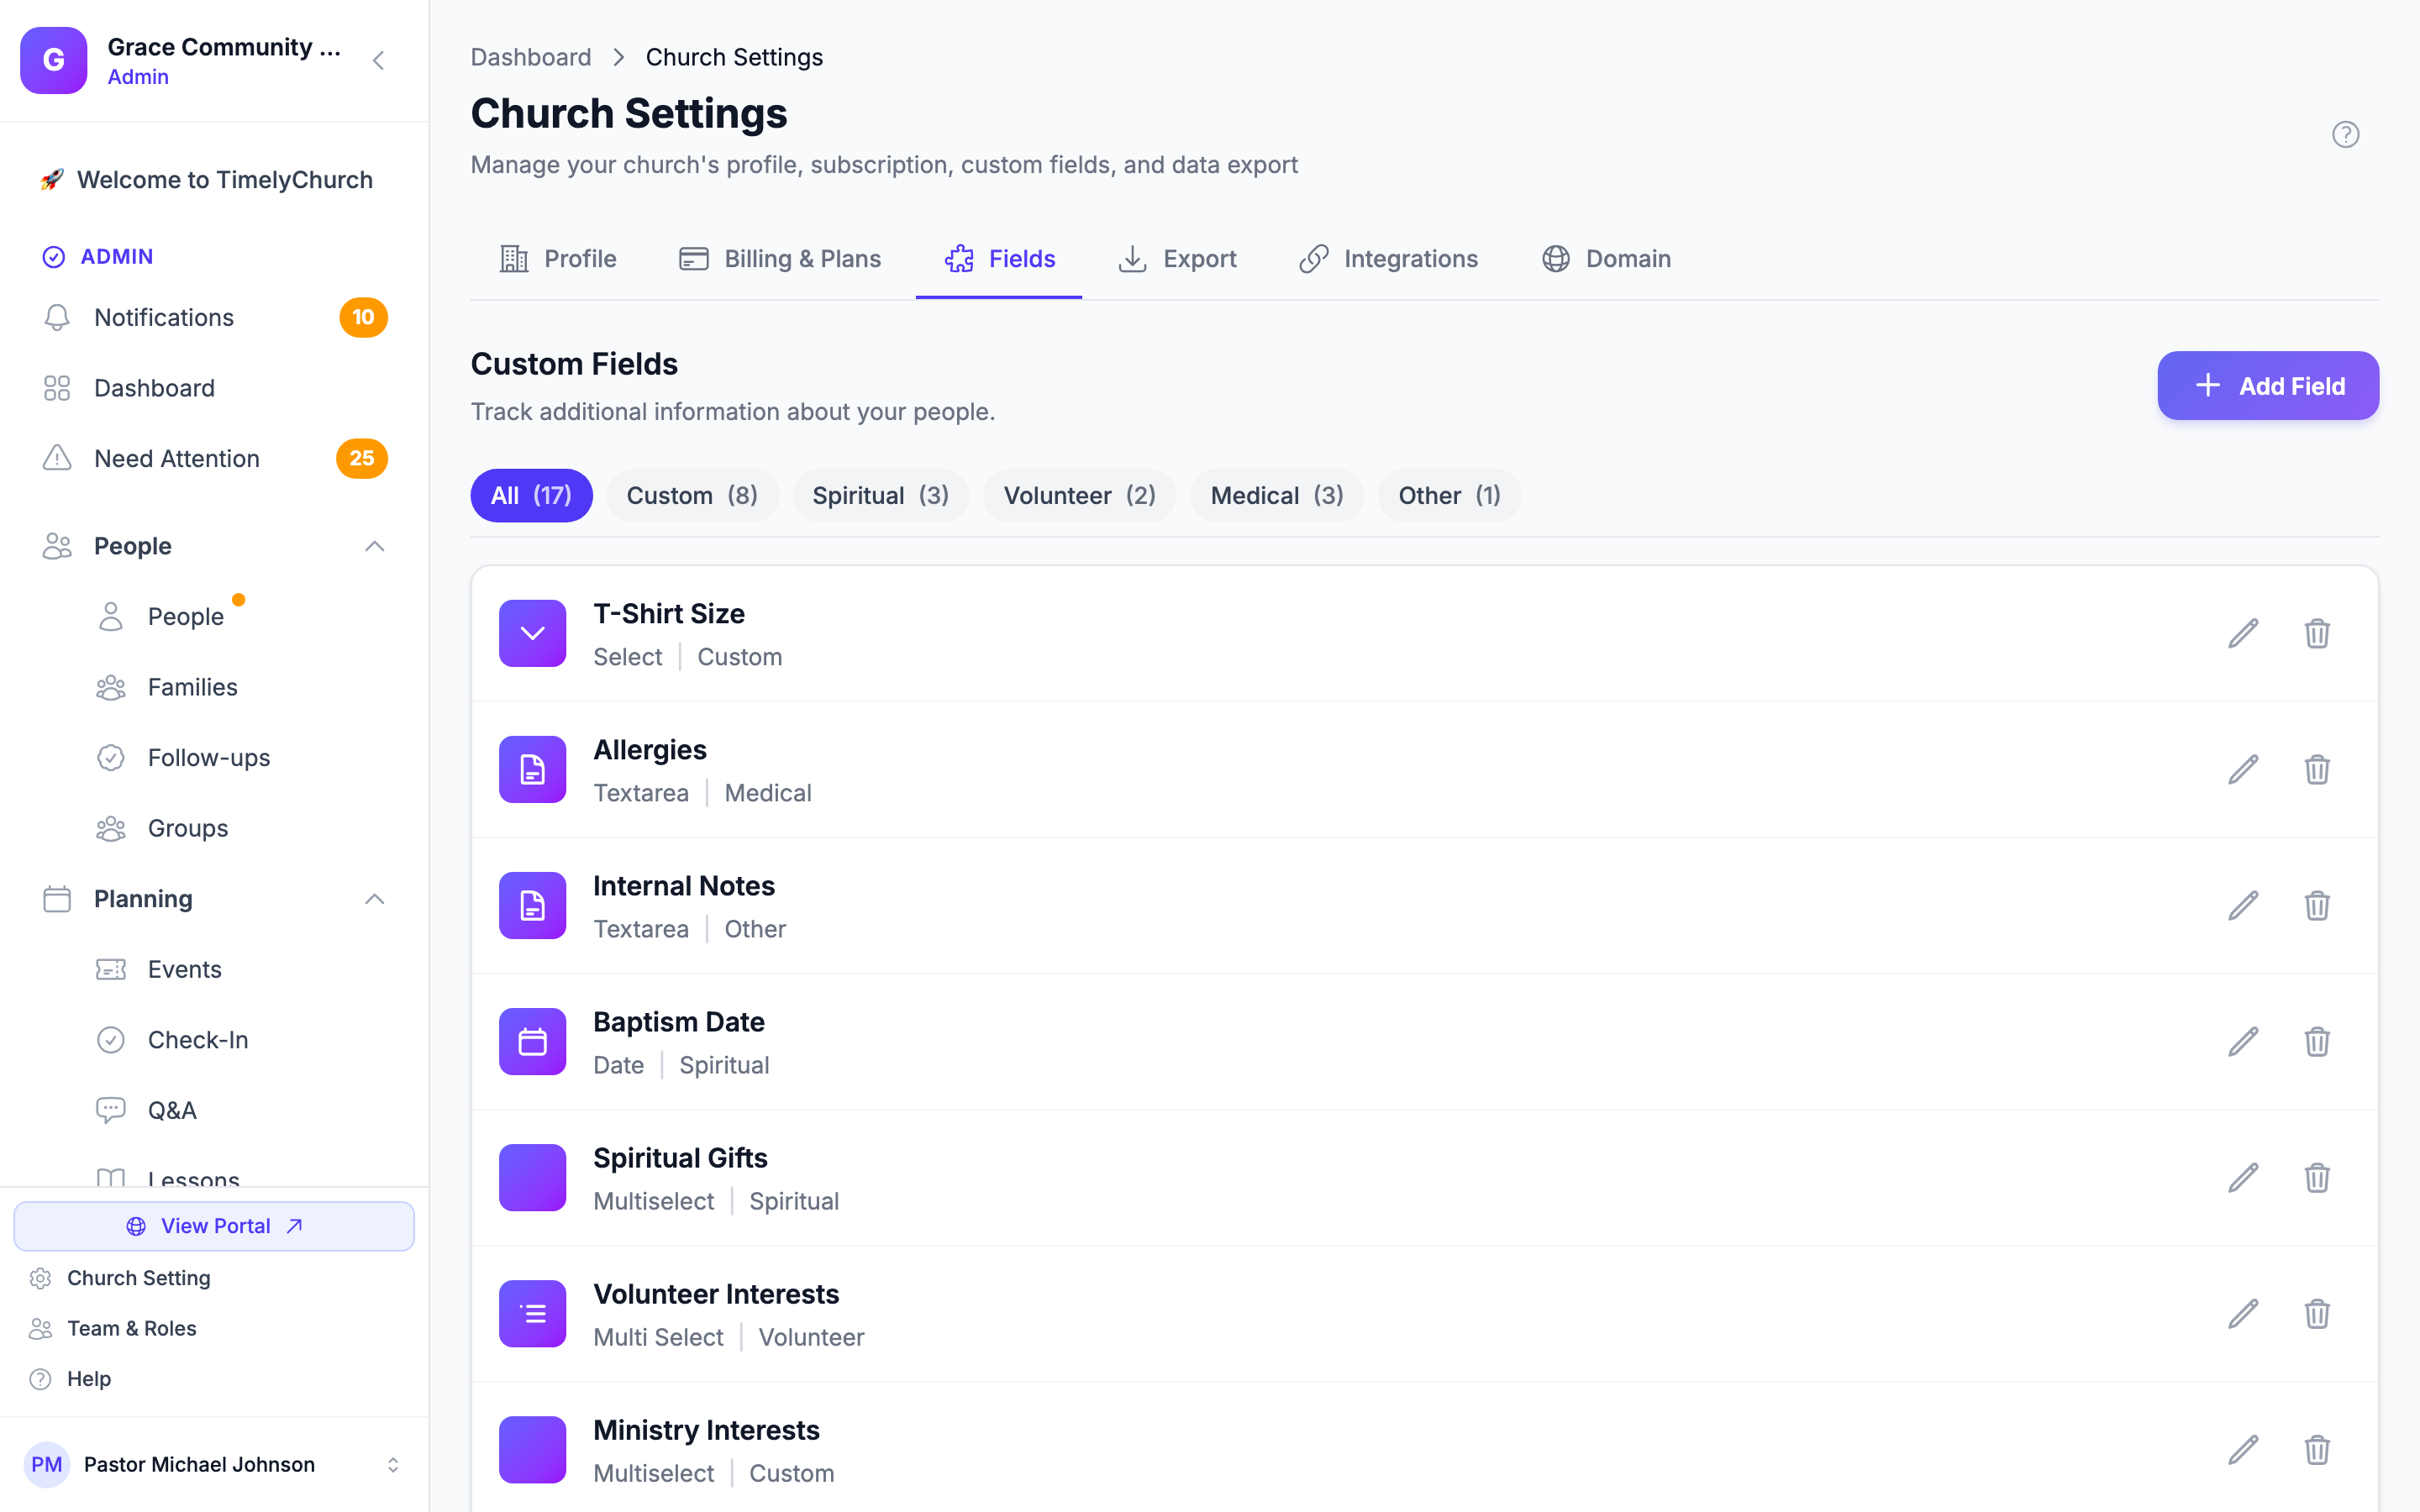
Tip: Organize your custom fields into tabs to keep people profiles clean and easy to navigate. For example, put baptism date and membership date under "Spiritual," and allergy information under "Medical."
Export Tab
The Export tab lets you download your church data for backup or use in other tools.
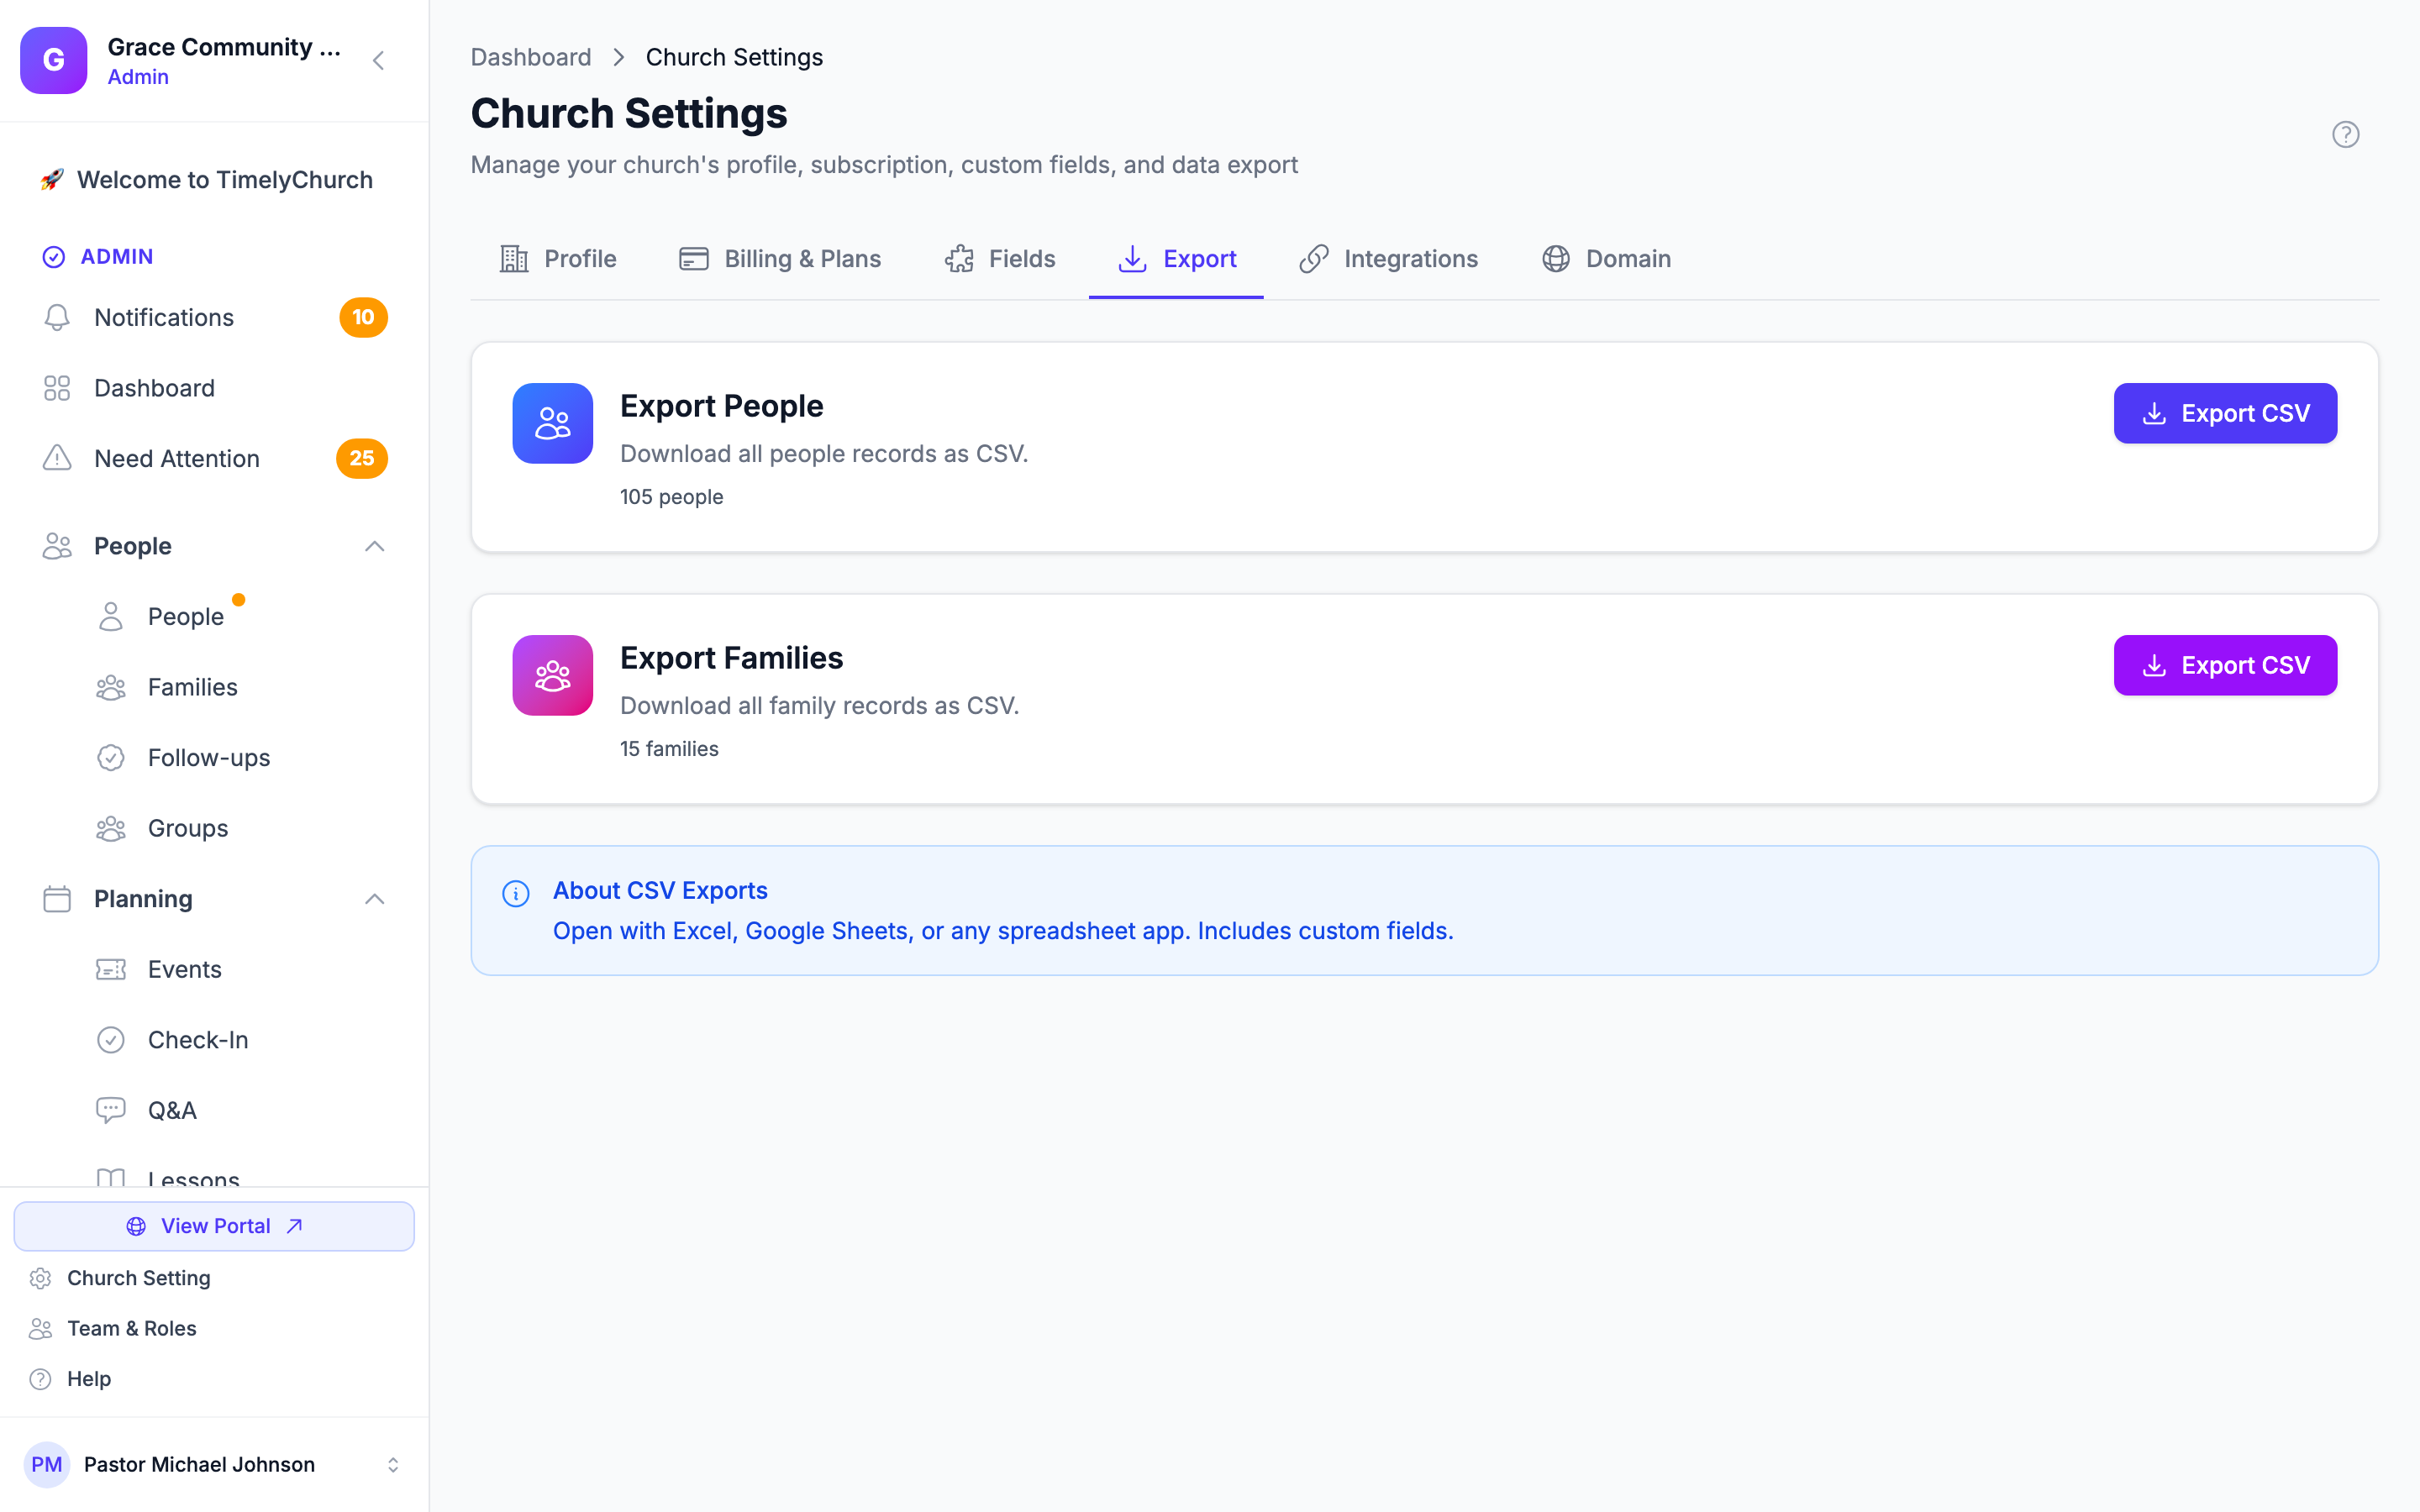
- Click the Export tab.
- You will see two cards -- Export People and Export Families -- each showing how many records are in your database.
- Click Export CSV on either card to download that file.
CSV exports open in Excel, Google Sheets, or any spreadsheet app, and the people export includes your custom fields.
Tip: Regularly exporting your data is a good practice for backup purposes. We recommend exporting at least once a month.
Integrations Tab
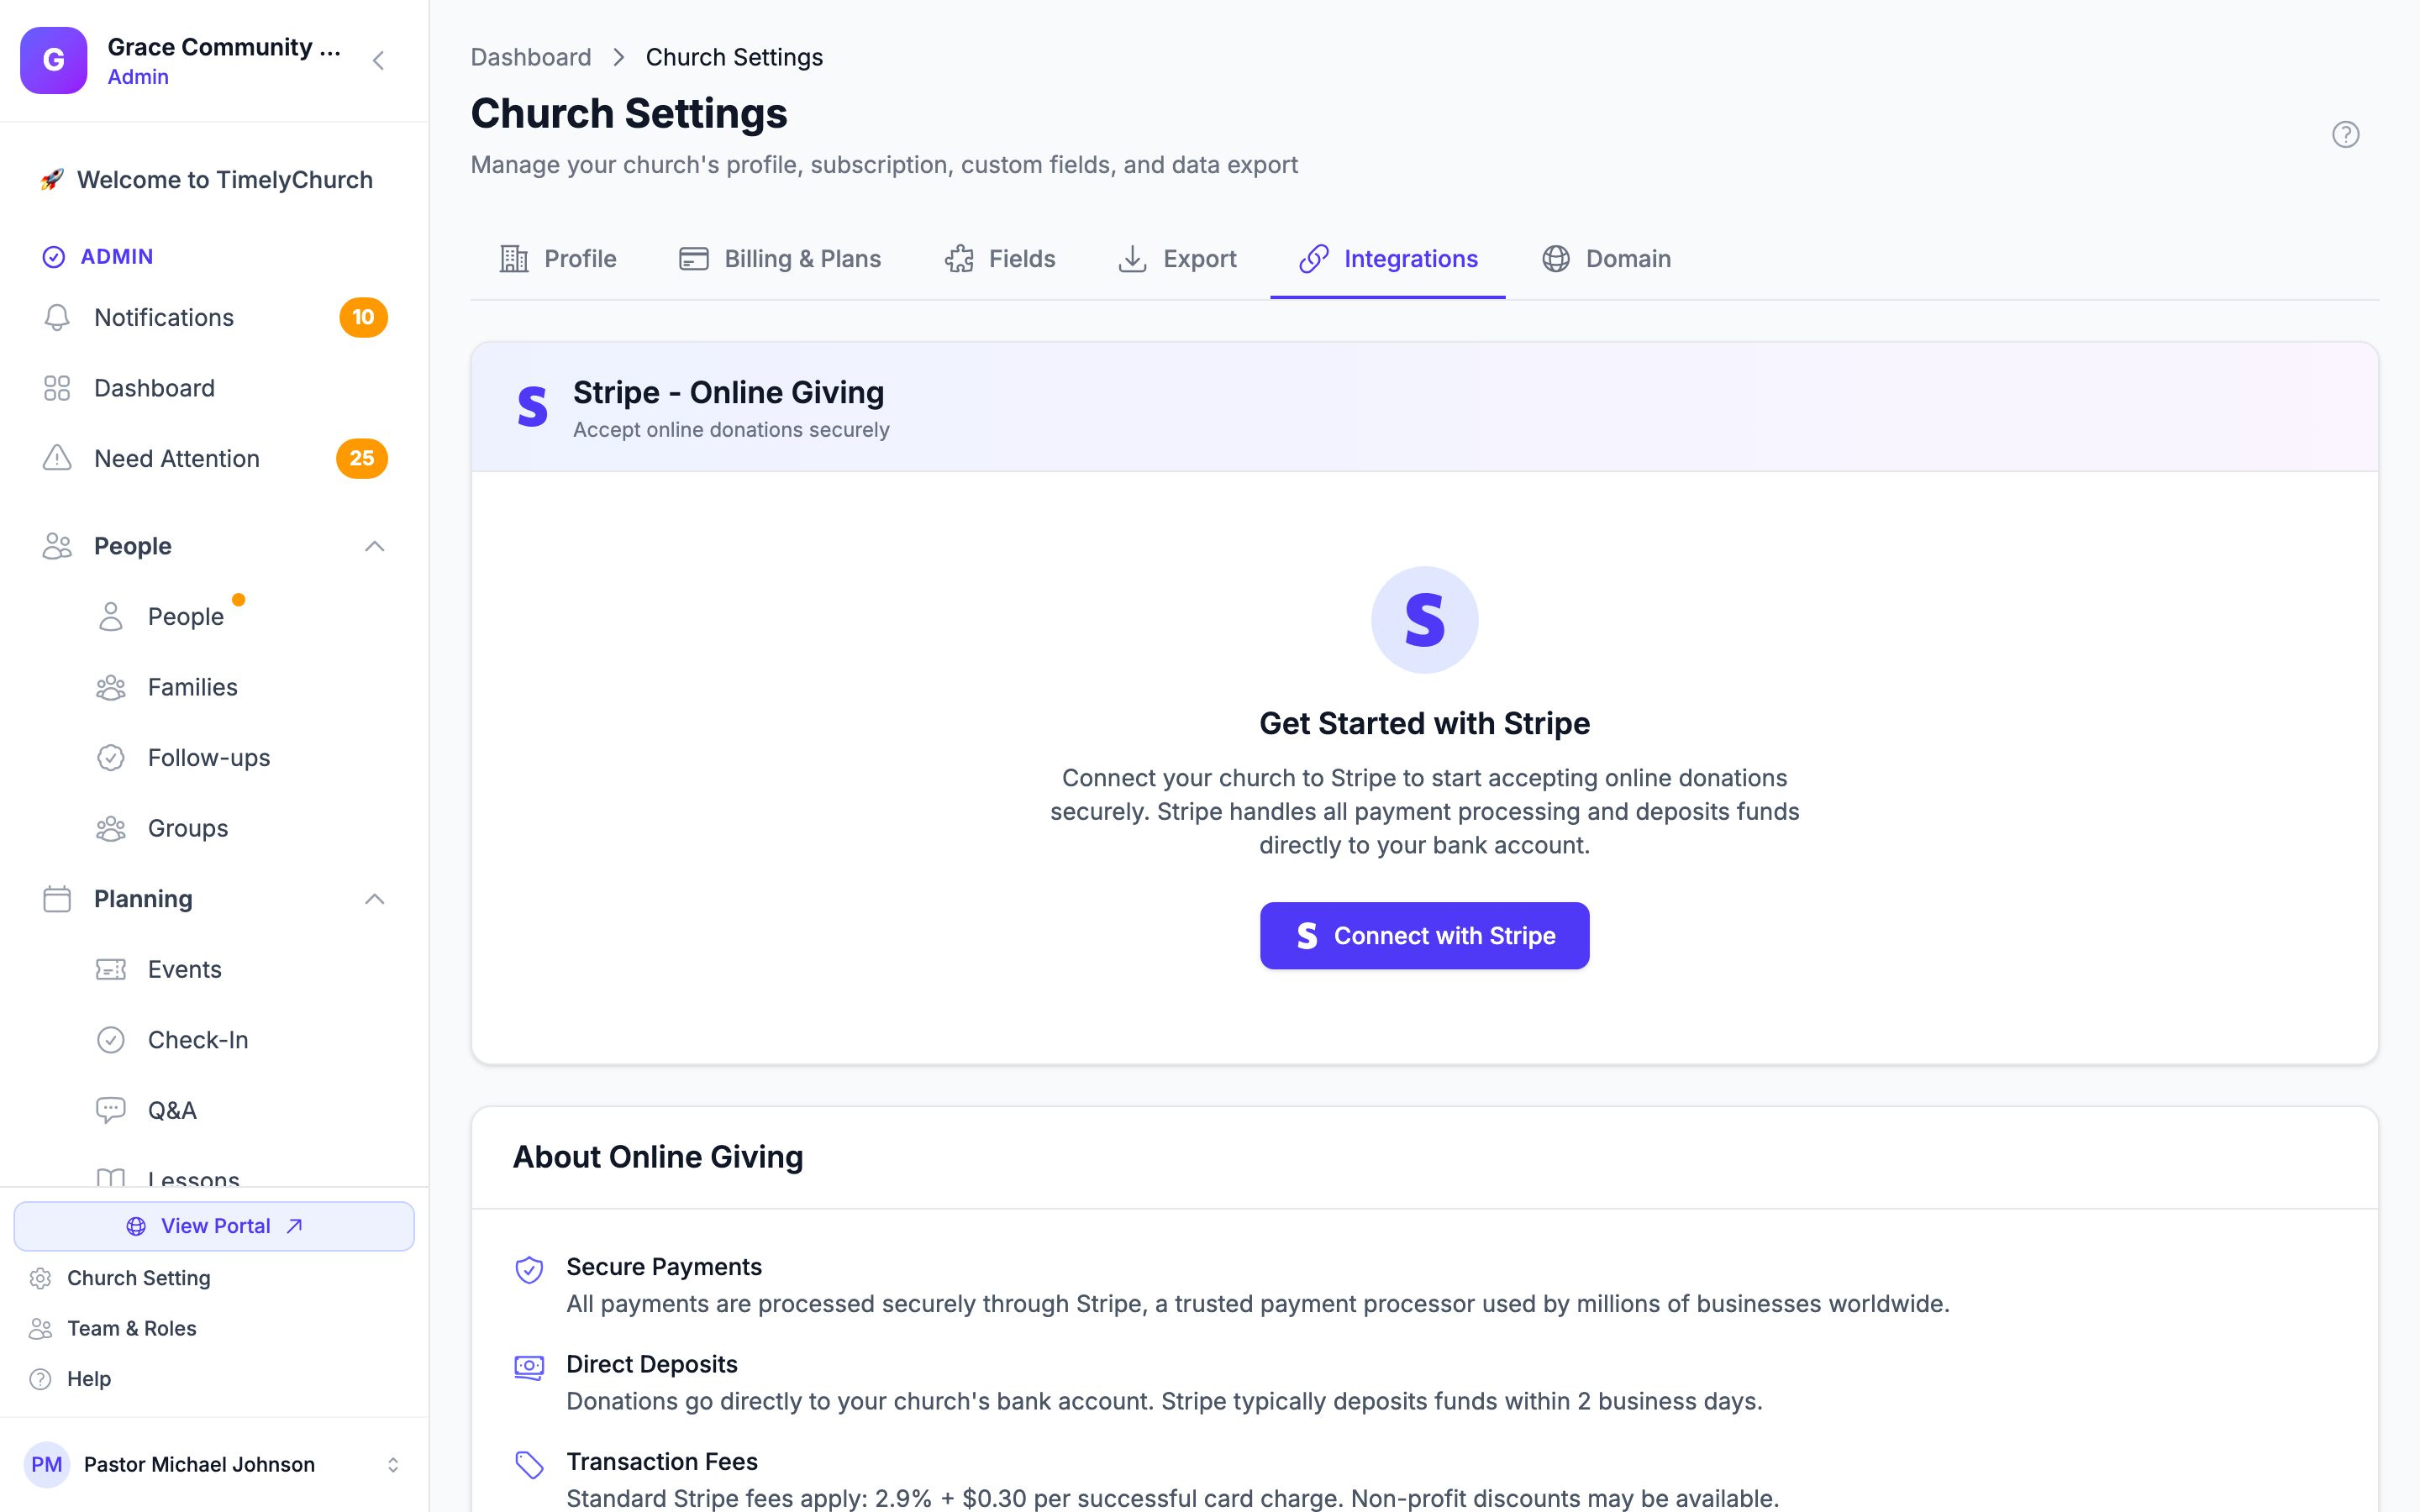
The Integrations tab lets you connect TimelyChurch with third-party services. It includes two integrations: Stripe for online giving and Telegram for bot broadcasts.
Stripe - Online Giving
If your church accepts online donations, you can connect a Stripe account:
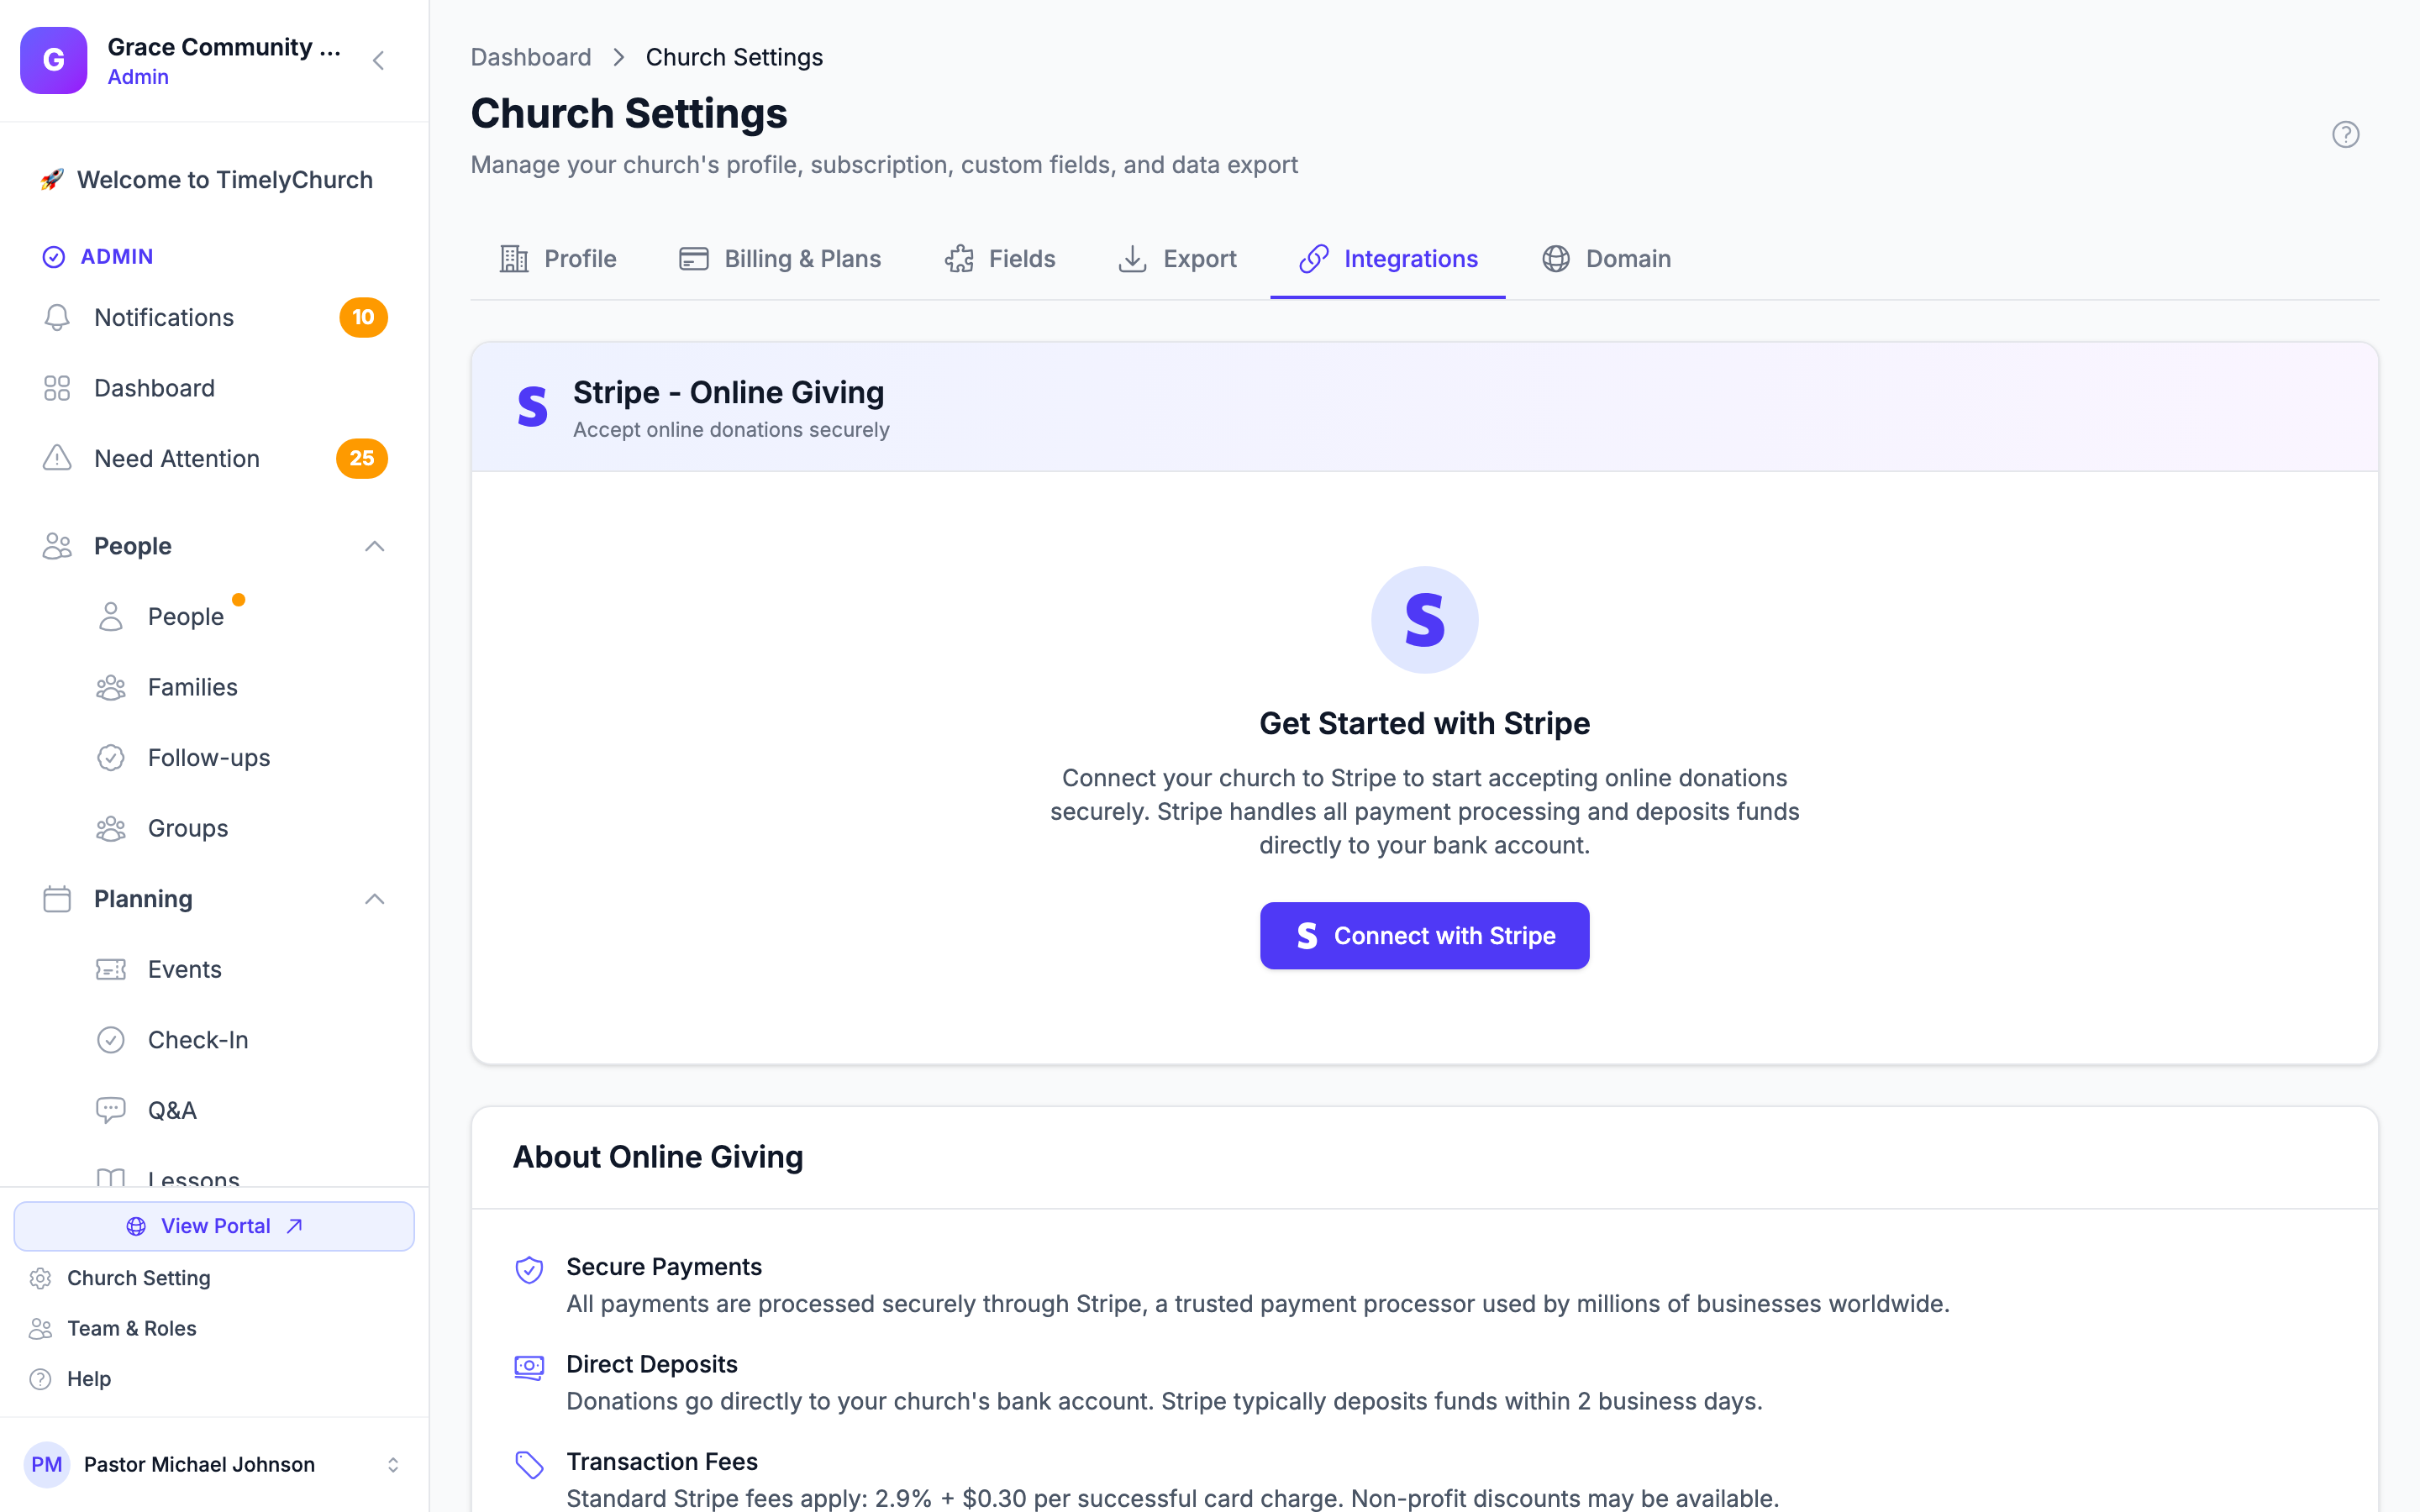
- Click the Integrations tab.
- In the Stripe - Online Giving card, click Connect with Stripe.
- Follow the prompts to link or create your Stripe account.
- Once your account is ready, your congregation can give online through your church portal.
After connecting, this card shows your account status (such as "Setup In Progress" or "Ready to Accept Donations"), a setup checklist, and links to open your Stripe Dashboard or Disconnect the account.
For a step-by-step walkthrough including the documents Stripe will ask for, see Stripe Connect Setup.
Telegram - Bot & Broadcasts
You can also connect a Telegram bot to send announcements, volunteer reminders, and digests to Telegram chats:
- In the Telegram - Bot & Broadcasts card, follow the steps to create a free bot token from @BotFather on Telegram.
- Paste the token into the field and connect.
- Once connected, you can register the chats and groups that should receive your church's broadcasts.
Domain Tab
If you want your church portal to be accessible at your own domain (like portal.yourchurch.com instead of the standard TimelyChurch URL), you can set up a custom domain.
Note: The Domain tab is available on qualifying plans. If your current plan doesn't include custom domains, the tab appears with a lock icon and an upgrade prompt -- upgrade from the Billing & Plans tab to unlock it.
Setting Up a Custom Domain
- Click the Domain tab.
- Enter your custom domain (for example, portal.yourchurch.com).
- Save the domain.
- TimelyChurch will provide you with DNS records to add at your domain registrar:
- A TXT record for verification.
- A CNAME record pointing to TimelyChurch servers.
- Add these DNS records through your domain registrar (like GoDaddy, Namecheap, or Cloudflare).
- Come back to this tab and click Verify Domain.
- Once verified, your custom domain will be active.
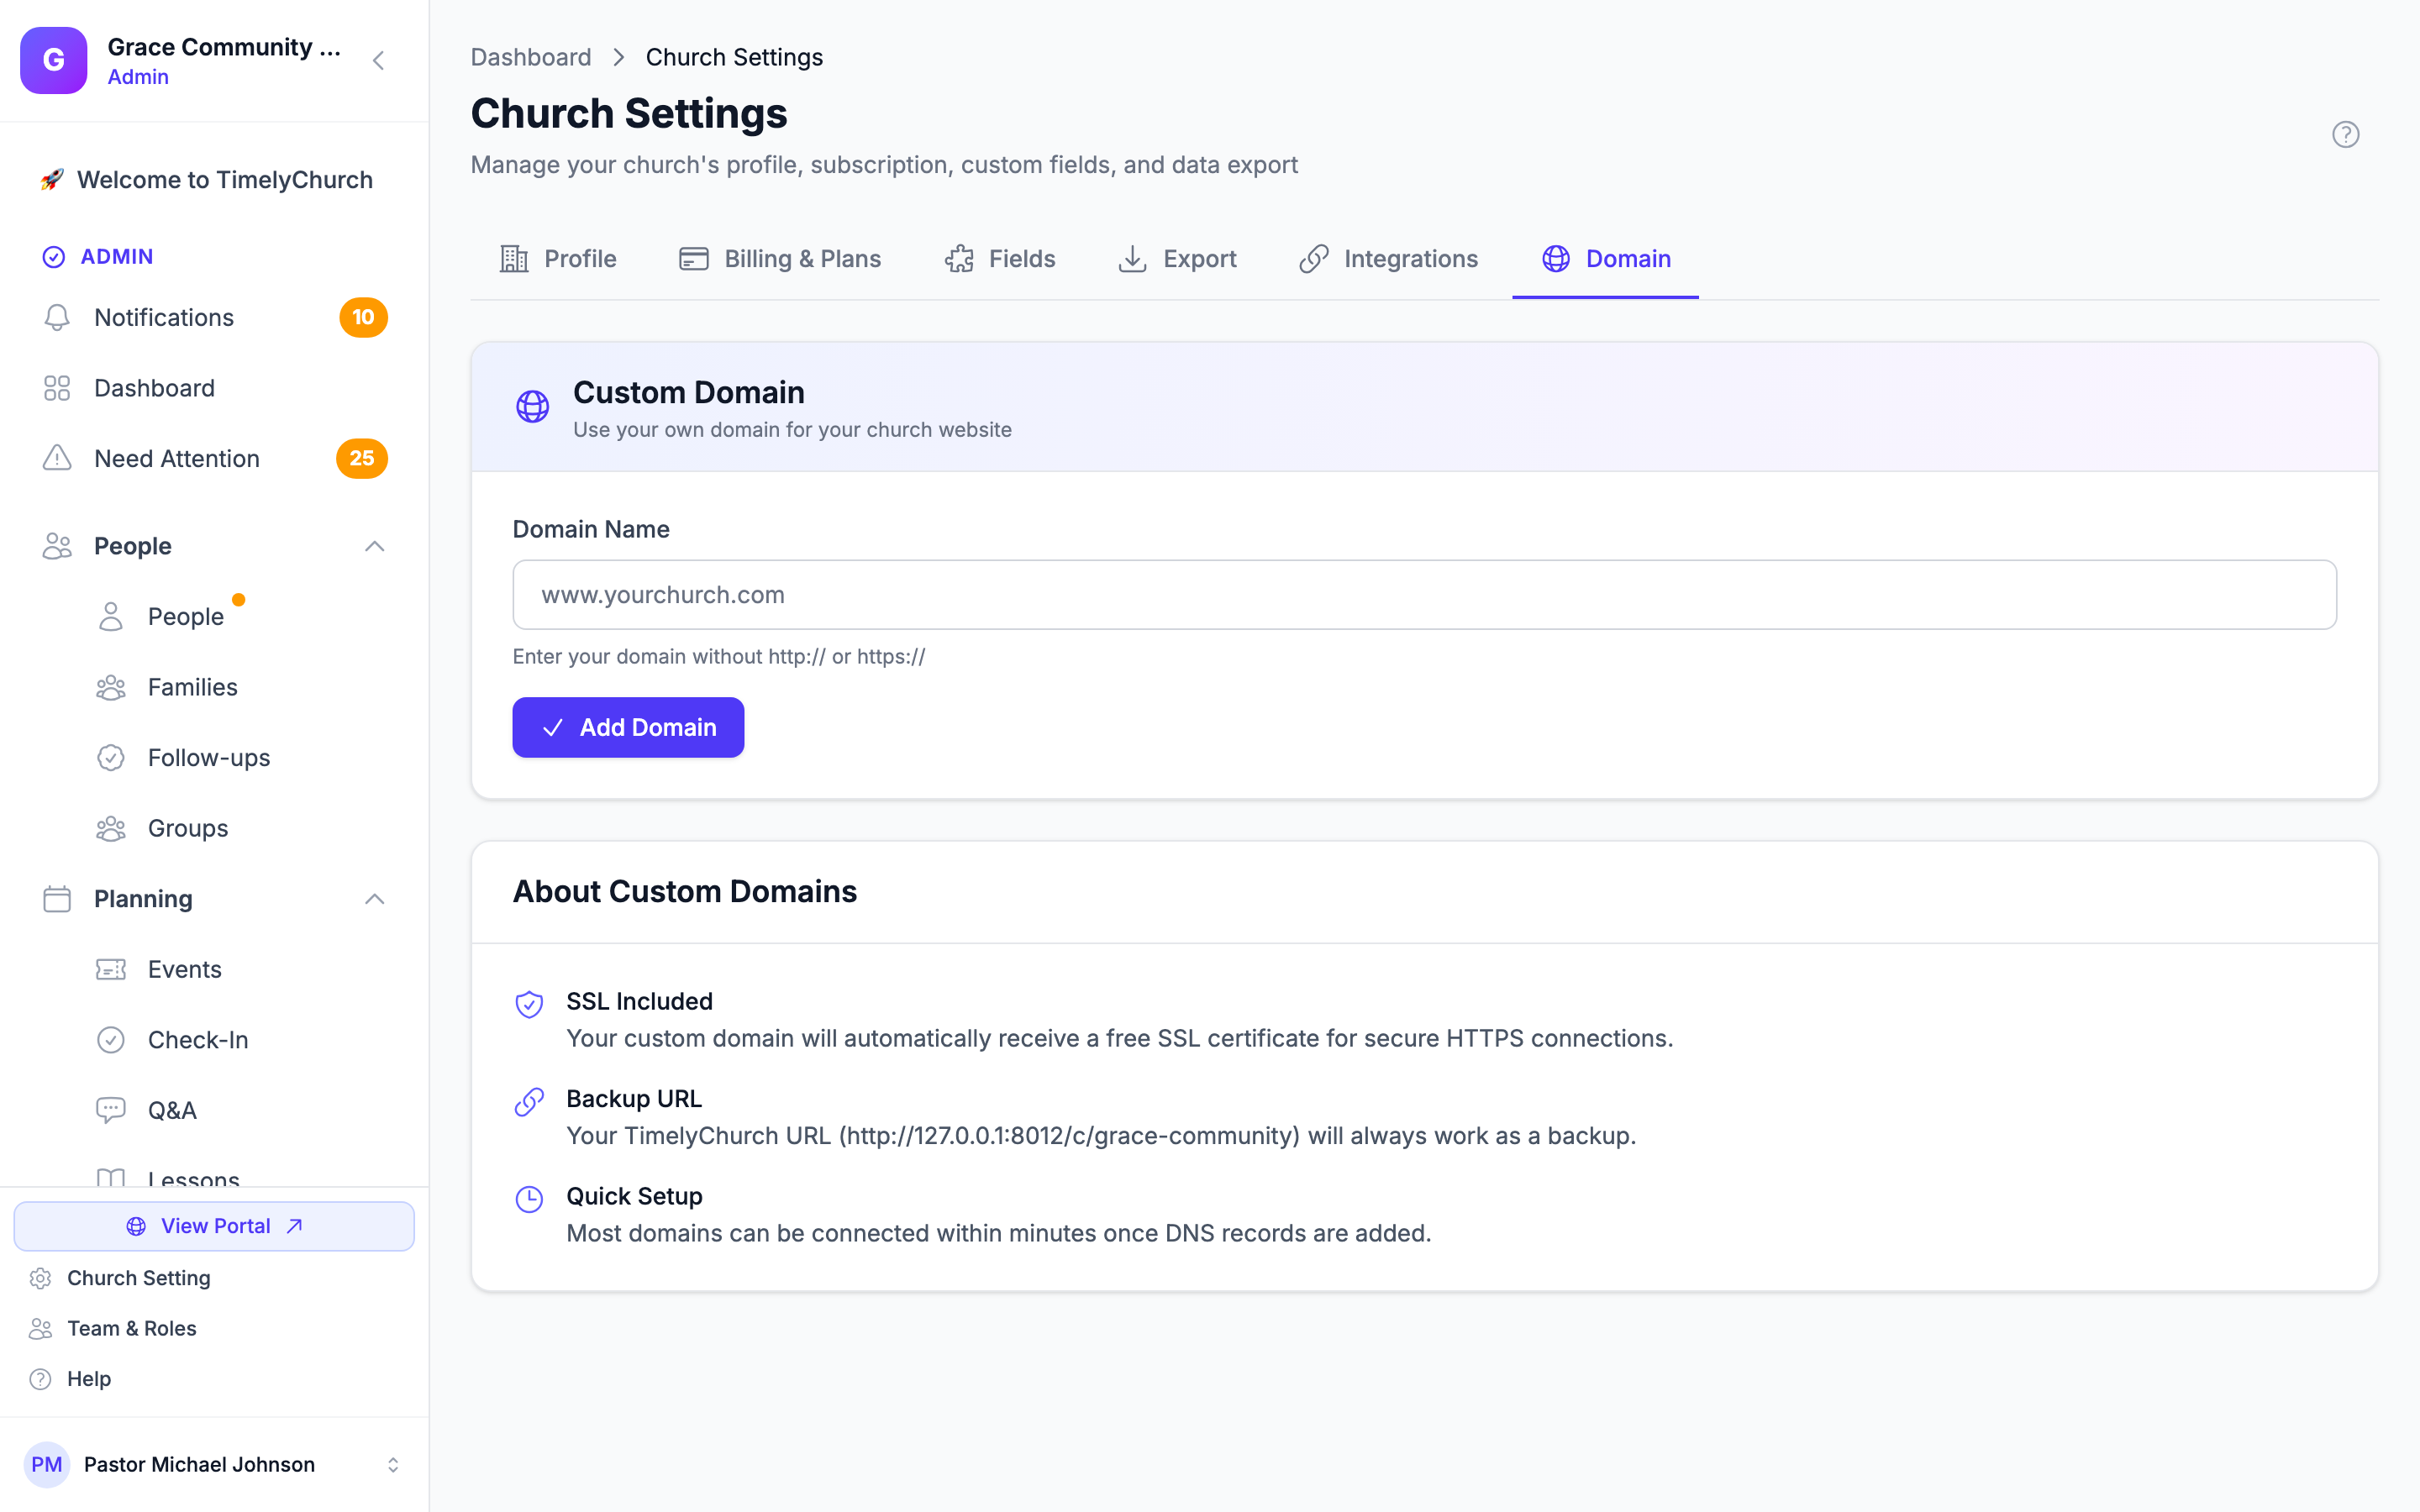
Tip: DNS changes can take up to 48 hours to propagate across the internet. If verification fails on the first try, wait a few hours and try again. For a deep walkthrough including troubleshooting tips, see Custom Domain Walkthrough.
Support PIN
Along with a Church ID, each church has a unique Support PIN that our support team may ask for when you contact us. Together these help us verify your identity before discussing account specifics.
- Both your Church ID and Support PIN are displayed in the Support Verification section near the top of the Profile tab. Each has a copy button.
- If your PIN has been shared too widely (or you suspect it has been seen by someone outside your team), click the Regenerate button next to the PIN and confirm. A fresh PIN is generated immediately, and the old one stops working right away.
- Keep your Support PIN private -- only share it with TimelyChurch support staff during a verified support request.
Tip: Treat your Support PIN like a temporary password. We will never ask for your account password or any banking/Stripe credentials -- only your Support PIN.